TL;DR
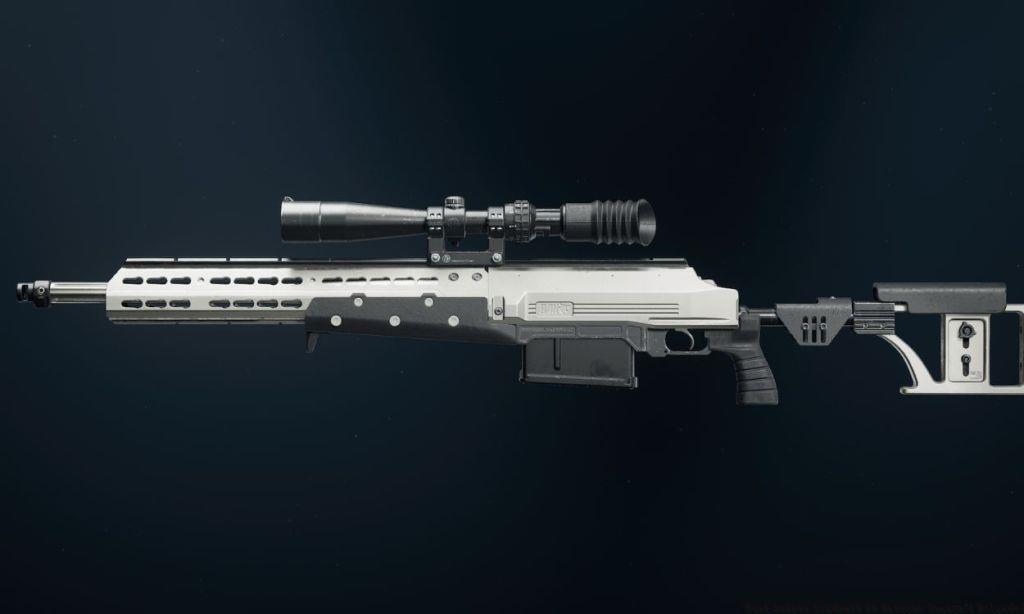
- The HDR delivers one-shot eliminations at any range with proper attachment configuration
- Monolithic Suppressor and Gain-Twist Barrel combination maximizes bullet velocity and stealth
- Lightweight Bipod significantly reduces idle sway for improved long-range accuracy
- Pair with close-range secondary weapon and strategic perks for complete loadout synergy
- Avoid aggressive quickscoping – focus on positioning and pre-aiming for optimal results
The HDR’s triumphant comeback to Call of Duty: Warzone has solidified its position as a premier sniper rifle in the current meta landscape. This powerhouse weapon possesses the raw stopping power to secure instant eliminations regardless of engagement distance. However, achieving its peak performance demands careful selection of complementary attachments that enhance its inherent strengths while mitigating weaknesses. This comprehensive guide delivers the definitive HDR configuration for Warzone supremacy.
Strategic Update: Current as of July 2, 2025, accounting for weapon balancing adjustments implemented during Warzone Season 4 Reloaded

- Muzzle: Monolithic Suppressor
- Barrel: Gain-Twist Barrel
- Underbarrel: Lightweight Bipod
- Fire Mod: 108mm Overpressured
Our meticulously crafted HDR configuration for Warzone focuses on amplifying the sniper’s already impressive projectile speed and damage profile. Additionally, this setup addresses the Aim Down Sight (ADS) time reductions that were introduced during the Season 3 Reloaded update, ensuring you remain competitive in fast-paced engagements.
Beginning with the foundation, we selected the Monolithic Suppressor to enhance bullet trajectory velocity while simultaneously concealing your position on enemy minimaps when firing. This specialized suppressor works synergistically with the Gain-Twist Barrel and 108mm Overpressured Fire Mod to achieve maximum projectile speed, which consequently minimizes bullet drop characteristics and elevates shot precision. Subsequently, we incorporated the Lightweight Bipod to substantially decrease idle weapon movement during aimed fire. This stabilization maintains consistent sight picture alignment as you acquire distant targets.
Finally, the Combat Stock enhances the sniper’s handling responsiveness through crucial improvements to ADS timing, though players should understand this weapon remains unsuitable for aggressive quickscoping tactics.
Despite its phenomenal one-shot elimination potential, the HDR requires pairing with a reliable close-to-mid-range secondary firearm. Following weapon selection, strategic Perk choices and Equipment selections must complement its operational strengths. To facilitate informed decision-making, here’s our comprehensive class configuration for the HDR:
Building the perfect HDR class extends beyond mere attachment selection—it demands holistic integration of perks, equipment, and secondary weapons that create synergistic combat effectiveness. The HDR excels as a long-range elimination tool, but its limitations in close quarters necessitate thoughtful complementary choices.

Recommended Perk Package:
- Perk 1: Double Time or E.O.D. for survivability
- Perk 2: Overkill (initially) then Ghost via loadout swap
- Perk 3: Amped for faster weapon switching
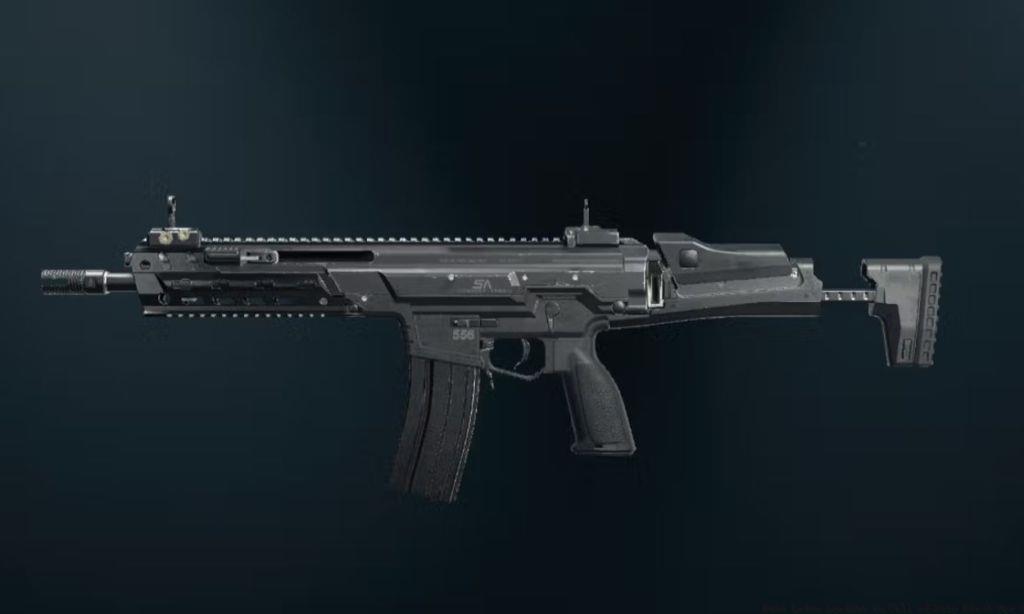
Secondary Weapon Strategy: Pair the HDR with a versatile assault rifle or SMG like the Kilo 141, which provides reliable performance in medium-range engagements where the sniper rifle becomes less effective. This weapon pairing strategy ensures you’re prepared for any combat scenario, from distant sniping to close-quarters confrontations.
Tactical Equipment: Heartbeat Sensor remains invaluable for situational awareness, while Smoke Grenades can provide crucial cover for repositioning.
For those seeking comprehensive guidance on weapon selection and progression, our BF6 Weapons Unlock Guide offers detailed insights into optimal firearm choices across different combat scenarios.
Mastering the HDR involves more than just accurate shooting—it requires understanding positioning, timing, and common pitfalls that separate average snipers from elite marksmen. Implementing these advanced strategies will significantly enhance your effectiveness with this powerful weapon system.
Positioning Fundamentals: Always seek elevated positions with clear sightlines and multiple escape routes. Avoid predictable sniper nests that experienced players routinely check. Instead, rotate between 2-3 positions within the same area to maintain element of surprise.
Common Errors to Avoid:
- Overexposure: Remaining in one position too long invites flanking maneuvers
- Poor Secondary Choice: Selecting another long-range weapon leaves you vulnerable in close quarters
- Ignoring Bullet Drop: Despite velocity enhancements, account for drop beyond 300 meters
- Slow Rotation: The HDR’s handling limitations mean you must anticipate enemy movement rather than react
Advanced Engagement Techniques: Lead moving targets by approximately 1.5 body widths at 200 meters. For stationary targets, aim slightly high to ensure headshot registration. When engaging armored opponents, prioritize upper torso shots to break plates efficiently before finishing with precision fire.
Understanding class mechanics and strategic selection is crucial for maximizing your combat effectiveness. Our BF6 Class Selection Guide provides comprehensive analysis of optimal class configurations for various playstyles and objectives.
Time Investment Expectations: Becoming proficient with the HDR typically requires 5-8 hours of focused practice to master its unique ballistics and handling characteristics. However, basic competency can be achieved within 2-3 hours for players familiar with sniper gameplay fundamentals.
For players seeking to expand their overall battlefield knowledge and tactical approach, the Battlefield 6 Complete Guide offers extensive strategic frameworks applicable across multiple combat scenarios.
Action Checklist
- Configure HDR with Monolithic Suppressor, Gain-Twist Barrel, Lightweight Bipod, and 108mm Overpressured Fire Mod
- Select complementary close-range secondary weapon (Kilo 141 recommended)
- Implement perk strategy: Double Time/E.O.D., Overkill→Ghost, Amped
- Practice leading moving targets and accounting for bullet drop at various ranges
- Develop positional rotation habits and avoid overstaying in single sniper perches
- Master loadout swap technique to acquire Ghost perk in-match
No reproduction without permission:Tsp Game Club » Best HDR Loadout in Call of Duty Warzone Master the HDR sniper rifle in Warzone with optimal attachments, strategies, and class setups for maximum effectiveness
