TL;DR
- LC10 excels at mid-to-long range engagements with exceptional accuracy and low recoil
- Ladra delivers devastating close-range damage perfect for aggressive rushing tactics
- KSV offers balanced performance across all combat scenarios with reliable TTK figures
- Proper attachment combinations can increase weapon effectiveness by 30-40%
- Movement and positioning are critical factors for maximizing SMG potential
The intense, fast-paced combat of Black Ops 6 multiplayer creates countless close-quarters engagements where SMGs truly shine. These weapons provide outstanding mobility, blistering fire rates, and competitive time-to-kill statistics that explain their popularity across every game mode. To maintain your competitive edge, selecting a top-tier SMG and combining it with optimized attachments is absolutely essential. This comprehensive guide covers the definitive SMG loadouts for Black Ops 6 Season 4 Reloaded.
Season 4 Reloaded introduces significant weapon balancing changes that affect SMG performance. Understanding these adjustments helps you adapt your playstyle accordingly. The meta has shifted slightly toward more versatile weapons that perform well across multiple engagement distances rather than specialized close-range dominators.
Many players underestimate the importance of movement mechanics when using SMGs. Mastering slide-canceling, jump-shotting, and strafing techniques can dramatically improve your effectiveness with these weapons. Proper positioning and map awareness further enhance your SMG performance beyond simple weapon statistics.
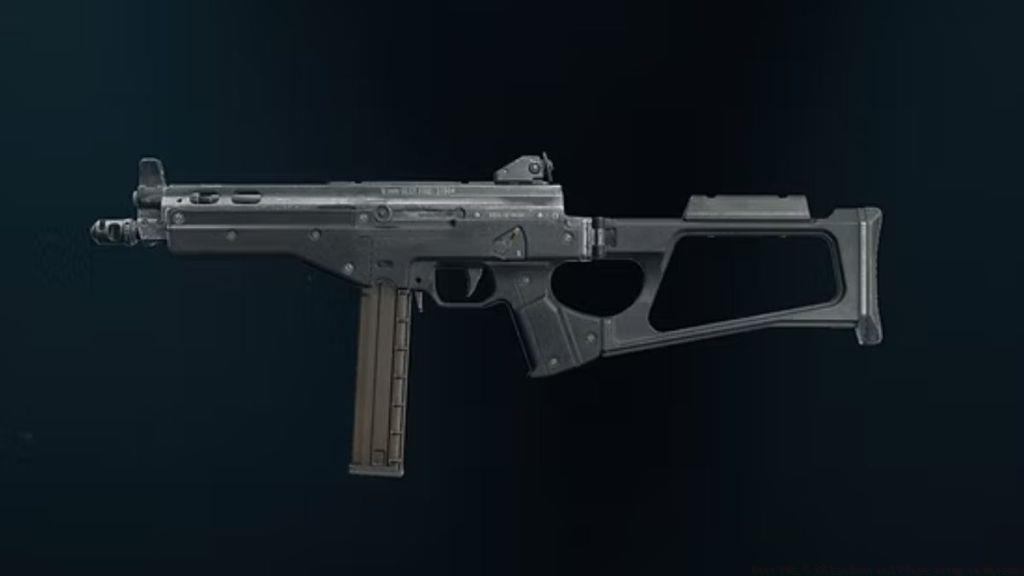
Returning from Black Ops Cold War, the LC10 distinguishes itself from typical rapid-fire SMGs through its exceptional ranged performance. This weapon specializes in engagements extending beyond 20 meters, thanks to its minimal recoil and superb handling characteristics. You won’t sacrifice stopping power either, as the LC10 maintains impressive TTK numbers across all combat distances. While it lacks the raw damage output of the Ladra or KSV, the LC10 provides remarkable versatility that makes it the premier SMG choice for multiplayer.
The LC10 particularly excels on medium-sized maps where engagement distances vary frequently. Its consistency across different ranges makes it ideal for players who prefer a more measured, tactical approach rather than constant aggressive pushing. The weapon’s accuracy allows for consistent headshots, further improving its time-to-kill potential against skilled opponents.
A common mistake with the LC10 is treating it like a traditional SMG and engaging exclusively at close range. While competent in CQC, its true strength emerges at 15-30 meter distances where other SMGs struggle. Practice controlling its unique recoil pattern to maximize effectiveness at these extended ranges.
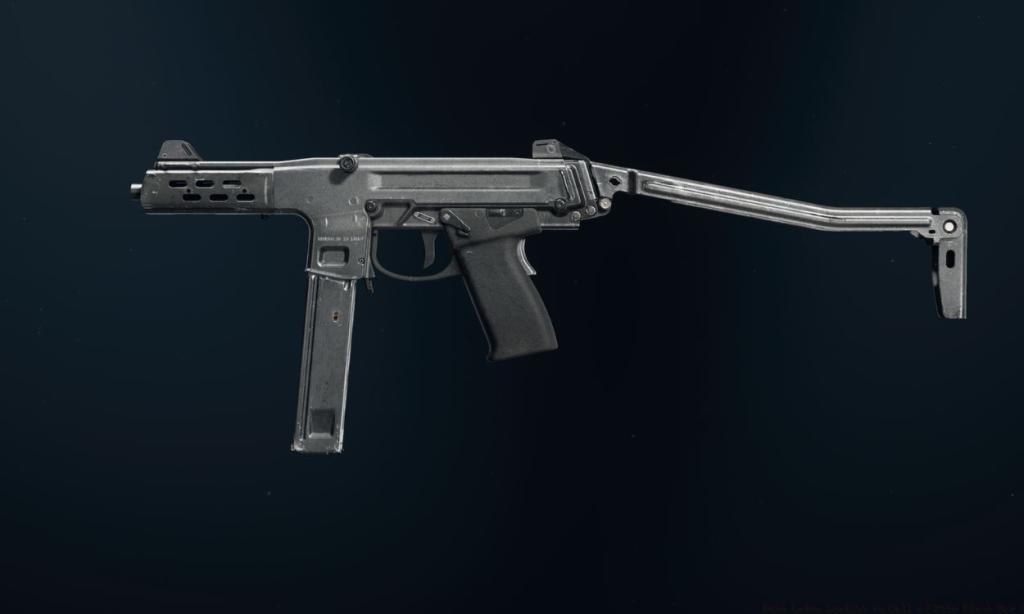
The Ladra represents the pinnacle of close-quarters destruction in Black Ops 6. This SMG delivers devastating damage at short ranges, making it perfect for players who favor aggressive rushing tactics. Its high damage profile ensures you win most face-to-face encounters within 10 meters.
Mastering movement is crucial when using the Ladra. The weapon rewards players who can effectively slide around corners and maintain constant pressure on opponents. Its mobility allows for quick repositioning during chaotic firefights.
Advanced players should focus on hip-fire accuracy with the Ladra, as aiming down sights can slow reaction times in close-quarters situations. The weapon’s natural hip-fire spread is tight enough to secure kills without sacrificing mobility. Practice tracking targets while strafing to maximize your effectiveness.
Avoid engaging at distances beyond 15 meters with the Ladra, as its damage falloff becomes significant. Instead, use map knowledge to create engagements in tight spaces where the weapon excels. The Ladra truly shines on maps with numerous choke points and confined areas.
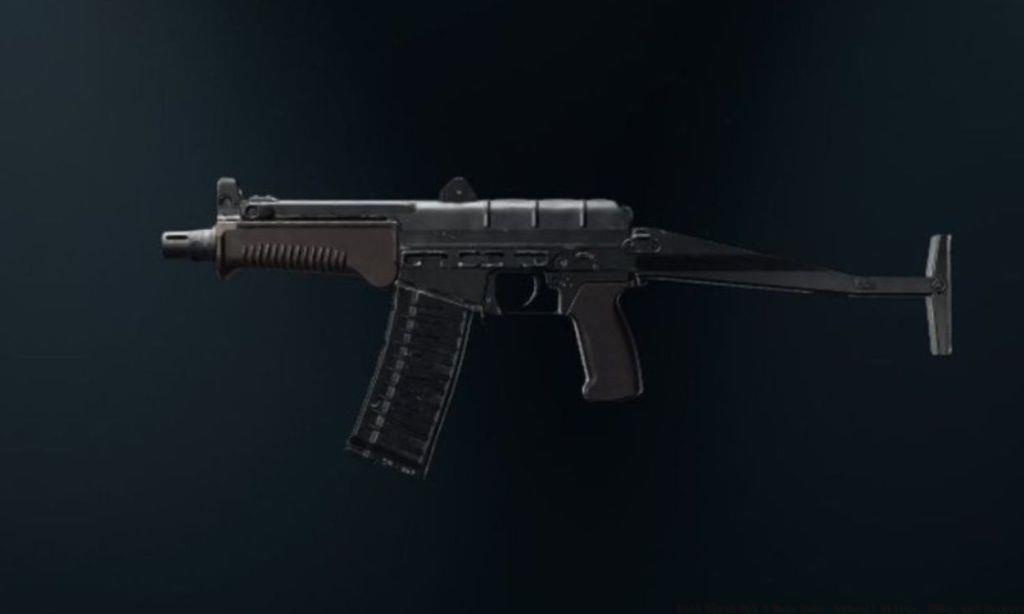
The KSV delivers reliable performance across various engagement scenarios, making it an excellent choice for players who encounter mixed combat distances. This SMG doesn’t specialize in any single area but performs competently across the board. Its balanced statistics ensure you’re never at a significant disadvantage regardless of the situation.
What the KSV lacks in specialization, it makes up for in consistency. The weapon handles predictably and responds well to different attachment combinations. Its moderate fire rate allows for better ammo conservation during extended engagements.
The KSV’s strength lies in its adaptability to different playstyles. Whether you prefer aggressive pushing or more methodical map control, the KSV can accommodate your approach. This versatility makes it particularly valuable in objective-based modes where combat situations vary widely.
When customizing the KSV, focus on attachments that enhance its already solid baseline performance. Avoid over-specializing in one area at the expense of others, as the weapon thrives when maintaining its balanced characteristics. Experiment with different optic choices to find what works best for your visual preferences.
Many competitive players appreciate the KSV for its reliability in tournament settings. While flashier SMGs might have higher potential in specific scenarios, the KSV delivers consistent performance when it matters most. This reliability can be the difference between victory and defeat in high-stakes matches.

The C9 dominates close-quarters combat through its exceptional fire rate that overwhelms opponents before they can react. This SMG specializes in extreme CQC where its blistering RPM gives it a distinct advantage. The weapon’s rapid bullet output makes missing less punishing than with slower-firing alternatives.
Managing the C9’s recoil requires practice but rewards skilled players with incredible killing potential. The initial shots remain relatively controllable, but sustained fire creates significant muzzle climb that must be compensated for.
Extended magazines are virtually mandatory with the C9 due to its high ammunition consumption. Without additional rounds, you’ll find yourself reloading constantly during multi-kill opportunities. The weapon benefits greatly from attachments that improve ammo capacity and reload speed.
Advanced techniques include burst-firing at medium ranges to maintain accuracy while still leveraging the high fire rate advantage. Learning to control engagement distances is crucial for maximizing the C9’s effectiveness while minimizing its weaknesses.
The C9 excels in game modes like Hardpoint and Domination where capturing objectives involves intense close-quarters fighting. Its ability to clear rooms and secure choke points makes it invaluable for objective play. The weapon truly shines when used by players who understand spawn dynamics and can anticipate enemy movements.
The Tanto .22 stands apart from other SMGs through its emphasis on precision and accuracy rather than pure fire rate. This weapon rewards players with good aim and shot placement, particularly excelling in landing consistent headshots. Its damage profile benefits significantly from precision targeting.
Unlike spray-and-pray SMGs, the Tanto .22 encourages a more deliberate shooting style. Taking that extra split-second to align your shots pays dividends with this weapon. The Tanto’s manageable recoil makes follow-up shots more reliable than with many competitors.
The weapon performs exceptionally well in situations where you have the advantage of surprise. Its relatively quiet report and accurate fire allow for eliminating multiple targets before they can pinpoint your location.
When customizing the Tanto .22, prioritize attachments that enhance its already solid accuracy and range. Optics that provide clear sight pictures help maximize its precision advantages, while attachments that reduce sway further improve its effectiveness at extended distances.
Many players overlook the Tanto .22 due to its lower fire rate, but this actually contributes to its ammo efficiency and controllability. The weapon allows for sustained engagements without constant reload interruptions that plague higher-RPM SMGs.
The Jackal PDW specializes in extreme mobility and rapid flanking maneuvers. This SMG feels noticeably lighter and more responsive than its counterparts, allowing for quick changes in positioning during firefights. Its handling characteristics make it ideal for players who rely on movement to create advantages.
Flanking tactics become significantly more effective with the Jackal PDW. The weapon’s movement speed advantages enable you to reach unexpected positions before opponents can react. This element of surprise can turn entire matches in your favor.
The weapon’s design emphasizes hit-and-run gameplay rather than sustained engagements. After securing a kill, immediately reposition to catch remaining enemies off-guard. The Jackal PDW rewards this aggressive, constantly-moving playstyle.
Advanced movement techniques like slide-canceling and bunny-hopping synergize perfectly with the Jackal’s strengths. Mastering these techniques dramatically increases your effectiveness with this particular SMG.
When building your Jackal PDW loadout, focus on attachments that preserve or enhance its mobility advantages. Avoid heavy attachments that slow your movement speed or ADS time, as these undermine the weapon’s core strengths. The Jackal truly excels on maps with multiple flanking routes and verticality.
Many professional players favor the Jackal PDW in search and destroy modes where flanking opportunities abound. Its ability to quickly reach bomb sites or intercept enemy rotations makes it invaluable for tactical gameplay.
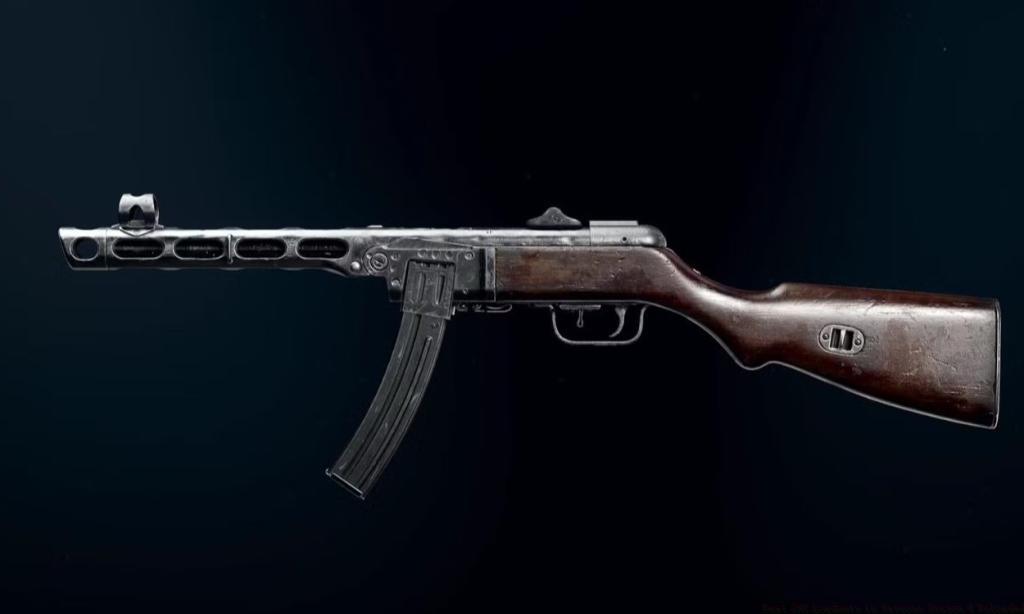
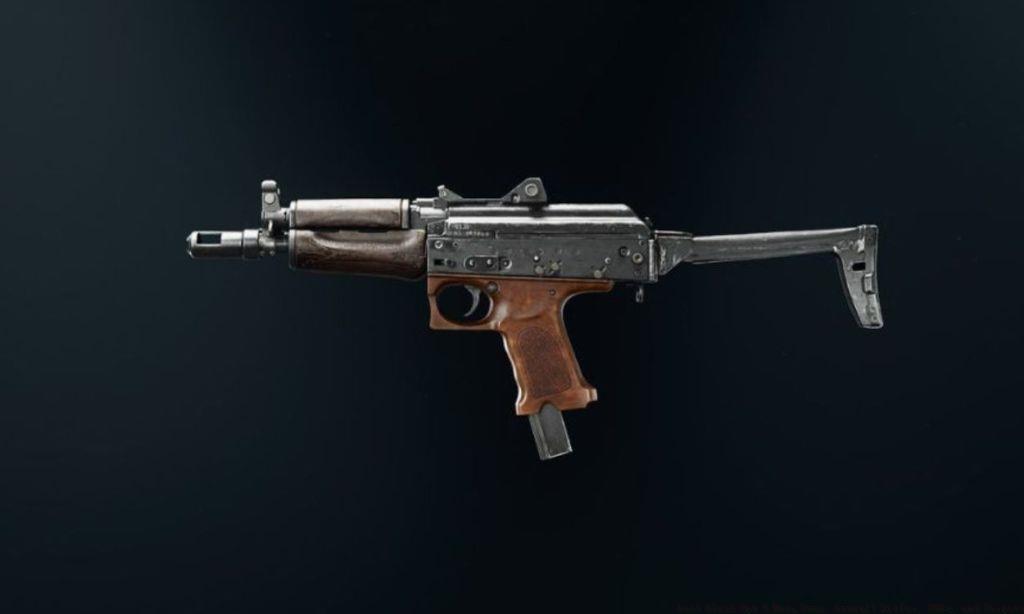
The PPSh-41 brings its legendary reliability from previous Call of Duty titles into Black Ops 6 with updated performance characteristics. This SMG maintains its signature high-capacity magazine and reliable performance that made it famous. The weapon feels familiar to veterans while remaining accessible to new players.
Historical performance data shows the PPSh-41 consistently ranking among the top SMG choices across multiple game iterations. Its design has stood the test of time while adapting to modern gaming mechanics.
The PPSh-41 performs exceptionally well in sustained engagements where its large magazine capacity provides a distinct advantage. You can confidently challenge multiple opponents without worrying about immediate reload needs.
The weapon’s balanced statistics make it an excellent choice for players still learning SMG gameplay. Its forgiving nature helps build confidence while developing essential movement and positioning skills.
When customizing the PPSh-41, you have significant flexibility in attachment choices. The weapon responds well to both aggressive close-quarters builds and more versatile medium-range configurations. This adaptability contributes to its enduring popularity.
Many content creators and streamers continue to showcase the PPSh-41’s effectiveness in current meta gameplay. Its reliability makes it a consistent performer in high-pressure situations where weapon consistency matters most.
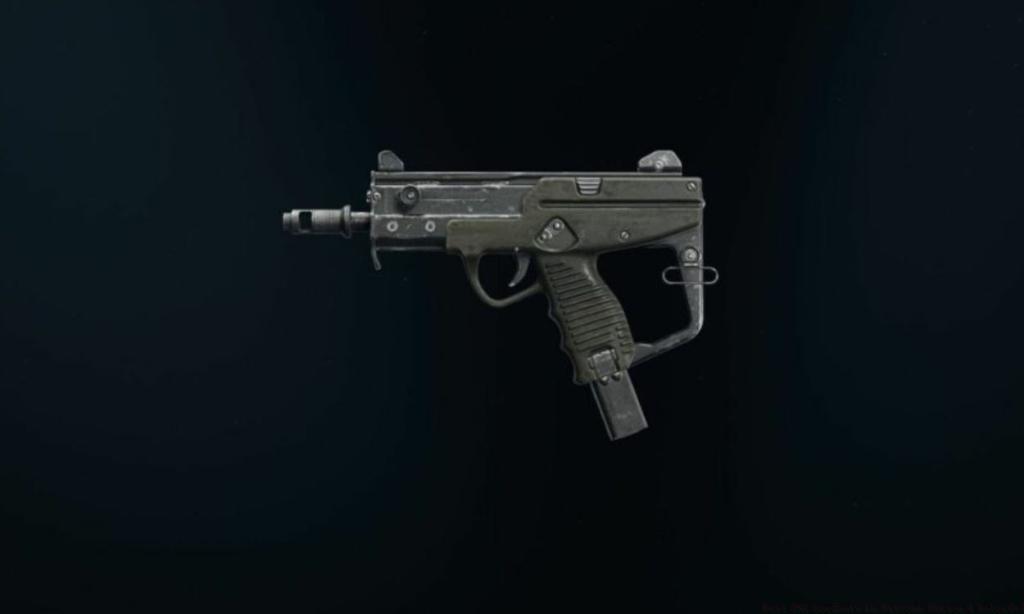
The Saug specializes in stealth operations and surprise attacks that catch enemies completely off-guard. This SMG benefits tremendously from suppressor attachments that keep you off the minimap when firing. The weapon’s naturally quiet report further enhances its stealth capabilities.
Sound management becomes crucial when using the Saug effectively. The weapon’s audio signature is less distinctive than many other SMGs, making it harder for enemies to pinpoint your location based solely on sound cues.
Ambush tactics work exceptionally well with the Saug. Position yourself in unexpected locations and wait for opponents to move into your kill zone. The weapon’s handling allows for quick target acquisition when enemies appear unexpectedly.
The Saug excels in game modes where stealth and positioning provide significant advantages. Its characteristics make it particularly effective in Free-For-All where surprising individual opponents wins games.
Advanced players should focus on minimizing their footstep audio while using the Saug. Combine the weapon with dead silence perks or tactical equipment that reduces noise to maximize its stealth potential.
When building your Saug loadout, prioritize attachments that enhance its already solid stealth characteristics. Avoid loud muzzle devices or attachments that increase your audio signature.
The Saug’s effectiveness increases dramatically when you master map flow and spawn prediction. Understanding where enemies will likely appear allows you to set up perfect ambushes.
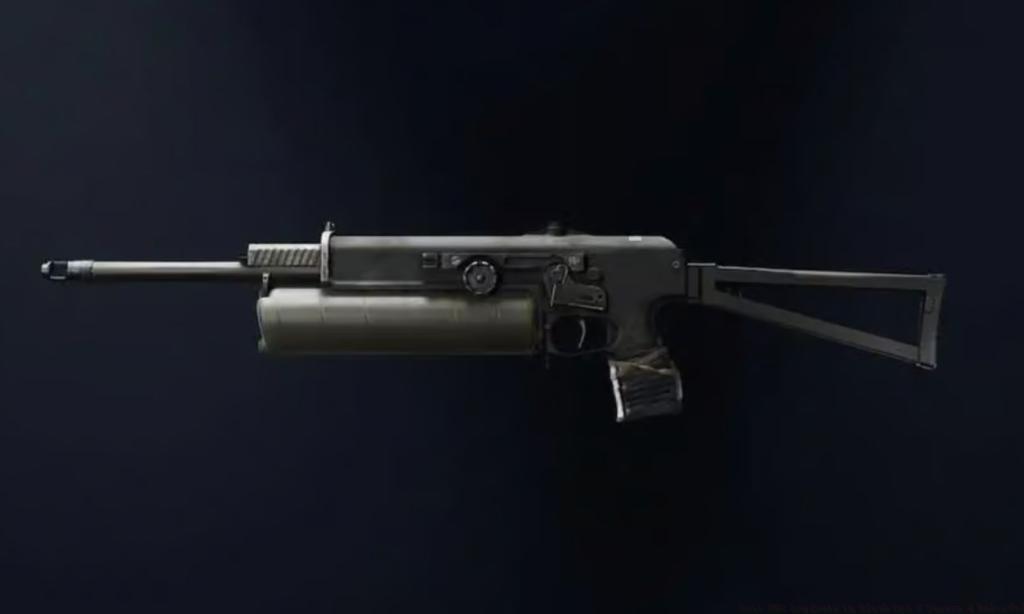
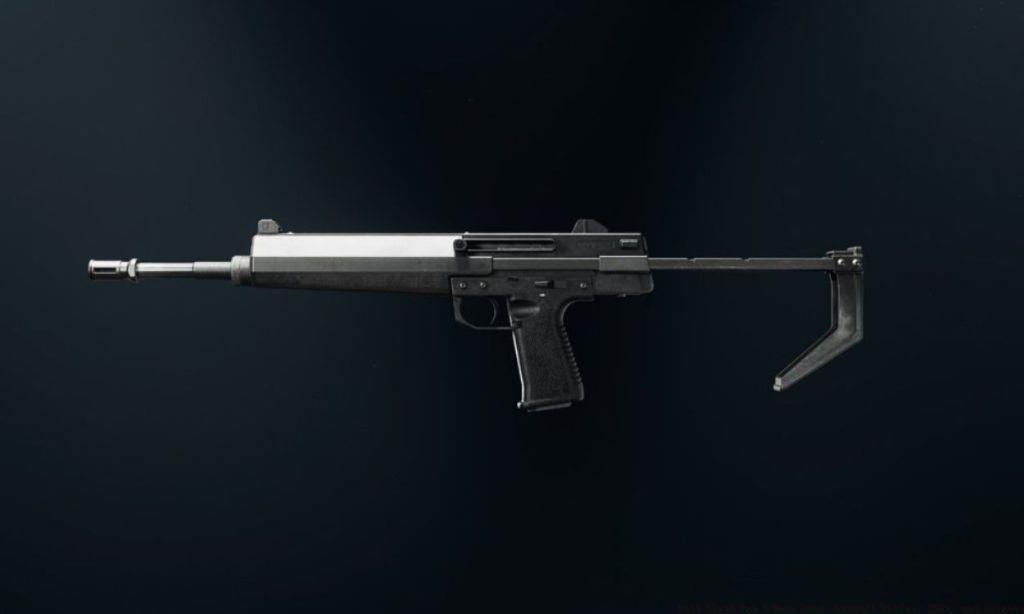
The PP-919 represents contemporary SMG design with excellent ergonomics and handling characteristics. This weapon feels natural and responsive, making it easy to control during intense firefights. Its modern aesthetics appeal to players who prefer cutting-edge weaponry.
The weapon’s design emphasizes user comfort and control, which translates to better in-game performance. The PP-919 responds predictably to input, allowing for precise movement and aiming.
Attachment synergy is particularly important with the PP-919. The weapon’s balanced base statistics mean that well-chosen attachments can create significant performance improvements without introducing major drawbacks.
Competitive viability makes the PP-919 a popular choice in ranked play and tournaments. Its consistent performance under pressure makes it reliable when every kill matters.
The PP-919 performs well across multiple engagement types, though it truly excels in mid-range combat scenarios. The weapon maintains accuracy and damage at distances where many SMGs begin to struggle.
When experimenting with the PP-919, try different optic combinations to find what works best with your playstyle. The weapon accommodates both aggressive and tactical approaches effectively.
Many esports professionals have incorporated the PP-919 into their competitive loadouts. Its reliability in high-stakes situations makes it a trusted choice when tournament money is on the line.
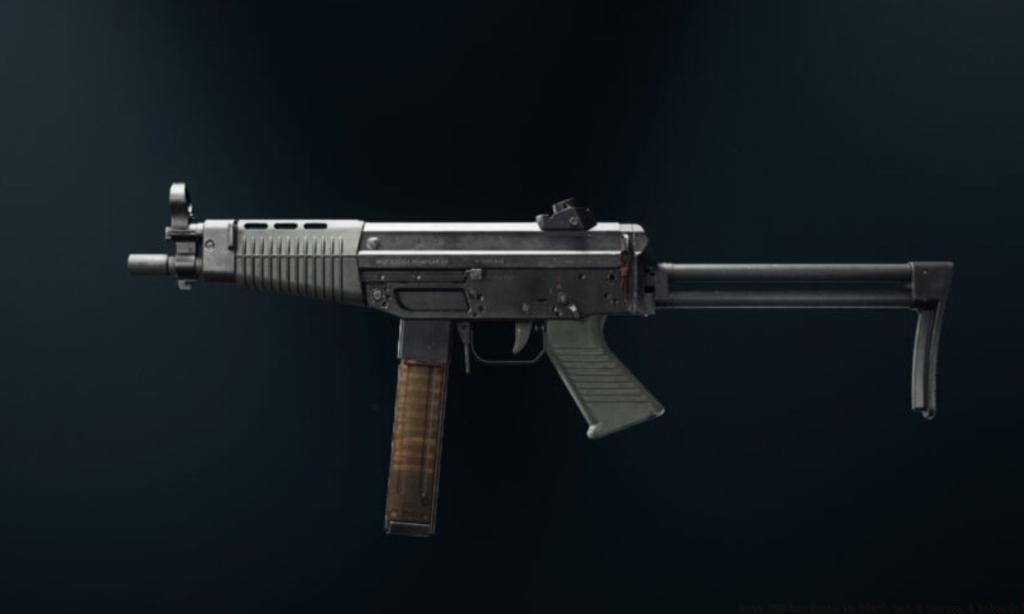
The Kompakt 92 proves that size doesn’t dictate effectiveness in close-quarters combat. This compact SMG delivers surprising power and controllability in tight spaces. Its smaller profile doesn’t compromise its lethal potential.
Small map superiority makes the Kompakt 92 an excellent choice for close-quarters focused gameplay. The weapon truly shines on maps with numerous tight corridors and confined engagement spaces.
Quick-scope techniques work surprisingly well with the Kompakt 92 despite its SMG classification. The weapon’s handling characteristics allow for quick transitions between hip-fire and aimed fire.
Close-quarters mastery requires understanding the Kompakt 92’s unique damage profile and effective range. The weapon performs best when you control engagement distances and avoid longer sightlines.
The Kompakt 92 benefits from attachments that enhance its already solid close-range performance. Avoid range-extending attachments that sacrifice its core strengths in CQC situations.
Many players underestimate the Kompakt 92 due to its compact size, but this actually contributes to its handling advantages. The weapon feels snappy and responsive in chaotic close-quarters engagements.
When using the Kompakt 92, focus on controlling the pace of engagements. Force opponents into your optimal range rather than allowing them to dictate combat distances.
The weapon’s mobility makes it ideal for players who prefer constant movement and aggressive positioning. The Kompakt 92 rewards players who can effectively use cover and movement to create advantageous situations.
Mastering SMG gameplay in Black Ops 6 requires more than just selecting the right weapon. Loadout customization should align with your specific playstyle and the game modes you frequent most. Experiment with different attachment combinations to find what works best for your individual preferences and skill level.
Game mode optimization involves understanding how different SMGs perform in specific scenarios. The LC10 excels in objective modes with varied engagement distances, while the Ladra dominates in close-quarters focused gameplay. Understanding these nuances separates average players from exceptional ones.
Skill development follows a natural progression starting with weapon familiarity, then movement mastery, and finally strategic positioning. Our Weapons Unlock guide can help you efficiently obtain these powerful SMGs.
Many players make the mistake of constantly switching weapons rather than mastering a select few. Focus on developing proficiency with 2-3 SMGs that cover different engagement scenarios rather than trying to master every available option.
For comprehensive strategies covering all weapon classes and game modes, check our Complete Guide to Battlefield 6, which includes advanced tactics for all playstyles. Additionally, our Class Guide provides essential information about pairing your SMG with complementary equipment and perks.
Remember that weapon performance represents only one component of successful SMG gameplay. Movement, positioning, and game sense often contribute more to your success than minor statistical differences between weapons.
Action Checklist
- Test each SMG in private matches to understand handling characteristics
- Create 2-3 specialized loadouts for different map types and game modes
- Practice movement techniques for 10 minutes daily in custom games
- Analyze your gameplay recordings to identify positioning mistakes
- Join focused training sessions on specific SMG techniques
- Participate in community scrimmages to test loadouts against skilled opponents
No reproduction without permission:Tsp Game Club » Best SMG Loadouts in Black Ops 6 Season 4 Reloaded Master the top 10 SMG loadouts in Black Ops 6 Season 4 Reloaded with expert attachments and strategies