Comprehensive team strategies and optimization tips for conquering Honkai Star Rail Apocalyptic Shadow 3.4 Ichor Beast
Understanding Apocalyptic Shadow 3.4 Challenges
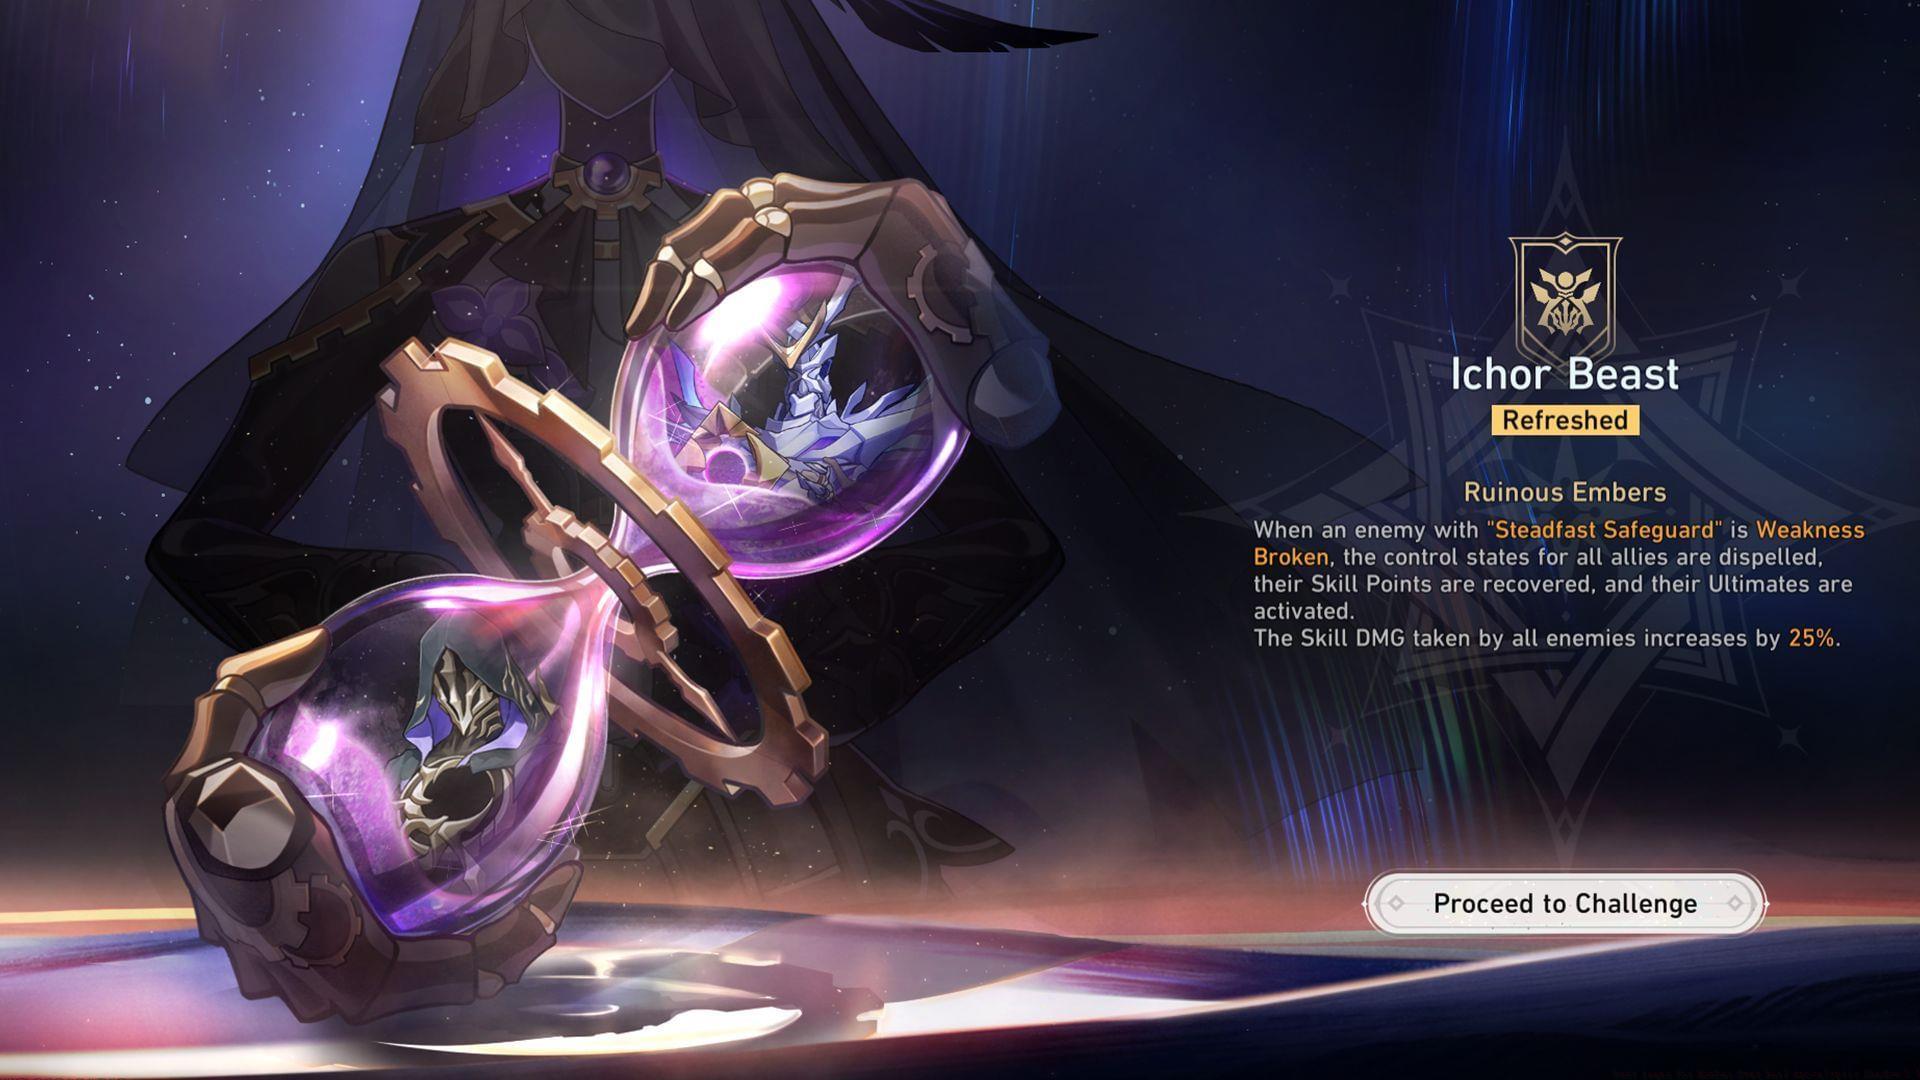
The latest iteration of Honkai Star Rail’s Apocalyptic Shadow mode introduces significant strategic depth with the “Ichor Beast” update. This challenging endgame content features two distinct boss encounters that demand carefully crafted team compositions and tactical execution.
Flame Reaver of Doomsday Led Astray presents unique mechanics with vessel summoning capabilities, while Starbane Doombringer Boss requires precise targeting of its appendages. Understanding these enemy behaviors forms the foundation for successful team building and combat execution.
This comprehensive guide provides detailed team recommendations, strategic insights, and practical execution tips to help players overcome both nodes efficiently while maximizing their scoring potential in this challenging game mode.
Comprehensive Buff Analysis and Synergy
Mastering the available buffs is essential for optimizing your team performance in Apocalyptic Shadow 3.4. Each buff provides distinct advantages that can dramatically enhance specific playstyles and character combinations.
Position-Based Buffs: The Bold Leader enhancement provides massive 60% damage amplification for your lead position character while generating valuable skill points. This buff excels with hyper-carry compositions where one character delivers the majority of your team’s damage output.
HP-Consumption Synergy: No Turning Back offers substantial damage boosts following health expenditure, making it ideal for characters with self-damage mechanics or teams utilizing sacrifice strategies for offensive gains.
DoT Specialization: Tarsus Infection transforms damage-over-time teams into energy-generating powerhouses while providing significant resistance penetration. This combination enables rapid ultimate cycling and enhanced damage application.
Skill Enhancement: Teaching and Learning Go Banana in Peel delivers straightforward 50% skill and ultimate damage amplification, benefiting teams with powerful active abilities and burst damage potential.
Break Effect Focus: Hunter’s Stride rewards weakness breaking with action advancement, enabling tempo control and additional turns for breaking-focused compositions.
Follow-up Attack Support: Turn of Luck enhances follow-up attacks with resistance ignore and partial weakness break capability, creating unique strategic opportunities against resistant enemies.
Node 1: Flame Reaver Team Compositions
The first node presents the Flame Reaver encounter, which demands efficient area-of-effect damage and target prioritization to handle summoned vessels while maintaining pressure on the primary target.
Castorice Hyper-Carry: Castorice emerges as a premier choice for this encounter, leveraging her quantum AoE capabilities and Memosprite summons to efficiently clear summoned vessels while damaging the main target. Position her with No Turning Back to maximize her damage output following HP consumption mechanics.
Optimal Support Trio: Tribbie, Remembrance Trailblazer, and Hyacine form her ideal support core, providing comprehensive buff coverage and sustainability. For players missing these units, Ruan Mei offers excellent alternative support, while Luocha or Gallagher provide reliable sustain options.
Phainon Aggressive Composition: The newly released Phainon delivers exceptional performance with Sunday, Bronya, and Cipher supporting his transformative ultimate gameplay. His self-sustain capabilities enable sustain-less team variations, though Huohuo provides valuable backup healing if needed. Utilize Bold Leader to amplify his position-based damage potential.
DoT Specialist Teams: Kafka and Black Swan dominate with Tarsus Infection, creating relentless damage-over-time pressure while maintaining excellent energy regeneration. Tribbie’s resistance penetration dramatically enhances their damage output, though Ruan Mei serves as an effective alternative support option.
Execution Priority: Focus on eliminating summoned vessels immediately while maintaining damage on the Flame Reaver. Proper skill point management ensures consistent ability usage during critical phases of the encounter.
Node 2: Doomsday Beast Team Strategies
The second node features the formidable Doomsday Beast with physical weakness and complex appendage mechanics that require precise targeting and burst damage timing.
Phainon Physical Specialist: Phainon’s physical damage alignment makes him exceptionally effective against this enemy. The strategic approach involves eliminating the left and right appendages before triggering his Khaslana transformation, enabling consecutive focused attacks on the main body.
Support Configuration: Sunday and Bronya provide exceptional action advancement and damage amplification, while Cipher adds valuable debuff support. Sustainability options include Gallagher or Huohuo for players requiring additional healing coverage. Teaching and Learning Go Banana in Peel maximizes skill and ultimate damage output.
The Herta Ice Advantage: Leveraging the enemy’s ice weakness, The Herta delivers tremendous AoE damage through enhanced skills and ultimate abilities. Her capability to quickly eliminate appendages makes her particularly valuable for managing the encounter’s mechanics.
Essential Team Members: Anaxa serves as crucial sub-DPS in Herta compositions, while Tribbie or Ruan Mei provide support amplification. Lingsha or Gallagher handle sustainability requirements, with Teaching and Learning Go Banana in Peel again providing optimal damage enhancement.
Follow-up Attack Teams: Feixiao compositions excel with Turn of Luck, utilizing Topaz and Aventurine for supplementary damage and sustain. Robin’s action advancement accelerates Feixiao’s stack accumulation, though March 7th (Hunt) offers viable alternative coverage.
Advanced Execution: Time your burst phases to coincide with appendage respawns, and maintain awareness of the boss’s attack patterns to minimize unnecessary damage intake during critical execution windows.
Advanced Tactics and Common Pitfalls
Beyond basic team composition, several advanced strategies and awareness of common mistakes can significantly improve your Apocalyptic Shadow 3.4 performance and consistency.
Optimization Priorities: Always match your buff selection to your team’s primary damage mechanics rather than defaulting to general-purpose options. Position your main damage dealer according to buff requirements—specifically ensuring your hyper-carry occupies the first slot when utilizing Bold Leader.
Gear Requirements: Ensure your primary damage dealers have appropriate critical stats and damage amplification through relic sets and light cones. Support characters should prioritize energy regeneration and effect resistance to maintain consistent buff application and survival.
Common Execution Errors: Many players fail to properly manage skill point economy during critical phases, resulting in inability to execute essential abilities. Others mis-time their ultimate usages, wasting valuable damage windows or transformation opportunities.
Targeting Mistakes: Neglecting summoned vessels or appendages in favor of focusing solely on the main target often leads to overwhelmed situations and unnecessary damage intake. Proper target cycling maintains control of the battlefield.
Advanced Tech: Learn to pre-position your team’s ultimate gauges before major phase transitions, and practice animation canceling techniques to optimize your damage-per-second output during limited windows of opportunity.
Team Flexibility: Don’t hesitate to experiment with alternative compositions if your primary teams underperform. Sometimes unconventional pairings can overcome specific challenges more effectively than meta compositions.
No reproduction without permission:Tsp Game Club » Best teams for Honkai Star Rail Apocalyptic Shadow 3.4 Comprehensive team strategies and optimization tips for conquering Honkai Star Rail Apocalyptic Shadow 3.4 Ichor Beast