Complete walkthrough for Ghost of Yotei’s pivotal story quest with strategic combat tips and puzzle solutions
Quest Overview and Activation
The Poison and Lies mission represents a critical narrative turning point in Ghost of Yotei, where protagonist Atsu’s investigation into the Kitsune reaches its dramatic climax. This segment delivers profound character revelations that reshape players’ understanding of the entire storyline.
This comprehensive guide provides detailed navigation through every challenge within the Poison and Lies questline, ensuring players can fully experience its rich narrative depth.
Prerequisite completion of The Way of the Shamisen is mandatory before accessing this quest chain.
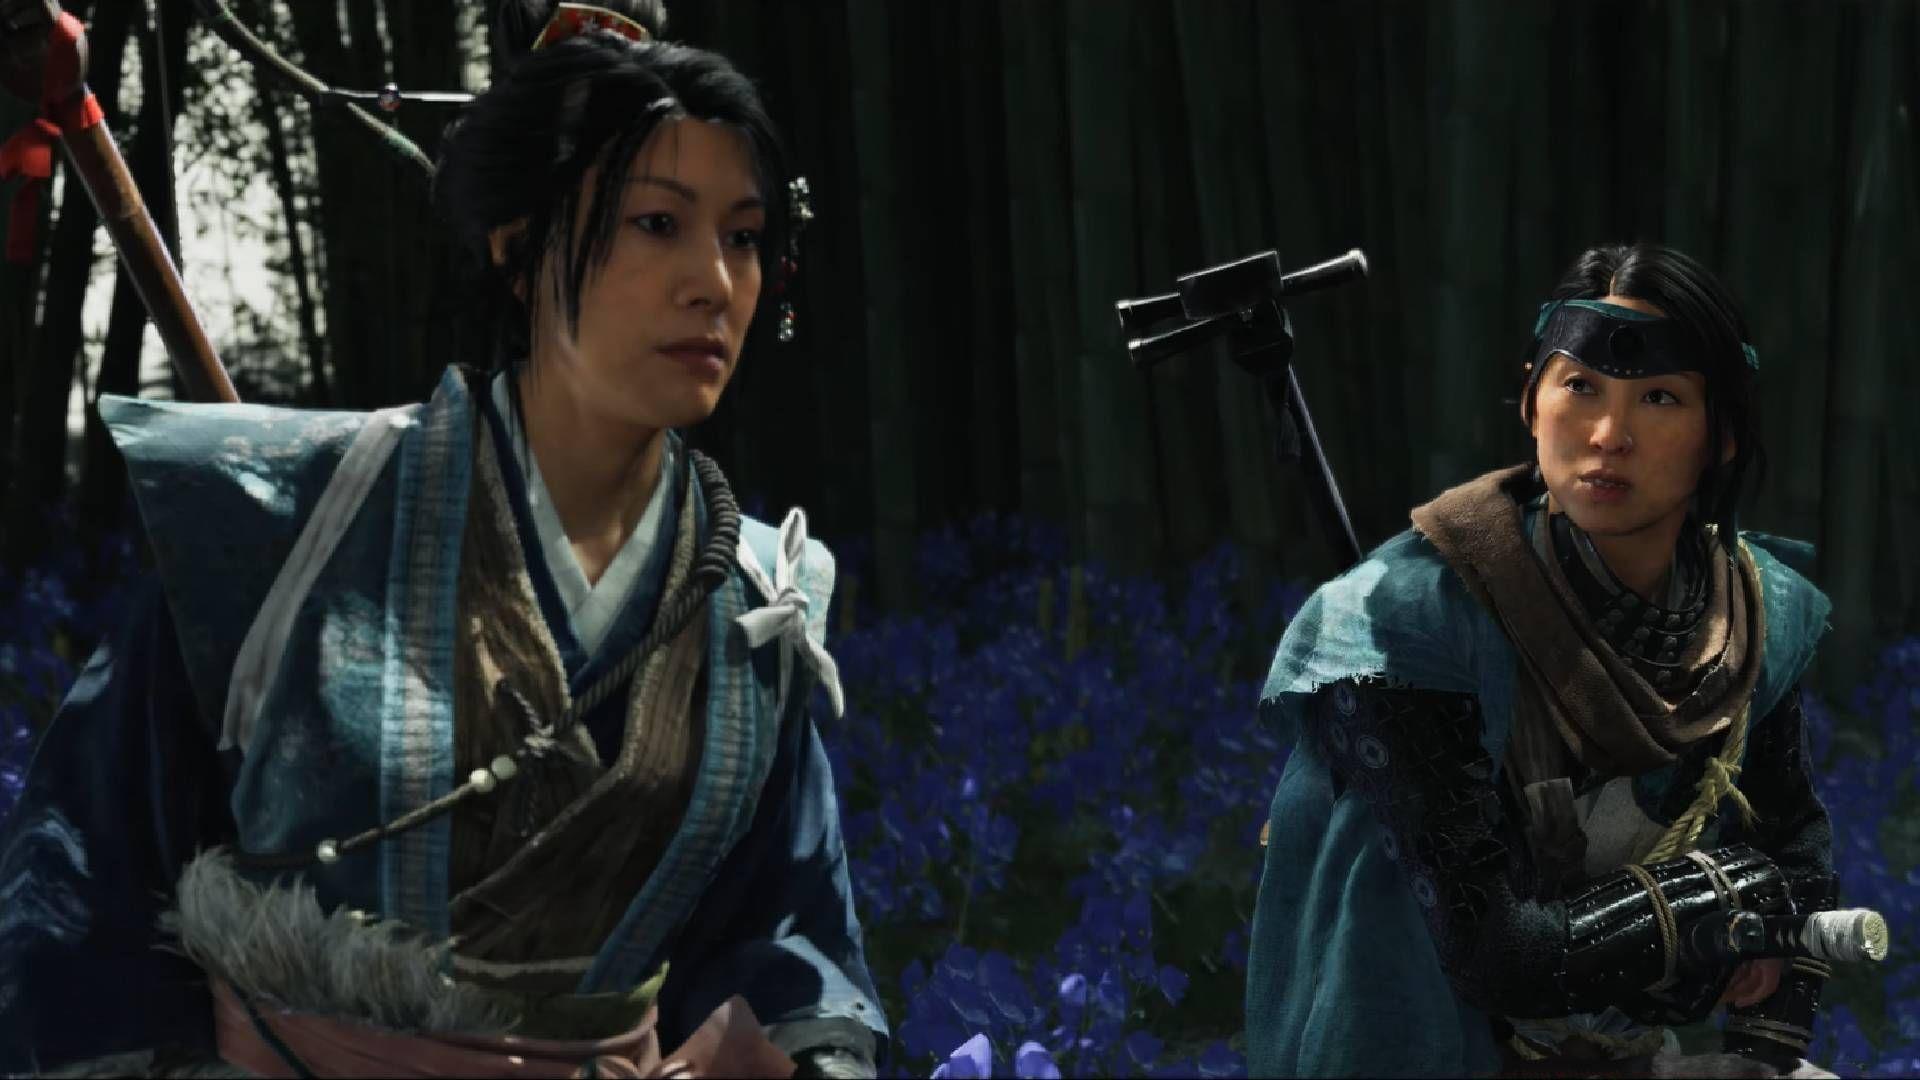
After identifying the Kitsune’s toxin ingredient collection zone, locate Oyuki positioned on the northern perimeter of the Red Crane Inn. She’ll be conducting surveillance on the Matsumae encampment from an elevated vantage point. Initiate conversation with her to formally commence the Poison and Lies narrative sequence.
Initial Puzzles and Exploration
Following introductory dialogue, accompany Oyuki toward the Matsumae camp perimeter. When reaching the bamboo barrier, she’ll create a distraction allowing Atsu to exploit a structural gap. Proceed along the trail until encountering a tree featuring three fox effigies with an empty pedestal base.
This environmental puzzle requires specific lantern activation sequences. Locate three additional fox statues nearby – two reclining and one gazing upward. Execute these precise steps:
Pro Tip: Ensure all lantern flames are consistently burning – extinguished flames will reset puzzle progress. The solution creates audible confirmation when correctly executed.
Upon resolution, Oyuki notes pedestal transformation. Examine it using R2 to trigger a cinematic showing Atsu inserting the Kitsune puzzle box, unlocking forest progression. Advance to a wooden bridge area.
Eliminate three Nine Tails ambushers, then address the rotating statue conundrum. Three fox figures on pedestals require specific orientations:
Common Mistake: Players often misinterpret “away” direction – it references movement away from the bridge, not character perspective.
Progress carefully along the revealed route to discover a larger fox statue. Oyuki warns of entrance traps requiring circumvention.
Advanced Challenges and Boss Preparation
Observe Oyuki’s trap navigation route for safe passage. Reach an area containing a lantern-holding fox statue where Atsu discusses post-Kitsune plans with Oyuki, who suggests musical collaboration during future travels.
Dialogue choices presented include:
Strategic Note: These selections influence character rapport but don’t alter quest progression outcomes.
Accompany Oyuki to a substantial door flanked by dual blue lanterns, featuring four fox statues (two stone-based, two wooden-based). Execute this statue exchange sequence:
This interchange mechanism unlocks the door, revealing an extensive cavern system.
Traverse the cave until blocked by a bamboo gate. Utilize grappling ropes for access to subsequent forest sections. Encounter additional Nine Tails ambushes – eliminate all hostiles thoroughly.
At the next bamboo barrier, interact with adjacent fox statue for access. Confront more pit traps, with Atsu now leading navigation. Execute this bypass pattern:
Enter the small cave, cross the damaged wooden bridge, and approach another blue-lantern gate. Rather than solving puzzles, boost Oyuki to the right ledge using R2, then accept her assistance for ascent.
Sever bamboo thickets to reveal a narrow rock passage. Squeeze through using R2, then clear additional vegetation to discover the Kitsune’s toxin cultivation site.
Employ your spyglass for area analysis, following the guidance circle. Press R2 for detailed inspection, eventually spotting the distantly positioned Kitsune.
Kitsune Boss Battle Strategy
Prepare for intense combat by descending the rocky incline. Assist the Matsumae Clan against shinobi adversaries, systematically eliminating Nine Tails fighters. Advance along the fiery pathway to the structure where the Kitsune previously appeared.
Enter the burning building to trigger a cinematic where the Kitsune recognizes Atsu and questions her pursuit. Atsu confronts him about her family’s tragedy, initiating the climactic duel.
Combat Strategy: The Kitsune employs diverse lethal techniques, most notably rapid kusarigama sweeps that can overwhelm unprepared players. Immediately assume defensive posture by holding L1 when combat initiates.
Advanced Technique: Time your dodges to occur just after his attack animations begin rather than preemptively. This maximizes counterattack windows following his recovery frames.
Maintain medium distance to better react to his assault patterns. Execute this combat loop: block incoming strikes, evade when overwhelmed, then capitalize during his vulnerability periods.
Critical Warning: The Kitsune’s poison mechanics gradually impair Atsu’s vision and responsiveness. If visual distortion occurs, immediately create distance and focus exclusively on evasion until effects diminish.
Persist with this methodology until health depletion triggers the next narrative sequence.
Story Revelations and Quest Conclusion
A cutscene reveals Atsu experiencing debilitating visions and collapsing from covert poisoning. As the Kitsune prepares the final strike, Oyuki intervenes, disarming him.
Atsu hallucinates traumatic memories of her family’s assault by the Yotei Six, then regains consciousness with Oyuki’s support. Learning the Kitsune has escaped, she recalls his enigmatic words: “Anyone can wear a mask. Did you think I was the first Kitsune? If only you knew the truth.“
In her impaired vision, Atsu perceives Oyuki as the white-masked Kitsune and revisits the ginkgo tree inferno where her mother perished. The revelation emerges that the Kitsune defied Lord Saito’s orders to spare Atsu.
During the campfire conversation, Atsu confronts Oyuki: “You fight like a Shinobi. Carry the antidote to their poison. And your voice. How could I forget your voice?“
This confirms Oyuki was the Kitsune present during Atsu’s family tragedy, though she maintains her protective intentions. Before departure, Oyuki leaves a meeting instructions, concluding the Poison and Lies narrative arc.
Post-Quest Insight: This revelation fundamentally recontextualizes player understanding of character motivations and sets up significant narrative developments in subsequent questlines.
No reproduction without permission:Tsp Game Club » Ghost of Yotei walkthrough: How to complete Poison and Lies quest (The Kitsune) Complete walkthrough for Ghost of Yotei's pivotal story quest with strategic combat tips and puzzle solutions