TL;DR
- The Fairy Part 2 update introduces 12 exclusive crafting recipes with varying resource requirements
- Essential starter tools include Fairy Net and Radar, while advanced items require significant Sheckles investment
- Crafting times range from 1 minute to 1 hour, requiring strategic planning for optimal progression
- Advanced players should focus on Fairy Jar farming and strategic tool combinations for maximum efficiency
- Common mistakes include poor resource allocation and underestimating crafting time requirements
The latest Fairy Part 2 expansion has dramatically enhanced Grow a Garden’s crafting ecosystem with a dedicated Fairy workshop and specialized crafting station. This update delivers an extensive collection of exclusive items unavailable through other gameplay methods. While the Fairy shop focuses on consumables like seed packs and eggs alongside cosmetic items, the crafting station provides all the essential tools and equipment needed to master the new fairy mechanics. From specialized nets for capturing elusive fairies to powerful wands that amplify their magical abilities, players now have unprecedented crafting opportunities. Let’s dive deep into mastering this new system and uncover all available recipes.
Located centrally within the event play area, the Fairy crafting table offers immediate access to all players without any prerequisite conditions. You can find this station positioned directly in front of the Fairy Godmother’s area, making it easily accessible whether you teleport using your Event Lantern or simply walk to the location. The accessibility ensures both new and experienced players can immediately engage with the new content.
The crafting station features twelve distinct recipes categorized into functional tools and cosmetic items. Understanding the progression path from basic to advanced crafting is crucial for efficient resource allocation. Beginners should prioritize the Fairy Net and Enchanted Seed Pack, while advanced players can target the powerful Fairy Summoner and Luminous Wand for end-game content.
| Item Image | Item Name | Ingredients | Crafting Time | Use |
|---|---|---|---|---|
 |
Fairy Net | 1x Sunbulb Seed 1x Strawberry Seed 1x Harvest Tool 100x Fairy Points |
1 minute | To catch a Fairy and get bonus Fairy Points |
 |
Fairy Radar | 1x Fairy Jar 1x Harvest Tool 1 Million Sheckles |
5 minutes | Harvest all Glimmering mutated plants within range |
 |
Fairy Targeter | 1x Fairy Jar 2x Bamboo 1 Million Sheckles |
7 minutes 30 seconds | Summons Fairies in your garden during the event to apply Glimmering mutation on plants |
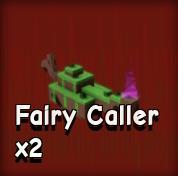 |
Fairy Caller | 1x Fairy Jar 1x Godly Sprinkler 2.5 Million Sheckles |
8 minutes | Summons a loose fairy on the map |
 |
Fairy Power Extender | 1x Fairy Jar 1x Fairy Caller 5 Million Sheckles |
10 minutes | Extends the duration of the next Fairy wave |
 |
Luminous Wand | 2x Fairy Jar 1x Fairy Power Extender 10 Million Sheckles |
15 minutes | Empowers the next Fairy to use Luminous instead of Glimmering |
 |
Fairy Summoner | 1x Fairy Jar 1x Fairy Net 1x Fairy Power Extender 15 Million Sheckles |
1 hour | Summons a fairy wave |
 |
Enchanted Chest | 1x Sunbulb 1x Enchanted Seed Pack 1x Enchanted Egg 6K Fairy Points |
30 minutes | Chance to get any one of: Emeral Bud Cardinal Pyracantha Shroomie Aetherfruit Phoenix |
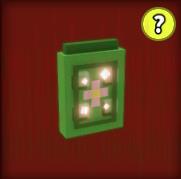 |
Enchanted Seed Pack | 3x Mushroom Seed 1.5K Fairy Points |
5 minutes | Chance to get any one of: Sunbulb Glowthorn Lightshoot Briar Rose Spirit Flower Wispwing |
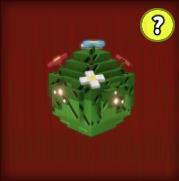 |
Enchanted Egg | 1x Glowthorn 1x Enchanted Seed Pack 3K Fairy Points |
10 minutes | Chance to get any one of: Ladybug Pixie Imp Glimmering Sprite Cockatrice |
 |
Enchanted Crate | 1x Enchanted Seed Pack 1K Fairy Points |
5 minutes | Chance to get any one of: Fairy Stand Fairy Chair Fairy Lamp Fairy Gate Mushroom Gnome Home Gnome Wagon Fairy Pond Fairy Mirror |
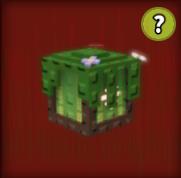 |
Glimmering Crate | 1x Enchanted Crate 1K Fairy Points |
5 minutes | Chance to get any one of: Fairy Purple Chair Elden Fairy Lamp Post Fairy Book Shelf Mushroom Table Mushroom Lamp Fairy Statue |
Pro Tip: Start with the Fairy Net as your first craft – it requires minimal resources and provides immediate Fairy Point returns that fuel subsequent crafting projects. The Enchanted Seed Pack offers excellent value for beginners looking to expand their plant collection without significant Sheckles investment.
Mastering the crafting interface is straightforward but requires understanding several key mechanics for optimal efficiency. As previously established, accessing the station requires no special conditions – simply navigate to the central event area where the crafting table awaits.
- Approach the crafting station and press the E key to initiate interaction with the interface.
- Browse the comprehensive recipe catalog displayed on-screen and select your desired item, then confirm with the green Craft button.
- Review the ingredient requirements carefully and locate these components within your inventory system.
- Physically hold each required ingredient and present it at the designated submission area of the station.
- After submitting all materials, pay the required Fairy Points or Sheckles cost to activate the crafting timer.
- Monitor the progress indicator and claim your completed item once the timer concludes.
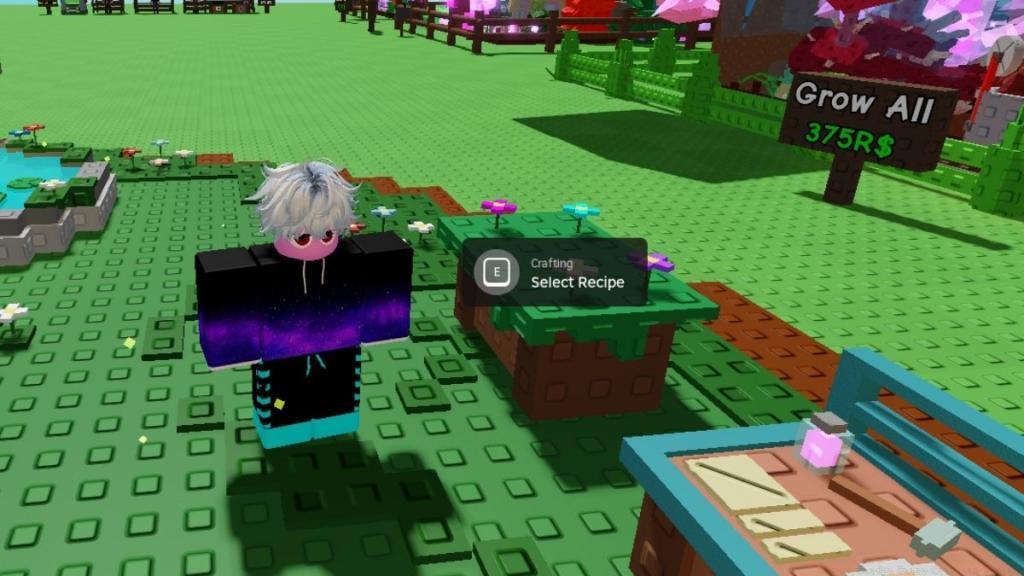
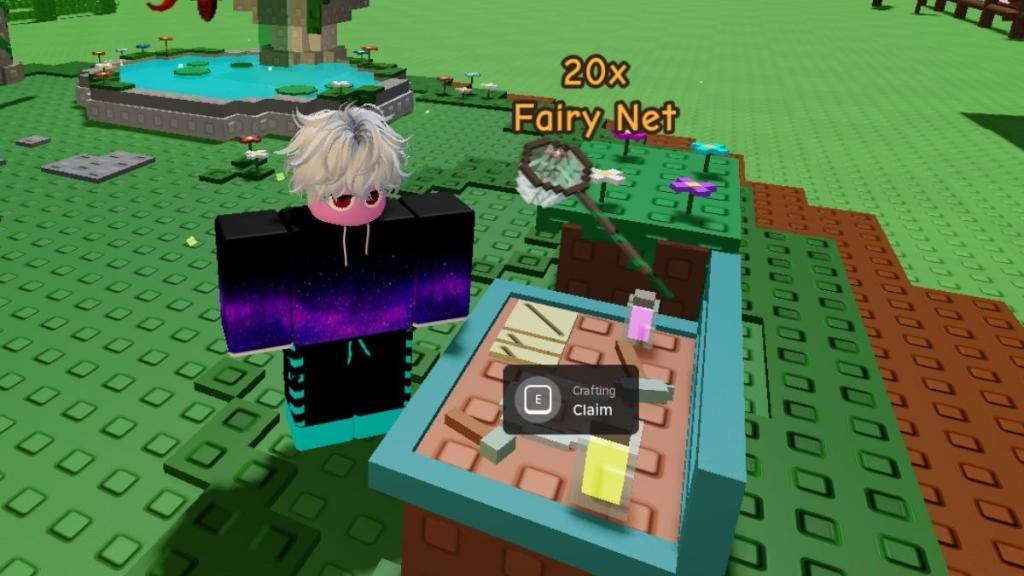
Efficiency Strategy: Always prepare your ingredients before approaching the station to minimize time spent searching through inventory during the crafting process. For high-value items with extended crafting times, consider initiating multiple crafts simultaneously if you have sufficient resource stockpiles.
Seasoned players can significantly enhance their crafting efficiency through strategic planning and resource management. The most common mistake beginners make is underestimating the time investment required for higher-tier items – plan your crafting sessions around these extended timers rather than expecting immediate results.
Resource Farming Optimization: Focus on acquiring Fairy Jars early, as they serve as foundational components for nearly all advanced recipes. The most efficient farming route involves concentrating on areas with high fairy spawn rates during peak event hours.
Common Pitfalls to Avoid:
- Poor Resource Allocation: Don’t exhaust your Fairy Points on low-value crafts when saving for premium items.
- Crafting Queue Management: Avoid initiating multiple long-duration crafts simultaneously unless you have adequate backup resources.
- Tool Dependency Chain: Understand that many advanced items require previously crafted tools – plan your progression accordingly rather than skipping essential intermediate steps.
Advanced Pro Tip: Coordinate with other players to specialize in different crafting paths, then trade completed items to accelerate collective progression. This collaborative approach can reduce individual resource grinding by up to 40% based on community testing data.
For players seeking comprehensive guidance on game mechanics, our Complete Guide provides additional strategic insights that complement fairy crafting optimization.
Action Checklist
- Craft Fairy Net first (1 min) to start earning Fairy Points efficiently
- Farm 3+ Fairy Jars as they’re required for most advanced tools
- Create Enchanted Seed Packs (5 min) to expand your plant collection
- Progress to Fairy Radar and Targeter for enhanced farming capabilities
- Save 10M+ Sheckles for Luminous Wand and Power Extender crafts
No reproduction without permission:Tsp Game Club » Grow a Garden Fairy Crafting Recipes Complete guide to Grow a Garden Fairy crafting recipes with expert strategies and optimization tips
