Master Honkai Star Rail 3.2 Apocalyptic Shadow with optimal team builds, strategic buff selection, and advanced combat tactics
Understanding the Apocalyptic Shadow Mechanics
The latest iteration of Honkai Star Rail’s challenging endgame activity, Apocalyptic Shadow, introduces the formidable Warlord of the Locusts encounter. This refreshed content presents two new boss adversaries: Sky-Shrouding Stardevourer Swarm and Fulminating Wolflord, each demanding specialized team compositions and strategic approaches. Understanding the intricate mechanics is crucial for achieving three-star clears across all difficulty stages.
Core Stage Mechanics:
Optimal Team Compositions for Maximum Performance
Building effective squads requires understanding both node-specific requirements and character synergy. The optimal team compositions for conquering Honkai Star Rail 3.2 Apocalyptic Shadow’s Warlord of the Locusts challenge are strategically designed around the unique encounter mechanics.
Dual-Erudition Annihilation Squad: This Herta and Jade combination delivers exceptional three-star performance across all Apocalyptic Shadow stages. Node One’s boss mechanics demand consistent area-of-effect damage to manage empowered swarm summons effectively. Both Erudition Path specialists excel at clearing multiple targets while maintaining pressure on the primary adversary. Sunday provides crucial offensive buffs to amplify damage output, while Aventurine’s shielding ensures team survivability against relentless assaults. Critical preparation tip: always select the “Knowledge and Decorum” buff to maximize your Erudition characters’ potential.
Mydei Hypercarry Alternative: When Herta or Jade are unavailable, this Destruction Path specialist offers formidable AoE capabilities. Mydei’s innate area damage efficiently handles swarm summons while focusing the Boss Mirage. Standard hypercarry support structure applies: Tribbie and Sunday deploy various damage amplifiers to maximize Mydei’s offensive output. Luocha maintains team health through consistent healing, with Gallagher serving as an accessible substitute. Optimal buff selection for this composition is “No Turning Back” to enhance the hypercarry playstyle.
Castorice Specialized Node Two Team: The “Going Solo” mechanic demands specific preparation for successful execution. This team leverages Castorice’s summon capabilities to gain action advantage during the critical 1v1 phase against Hoolay. Having an active summon or Memosprite when entering “Going Solo” provides substantial benefits through additional action economy. Tribbie and RTB focus on buffing the primary damage dealer, while Gallagher ensures sustained healing throughout the encounter. Against Fulminating Wolflord, the “Withered Tree’s Revival” buff delivers optimal performance with this composition.
Follow-Up Attack Synergy Team: Fulminating Wolflord’s vulnerability to Wind and Fire elements makes this Feixiao and Topaz combination exceptionally effective. Their coordinated follow-up attacks decimate Wolftroopers while building enhancements for the “Going Solo” phase. Robin serves as the premier buffer for follow-up attack specialists, dramatically increasing damage output. Gallagher’s healing completes the sustainable damage composition. The “Pursue and Eliminate” buff synergizes perfectly with follow-up attack mechanics, making it mandatory for this team’s success.
Advanced Combat Strategies and Buff Selection
Mastering Apocalyptic Shadow requires more than just proper team building—execution and buff selection determine success at higher difficulty levels. Strategic buff alignment with your chosen composition dramatically improves performance metrics.
Buff Synergy Optimization: The “Knowledge and Decorum” buff specifically enhances Erudition characters’ capabilities, making it indispensable for dual-DPS setups. “No Turning Back” amplifies hypercarry potential through increased damage scaling. “Withered Tree’s Revival” provides crucial sustain and damage amplification for Node Two specialists, while “Pursue and Eliminate” dramatically improves follow-up attack frequency and potency.
Rotation Management: Time your major cooldowns to align with boss phase transitions. Save ultimate abilities for when the Boss Mirage gains damage reduction during “Going Solo” phases. Coordinate shield deployment and healing to mitigate burst damage patterns, particularly during swarm summon empowerment windows.
Common Strategic Errors: Many players underestimate the importance of add management in Node One, allowing excessive “Growth Hormone” stacks to accumulate. Another frequent mistake involves improper character selection for “Going Solo” phases—always choose units with summons or memosprites available. Energy management errors often occur when players fail to optimize skill point generation before critical duel phases.
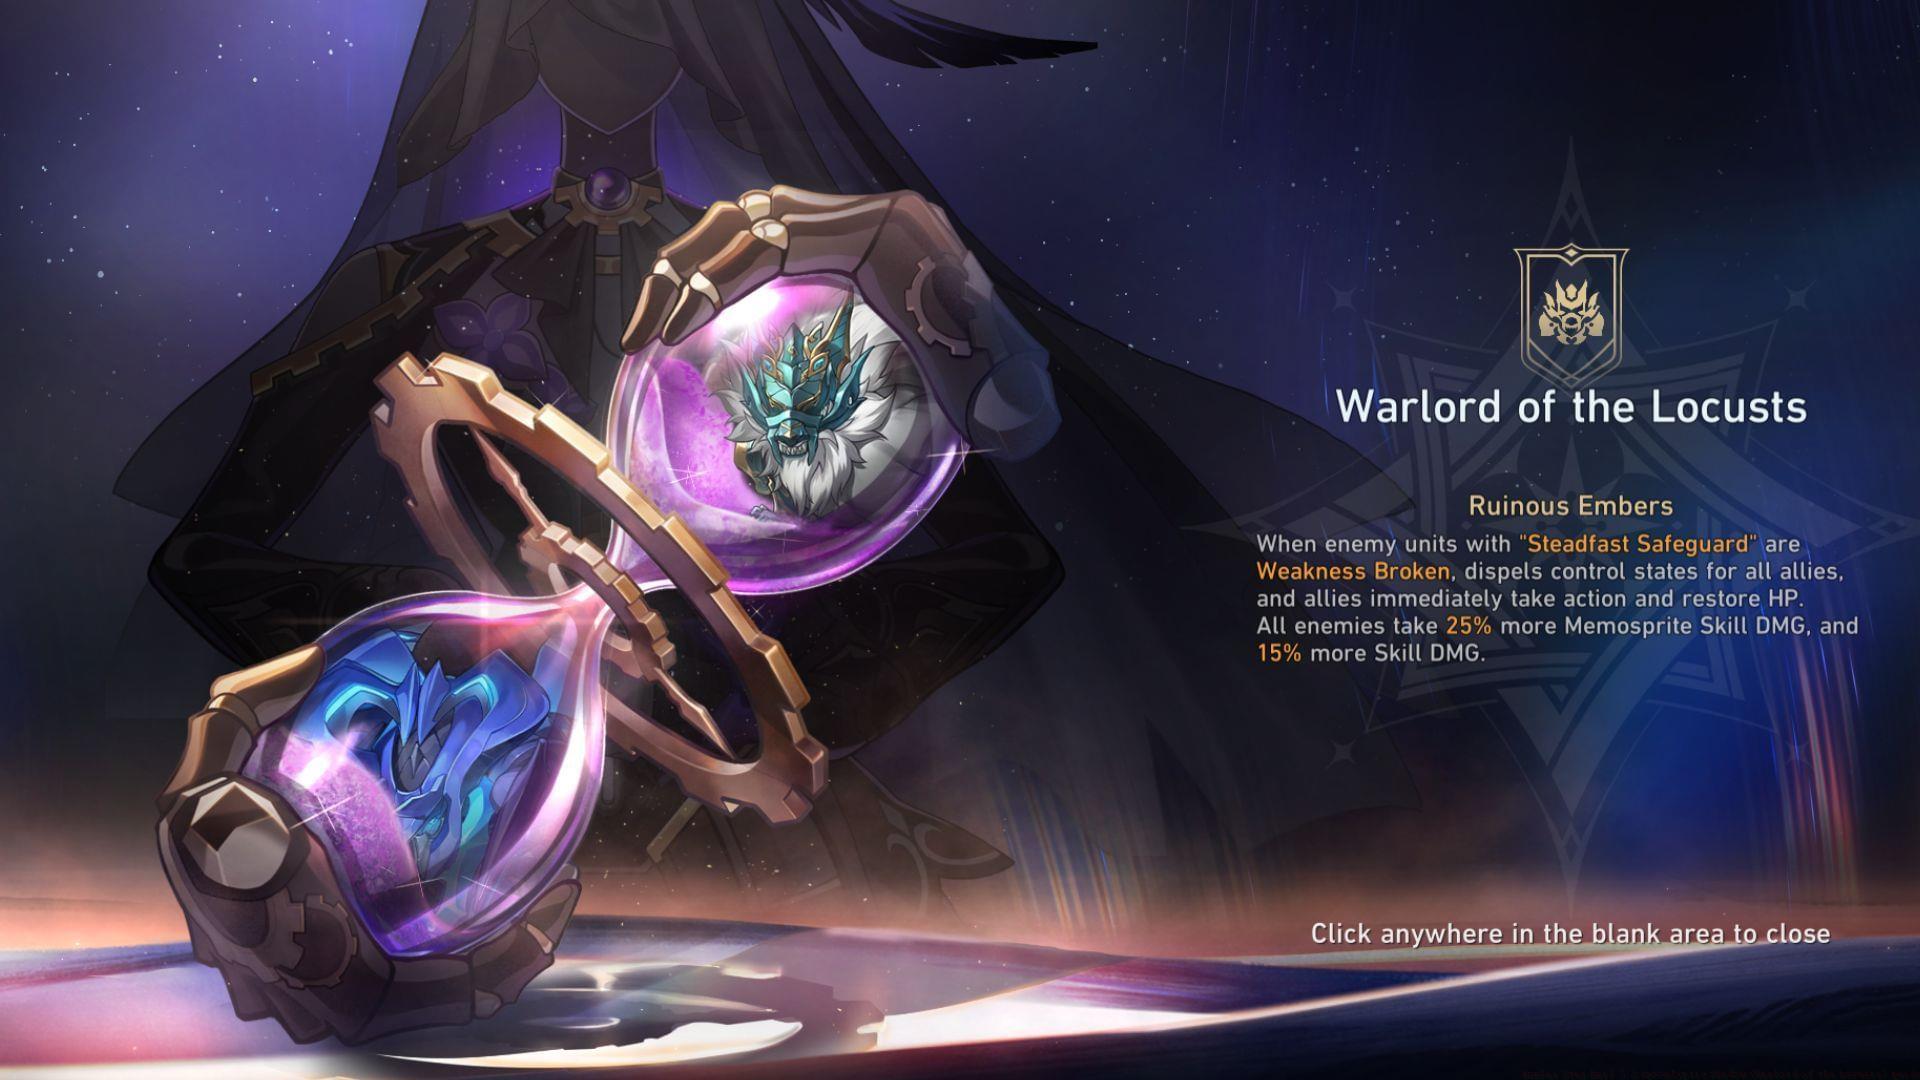
Advanced Technique: Pre-casting summon abilities right before the “Going Solo” transition ensures you enter the duel phase with action advantage. Time your weakness break applications to trigger “Ruinous Embers” during high-pressure situations for emergency recovery.
Pro Tips and Optimization Techniques
Elevate your Apocalyptic Shadow performance with these expert techniques refined through extensive testing and community verification.
Energy Management Mastery: Coordinate energy regeneration across your team to ensure critical ultimates are available for phase transitions. Time your healing and shielding abilities to maximize efficiency during swarm summon waves. Position AoE abilities to hit both the Boss Mirage and summons simultaneously for optimal damage output.
Gear Prioritization: Focus on energy regeneration relics for support characters to maintain buff uptime. Prioritize critical damage and attack stats for your primary damage dealers. Consider using effect hit rate substats if your composition relies on debuff application.
Advanced Positioning: Manipulate enemy targeting through strategic character placement. Position summon-based characters to maximize their minions’ uptime during critical phases. Use terrain advantages when available to minimize AoE damage taken.
Progression Strategy: Start with lower difficulty levels to master mechanics before attempting higher stages. Focus on one node at a time to refine your approach. Record your attempts to identify improvement areas in execution and timing.
Follow Sportskeeda’s Honkai Star Rail hub for more updates.
No reproduction without permission:Tsp Game Club » Honkai Star Rail 3.2 Apocalyptic Shadow (Warlord of the Locusts) guide Master Honkai Star Rail 3.2 Apocalyptic Shadow with optimal team builds, strategic buff selection, and advanced combat tactics