Master Honkai Star Rail 3.2 Memory of Chaos with optimized team strategies and advanced combat tactics
Introduction to Memory of Chaos 3.2 Challenge
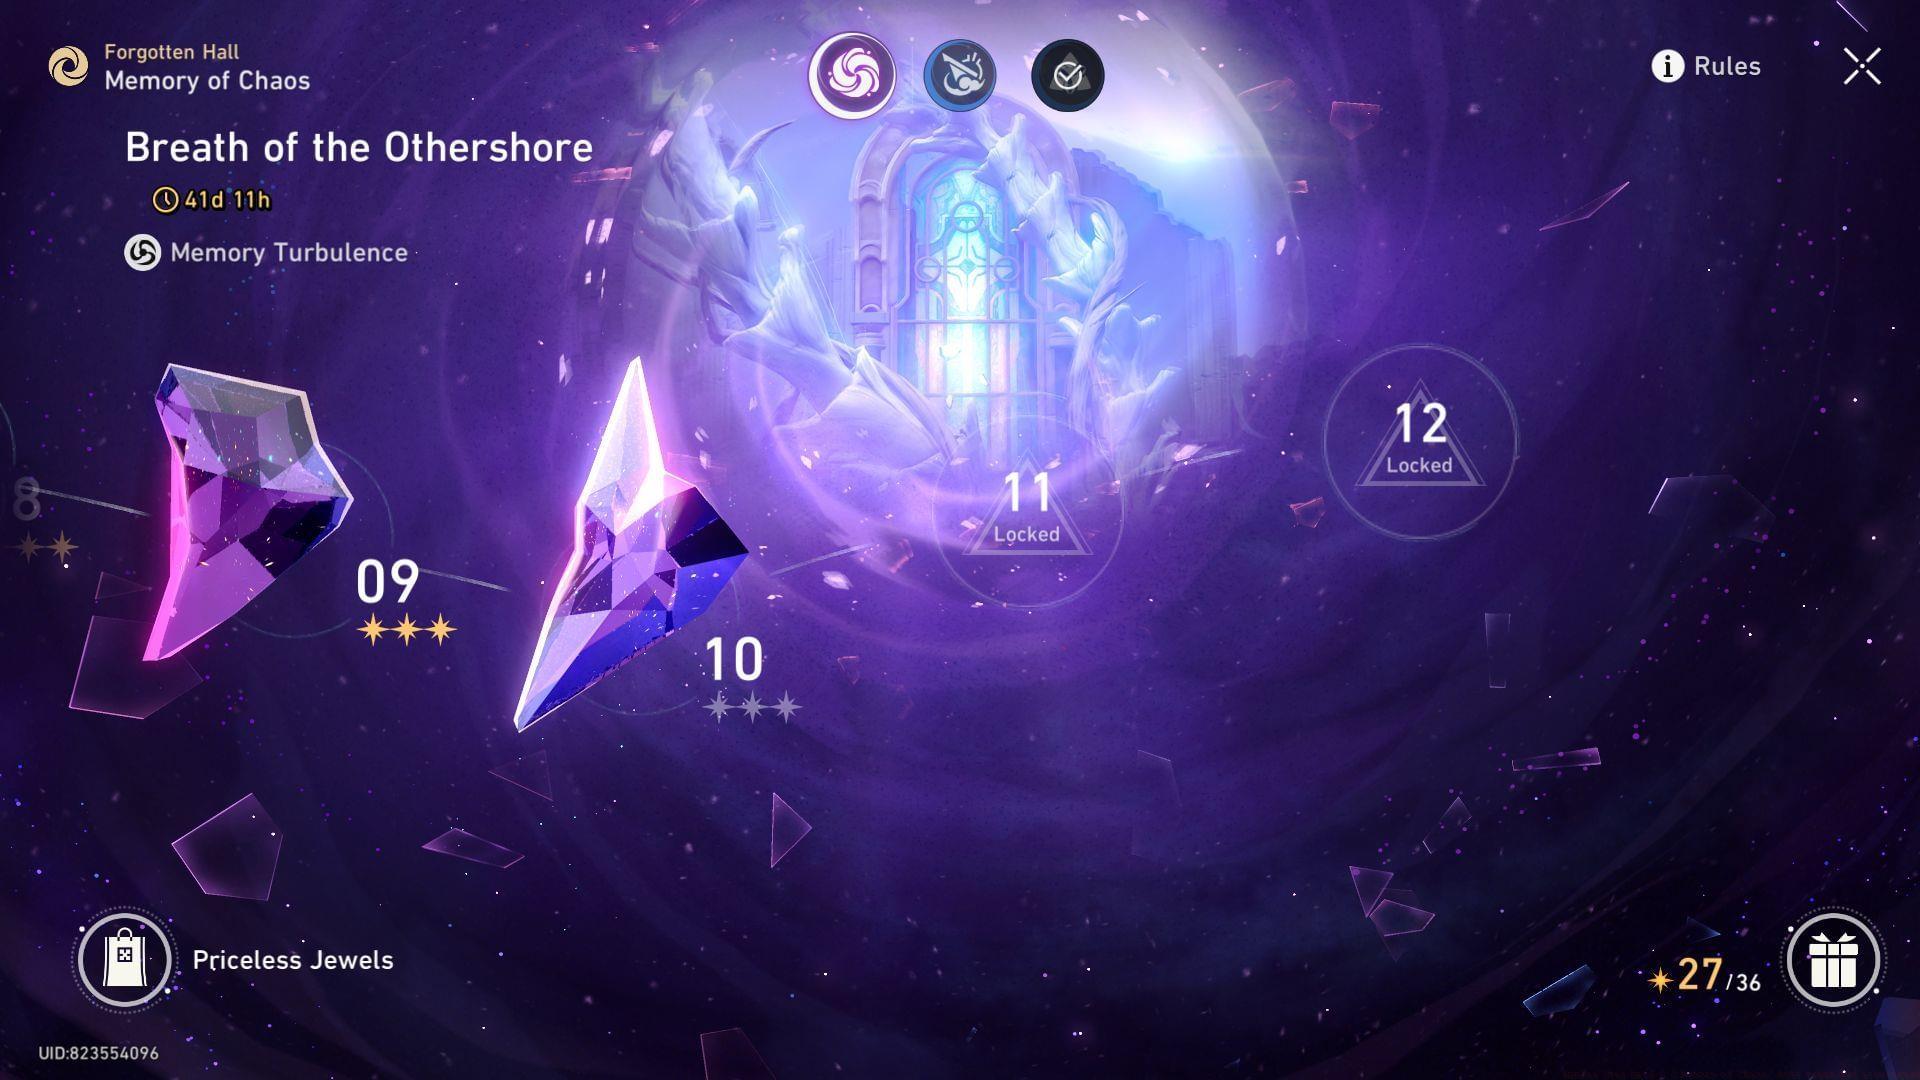
As Honkai Star Rail’s Version 3.2 approaches its conclusion, the Memory of Chaos endgame activity has undergone a significant refresh, presenting new strategic challenges for players seeking maximum Stellar Jade rewards. This cycle introduces completely redesigned enemy formations that demand precise team composition and tactical execution to secure three-star clears within the strict cycle count limitations. Understanding the elemental weaknesses and boss mechanics becomes paramount for optimizing your clearing efficiency and resource allocation.
The current meta heavily favors Quantum-element specialists due to widespread enemy vulnerability, making certain team configurations exceptionally potent. However, successful navigation requires more than just elemental advantage – proper skill rotation, energy management, and positioning strategies separate average clears from optimal performances that minimize cycle consumption.
Meta Team Compositions Breakdown
The Castorice Hypercarry formation demonstrates exceptional performance this cycle, capitalizing on the prevalence of Quantum-weak adversaries throughout multiple floors. What makes this composition particularly devastating is Castorice’s ability to unleash massive Quantum damage through her Netherwing technique, amplified by strategic support character selections that maximize her damage potential while maintaining survival capabilities.
Optimal support pairing involves Tribbie or Ruan Mei providing crucial RES-PEN buffs that significantly increase damage penetration against resistant enemies. The Remembrance Trailblazer adds critical CRIT-related enhancements while contributing substantial True Damage, creating a synergistic damage amplification system. For sustain options, Luocha and Gallagher offer the most compatibility with Castorice’s playstyle, providing healing that doesn’t interfere with damage rotations while offering additional utility benefits.
For players seeking alternative approaches, the Herta dual DPS configuration presents a compelling option that excels in clearing multiple enemy waves efficiently. While Herta performs adequately in hypercarry setups, her true potential emerges when paired with another Erudition unit like Anaxa or Jade, creating devastating Area of Effect damage chains that quickly eliminate grouped adversaries.
This formation benefits tremendously from Sunday’s damage amplification capabilities, which can target either primary damage dealer based on situational needs. Aventurine ensures team survivability through robust shielding and emergency protection mechanics, allowing both DPS units to focus exclusively on offense without concern for incoming damage.
The Acheron Lightning-focused team specializes in exploiting Lightning-weak enemies through sophisticated debuff stacking mechanics. Since Acheron’s Ultimate requires accumulating nine debuffs on targets for activation, strategic pairing with Jiaoqiu and Pela/Silver Wolf becomes essential for maintaining consistent debuff application and energy generation.
In this composition, Aventurine transitions to a defensive role while providing valuable CRIT DMG amplification through his kit mechanics. The key to success lies in timing debuff applications to ensure Acheron’s Ultimate availability aligns with damage windows and break opportunities against high-priority targets.
Advanced Floor Strategy Guide
Players who completed the previous Memory of cycle can immediately begin from Floor 9, bypassing the simpler early stages. The initial floors through approximately Floor 10 can typically be handled using auto-battle functionality with any of the recommended team compositions, allowing for efficient clearing while conserving player time and attention for more challenging content.
As you progress to higher difficulty stages, particularly Floors 11 and 12, manual control becomes essential for optimizing skill usage, ultimate timing, and target prioritization. Floor 12 Mode 1 presents the Pollux boss encounter, which demands specialized team construction focused on HP-scaling mechanics and precise execution sequences.
Against Pollux, successful strategy involves deliberately consuming substantial HP through either targeted ability usage or calculated damage intake to trigger the boss’s Slumber state transition. Once this mechanic activates, immediate healing recovery followed by concentrated damage phases creates the optimal pattern for efficient clearing while minimizing cycle consumption.
After conquering Node 1, Node 2 introduces a two-wave structure beginning with standard Elite enemies followed by the Wonder Forest’s banacademic Office Staff in the second phase. Rapid elimination of the initial wave triggers the primary boss spawn, requiring quick tactical adaptation to the new threat profile.
Critical to success in Node 2 is monitoring the Dreamjolt Troupe’s channel alignment, ensuring they remain in Off-Class Channel during their action phases to secure beneficial buffs for your team. Proper positioning and ability timing can manipulate enemy channel states, creating windows of opportunity for maximum damage output.
Optimization and Common Pitfalls
Many players underestimate the importance of proper skill rotation sequencing, particularly with Acheron teams where debuff application timing directly impacts ultimate availability. A common mistake involves using all debuff abilities simultaneously rather than staggering them to maintain consistent uptime on enemy targets throughout the combat cycle.
Another frequent error occurs in Pollux encounters where players either fail to trigger Slumber state efficiently or miss the critical damage window following state transition. Optimal strategy involves pre-positioning healing capabilities and ensuring damage-dealing cooldowns are available immediately after Slumber activation.
Advanced players should focus on energy management across all team compositions, ensuring ultimate abilities align with break opportunities and damage vulnerability phases. Proper light cone selection and relic stat optimization can significantly reduce cycle counts, with particular attention to energy regeneration rates and critical damage thresholds.
Team positioning often gets overlooked but can dramatically impact performance, especially in formations involving area-effect abilities and buff application ranges. Positioning your support characters to maximize their buff coverage while minimizing their exposure to area damage requires careful planning and battlefield awareness.
Finally, don’t neglect the importance of adaptability – while the recommended teams provide strong foundations, individual account variations may require substitution or adjustment based on available character constellations, light cone options, and relic quality. The most successful players maintain flexibility in their approach while understanding the core mechanical requirements of each encounter.
No reproduction without permission:Tsp Game Club » Honkai Star Rail 3.2 Memory of Chaos: Best teams and strategies Master Honkai Star Rail 3.2 Memory of Chaos with optimized team strategies and advanced combat tactics