Complete guide to solving Honkai Star Rail’s Golden Scapegoat puzzles in Lightless Chapel with expert strategies
Introduction to Golden Scapegoat Mechanics
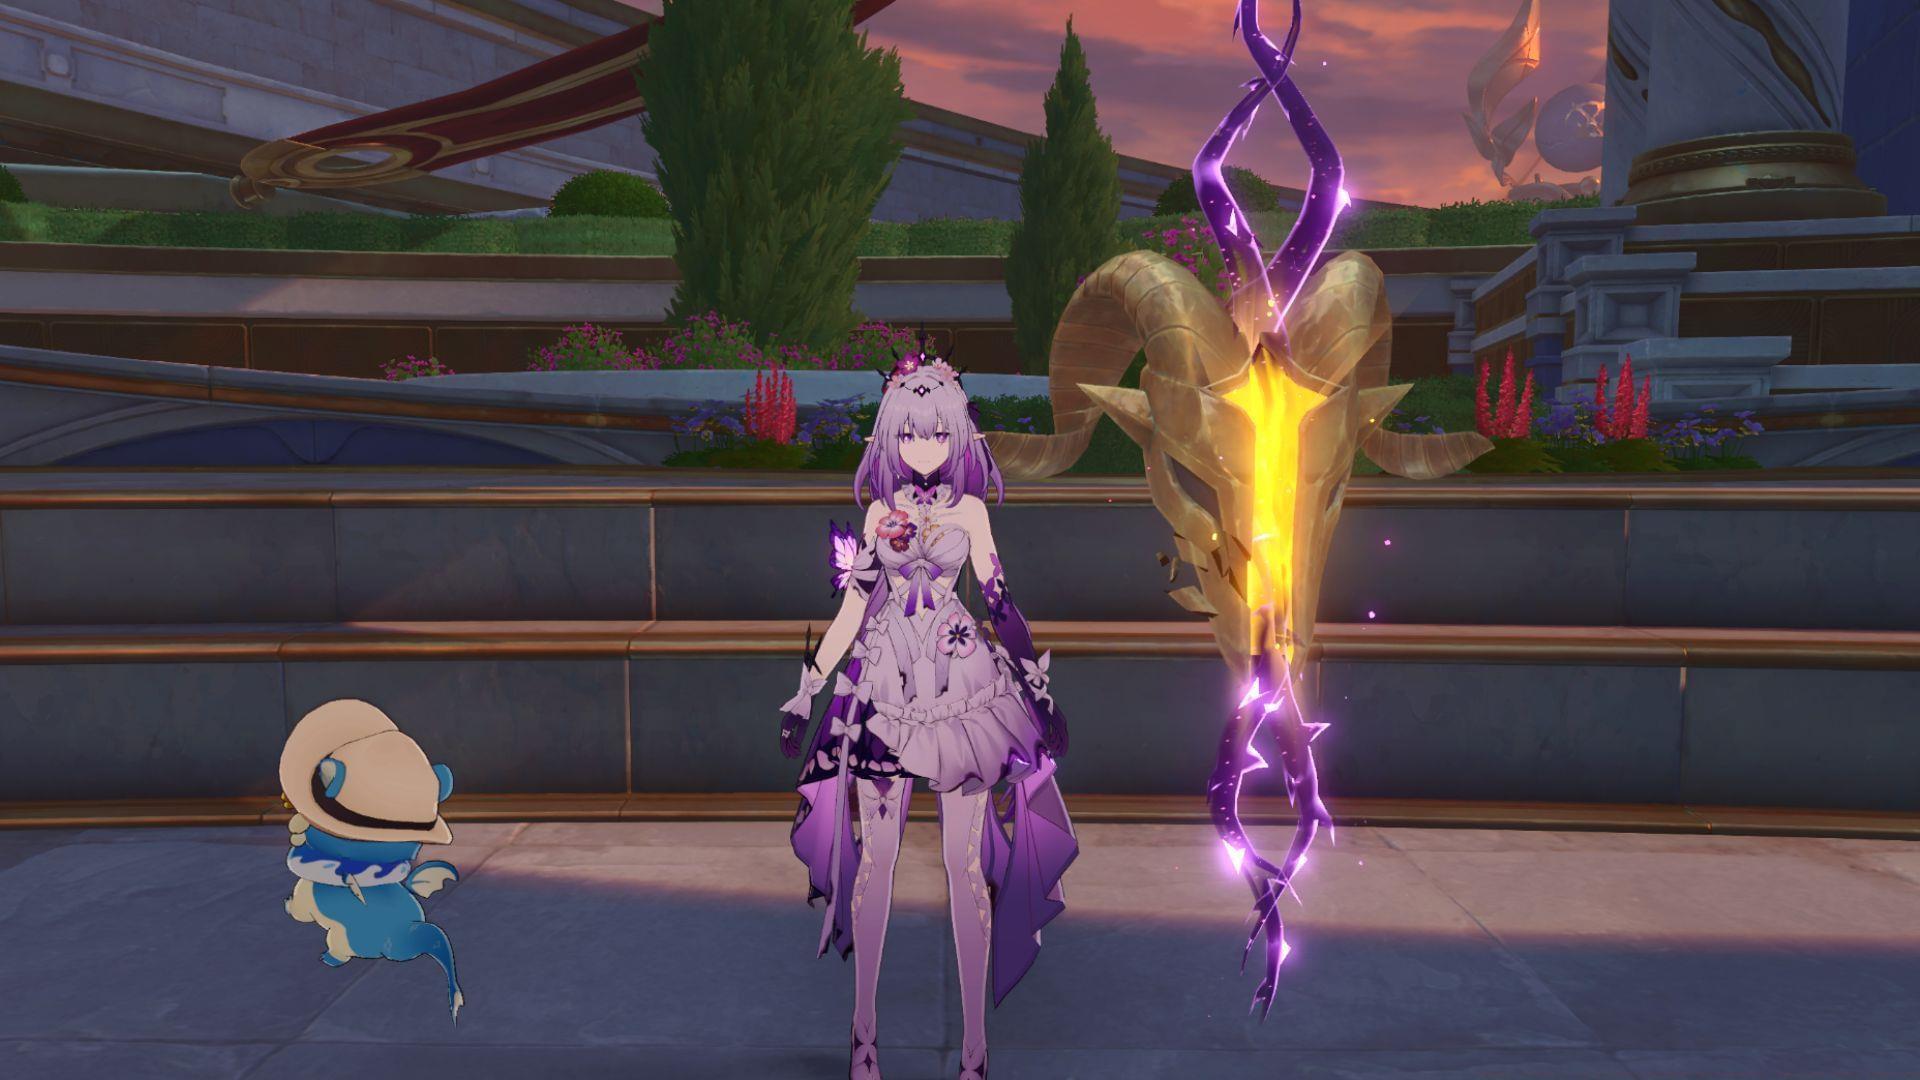
The Honkai Star Rail version 3.3 expansion introduces the mysterious Lightless Chapel region within Amphoreus, situated beneath the apocalyptic dusk that shrouds the planet. This area conceals numerous enigmas, including the appearance of Golden Scapegoat entities that manifest as intricate movement-based challenges. These puzzles demand players to navigate ethereal pathways and illuminate sacred altars while adhering to strict step limitations.
Understanding the core mechanics is essential before attempting these challenges. Each Golden Scapegoat puzzle presents a grid-based navigation system where you must guide a spectral entity to its destination altar. The complexity escalates with invisible pathways and pursuing puppets that replicate your movements, creating dynamic obstacles that require strategic foresight and precise execution.
First Golden Scapegoat Puzzle Solution
Your initial Golden Scapegoat encounter awaits southwest of the Lightless Chapel Space Anchor teleportation point. After arriving at this waypoint, proceed toward the expansive arena structure and identify the bridge positioned to your right. Crossing this architectural feature will bring you directly to the puzzle activation zone.
Primary Solution Sequence:
Puppet Evasion Maneuvers:
Professional players recommend visualizing the path before execution to minimize trial and error. A common mistake involves rushing the initial movements without considering the puppet’s mirroring behavior. For optimization, pause briefly after each directional input to confirm the entity’s positioning relative to the pursuing after-image. This method prevents unnecessary restarts and conserves valuable in-game time.
Also read: Honkai Star Rail Legend of the Galactic Baseballer Demon King event guide
Second Golden Scapegoat Puzzle Solution
Navigate to the Lightless Chapel: Vestibule teleportation node to discover the subsequent Golden Scapegoat challenge. This puzzle node resides southwest of the Space Anchor marker. From your arrival point, advance forward and immediately take the first available path branching right to reach the activation site.
Solution Movement Pattern:
Puppet Avoidance Protocol:
This puzzle introduces increased complexity with its zigzag movement requirements. Advanced tactic: The alternating left-right pattern creates a rhythm that, when mastered, allows for flawless execution. Many players struggle with the timing between the Down and final Right movements—practice this transition separately to build muscle memory. The puppet’s pursuit pattern here is more aggressive, requiring quicker decision-making and spatial awareness.
Third Golden Scapegoat Puzzle Solution
The third Golden Scapegoat configuration materializes adjacent to Eve’s Holy Pass Space Anchor. Transport to this waypoint and progress forward, then utilize the second staircase on your left-hand side. The puzzle activation point awaits around the subsequent corner.
Required Solution Steps:
Puppet Circumvention Strategy:
This puzzle emphasizes directional reversal techniques, particularly the critical Left-Down sequence that establishes your positioning. Pro tip: The three consecutive Right movements create a momentum pattern that experienced players can exploit for faster completion. Avoid the common error of overshooting the final Left movement—this often triggers puppet collisions. The Up movement in the evasion sequence is particularly crucial as it creates necessary separation from the pursuing entity.
Also read: Honkai Star Rail Spirithief locations in Fortress of Dome Eye of Twilight
Invisible Puzzle Challenge
The most demanding Golden Scapegoat trial emerges near Eve’s Holy Pass waypoint following Trailblaze Mission completion. After teleporting to the Space Anchor, access the chamber to your left where you’ll find the Golden Scapegoat positioned beside the NPC Diogena. This advanced challenge features completely invisible pathways that test your memory and navigation skills.
Initial Guidance Sequence:
Altar Navigation Protocol:
This invisible path demands mental mapping and sequence memorization. Expert strategy: Create a physical diagram or use the game’s screenshot function to document successful paths. The extended movement sequences require precise counting and rhythm maintenance. Common failure points include the transition between the third sequence’s Left movements and the final Up-Right combination. Practice each segment independently before attempting the full sequence to build confidence and reduce frustration.
Follow Sportskeeda’s Honkai Star Rail hub for more information and updates.
No reproduction without permission:Tsp Game Club » Honkai Star Rail: All Golden Scapegoat locations in Lightless Chapel Dawncloud Complete guide to solving Honkai Star Rail's Golden Scapegoat puzzles in Lightless Chapel with expert strategies