Master the Boiler Room mechanics in Blue Prince to unlock new rooms, complete objectives, and access alternate paths strategically.
Boiler Room Fundamentals: Understanding the Core Mechanic
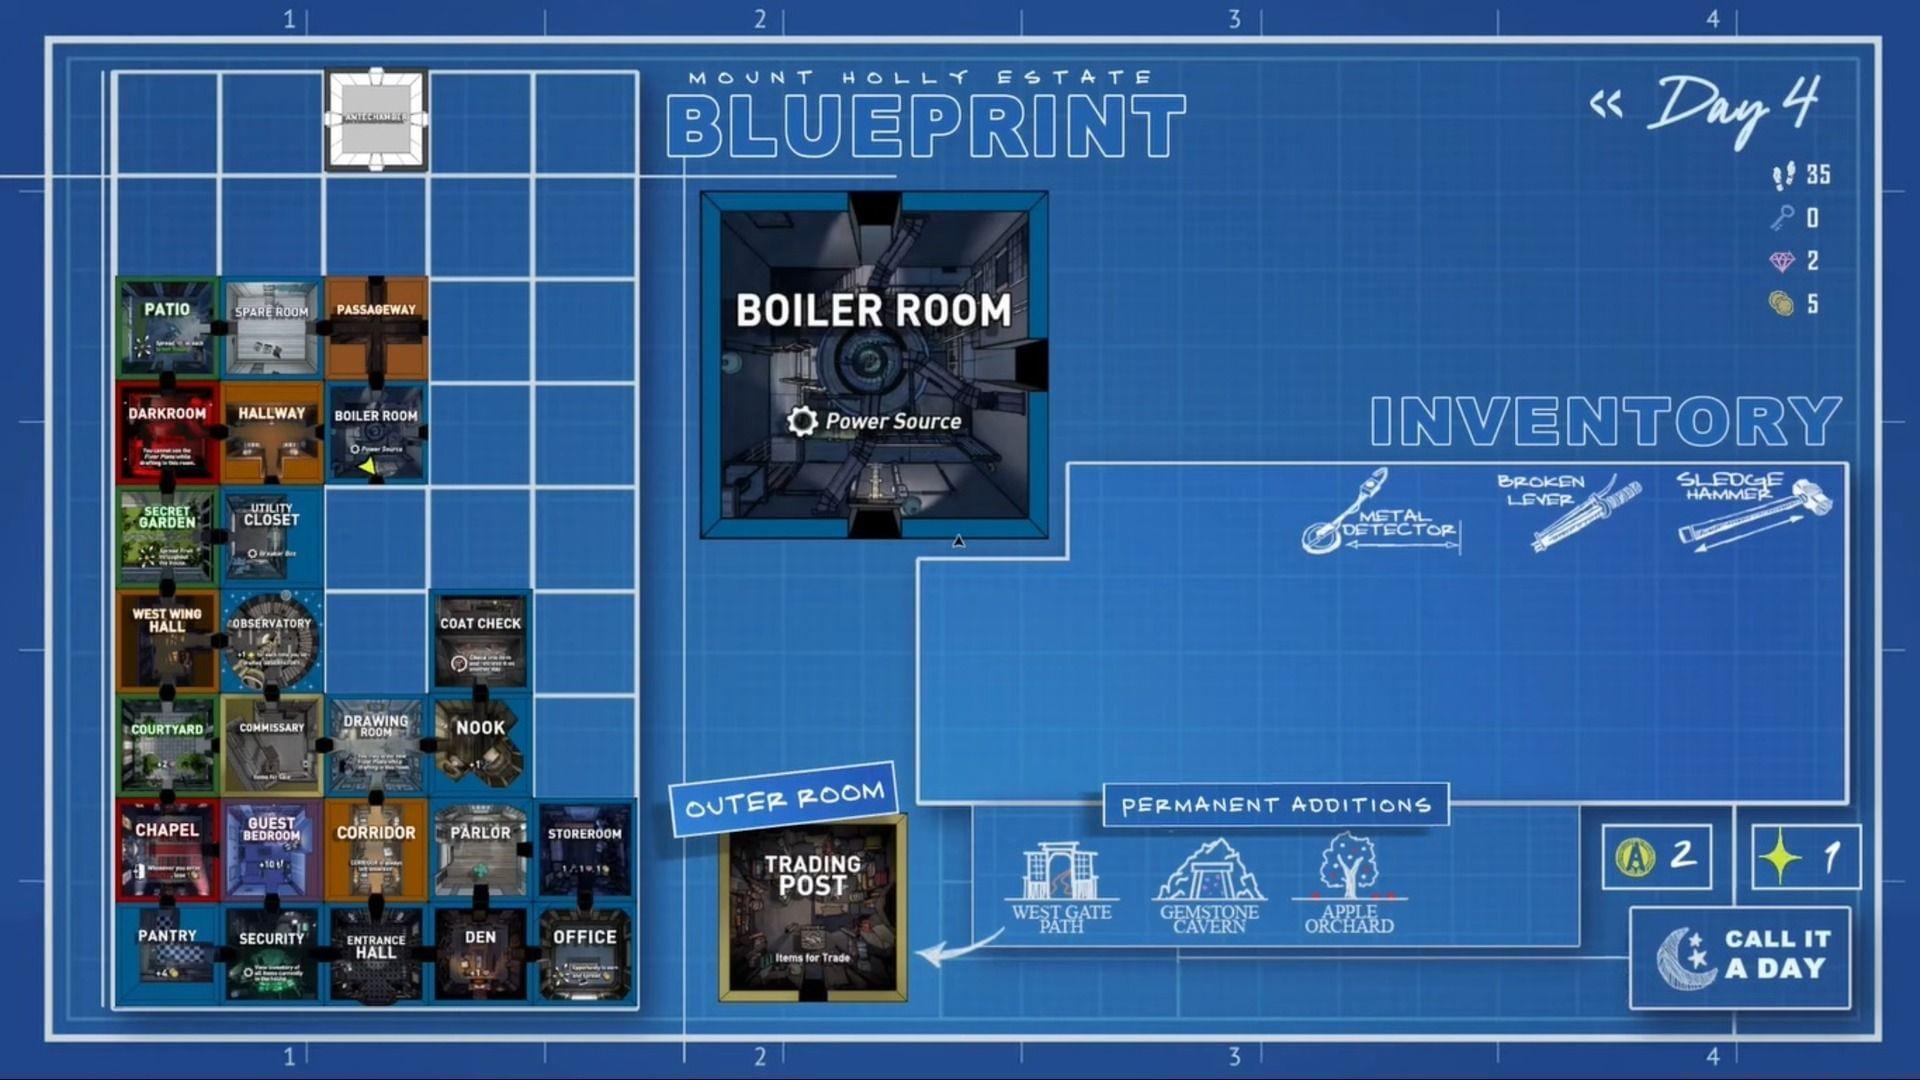
Players immersed in Blue Prince frequently seek to decode the Boiler Room’s intricate systems. What initially appears as a simple steam-powered puzzle mechanism actually serves as a foundational game element that enables access to new areas, completion of essential goals, and discovery of alternative progression routes throughout your castle exploration.
Power Flow Mechanics: Room Compatibility and Connection Rules
Energy transmission occurs through the castle’s ventilation network and duct systems, but only specific room classifications can conduct this power effectively. Two distinct room categories facilitate power conduction:
Power will successfully transmit when you establish a continuous pathway of compatible room types connecting the Boiler Room to your intended destination. However, inserting incompatible spaces like standard green bedrooms or social lounges within this pathway will immediately disrupt the energy connection.
Pro Tip: Always map your room draft sequence before committing—planning three rooms ahead ensures you maintain power connectivity while expanding your castle layout strategically. Many players mistakenly break connections by drafting decorative rooms in critical power pathways.
Strategic Applications: Key Areas to Power Up
Once you’ve established stable power distribution, you can begin activating various castle sections for tactical advantages. Several strategically valuable areas to target include:
Each activation point enables different strategic approaches depending on your current run objectives and preferred playstyle. Prioritize Laboratory power for main story progression, Garage for exploration flexibility, or Pump Room for resource access.
Read more: How to obtain the Stone Heart Kusarigama in Assassin’s Creed Shadows
Advanced Techniques: Red Control Box and External Rooms
Within the Boiler Room’s lower section resides a distinctive red control unit featuring a T-shaped conduit apparatus. When you properly orient this tube mechanism and it illuminates, you’ll gain access to special Red Rooms situated beyond the primary manor structure.
These external chambers often contain unique resources, special artifacts, or alternative puzzle solutions that can significantly impact your overall castle development strategy. Alignment typically requires specific room combinations or achieving certain progression milestones.
Advanced Strategy: Experienced players coordinate their T-tube alignment with specific room draft patterns to maximize external room accessibility. This often involves delaying certain room placements until after alignment activation to preserve connection pathways.
Mastering these systems transforms Boiler Room operation into an intuitive process. Once you internalize these mechanics, you’ll recognize how indispensable they become for optimizing your Blue Prince experience and achieving more efficient castle completion.
Also read: Days Gone Remastered: Complete list of achievements and trophies
Pro Tips and Common Mistakes to Avoid
Route Planning: Always sketch your intended power path before drafting rooms. Incompatible rooms placed between Gear or Red Rooms create permanent blocks until redesigned.
Resource Allocation: Balance your room drafts between power conduits and objective rooms. Over-focusing on either creates bottlenecks in late-game progression.
Troubleshooting: If power isn’t reaching targets, retrace your connection path room-by-room. Common issues include misplaced lounges, bedrooms, or decorative spaces breaking the chain.
Optimization: Advanced players often create multiple redundant power pathways to ensure critical areas remain energized even if one route becomes compromised during castle expansion.
Check out our other articles from Sportskeeda:
No reproduction without permission:Tsp Game Club » How to activate Boiler Room in Blue Prince Master the Boiler Room mechanics in Blue Prince to unlock new rooms, complete objectives, and access alternate paths strategically.