Master the Sparks Fly quest in Arc Raiders with expert strategies, optimal loadouts, and reward maximization tactics.
Quest Overview & Core Objective
In Arc Raiders, the Sparks Fly quest presents a unique demolition challenge issued by the trader Apollo. Your objective is precise: eliminate a Hornet enemy unit using a designated Snap Blast Grenade. This mission tests your resource management, target selection, and timing under pressure. While the specialized grenade is scarce in the wild, a methodical approach transforms this from a daunting task into a manageable operation. Success hinges not on brute force, but on intelligent engagement and preparation for contingencies.
Read more: How to get Venator Blueprint in Arc Raiders
Essential Preparation & Gear Acquisition
The most reliable path to obtaining the crucial tool is through commerce. Navigate to the Traders tab in your menu, locate Apollo, and purchase the Snap Blast Grenade for 1,920 coins. A critical pro tip: do not buy just one. Budget for three to four grenades minimum. This buffer accounts for missed throws, unexpected enemy movements, or simply needing a practice attempt, ensuring a single error doesn’t force a costly mission restart.
Your preparation must extend beyond the quest item. Before deploying, assemble a loadout designed for versatility. A heavy ammo weapon serves as your primary insurance policy against additional ARC patrols. Complement this with several medical items to facilitate rapid health recovery mid-fight. This ‘belt-and-suspenders’ approach means that even if your grenade strategy falters, you retain the firepower and sustainability to fight your way to extraction.
Advanced Execution Strategy
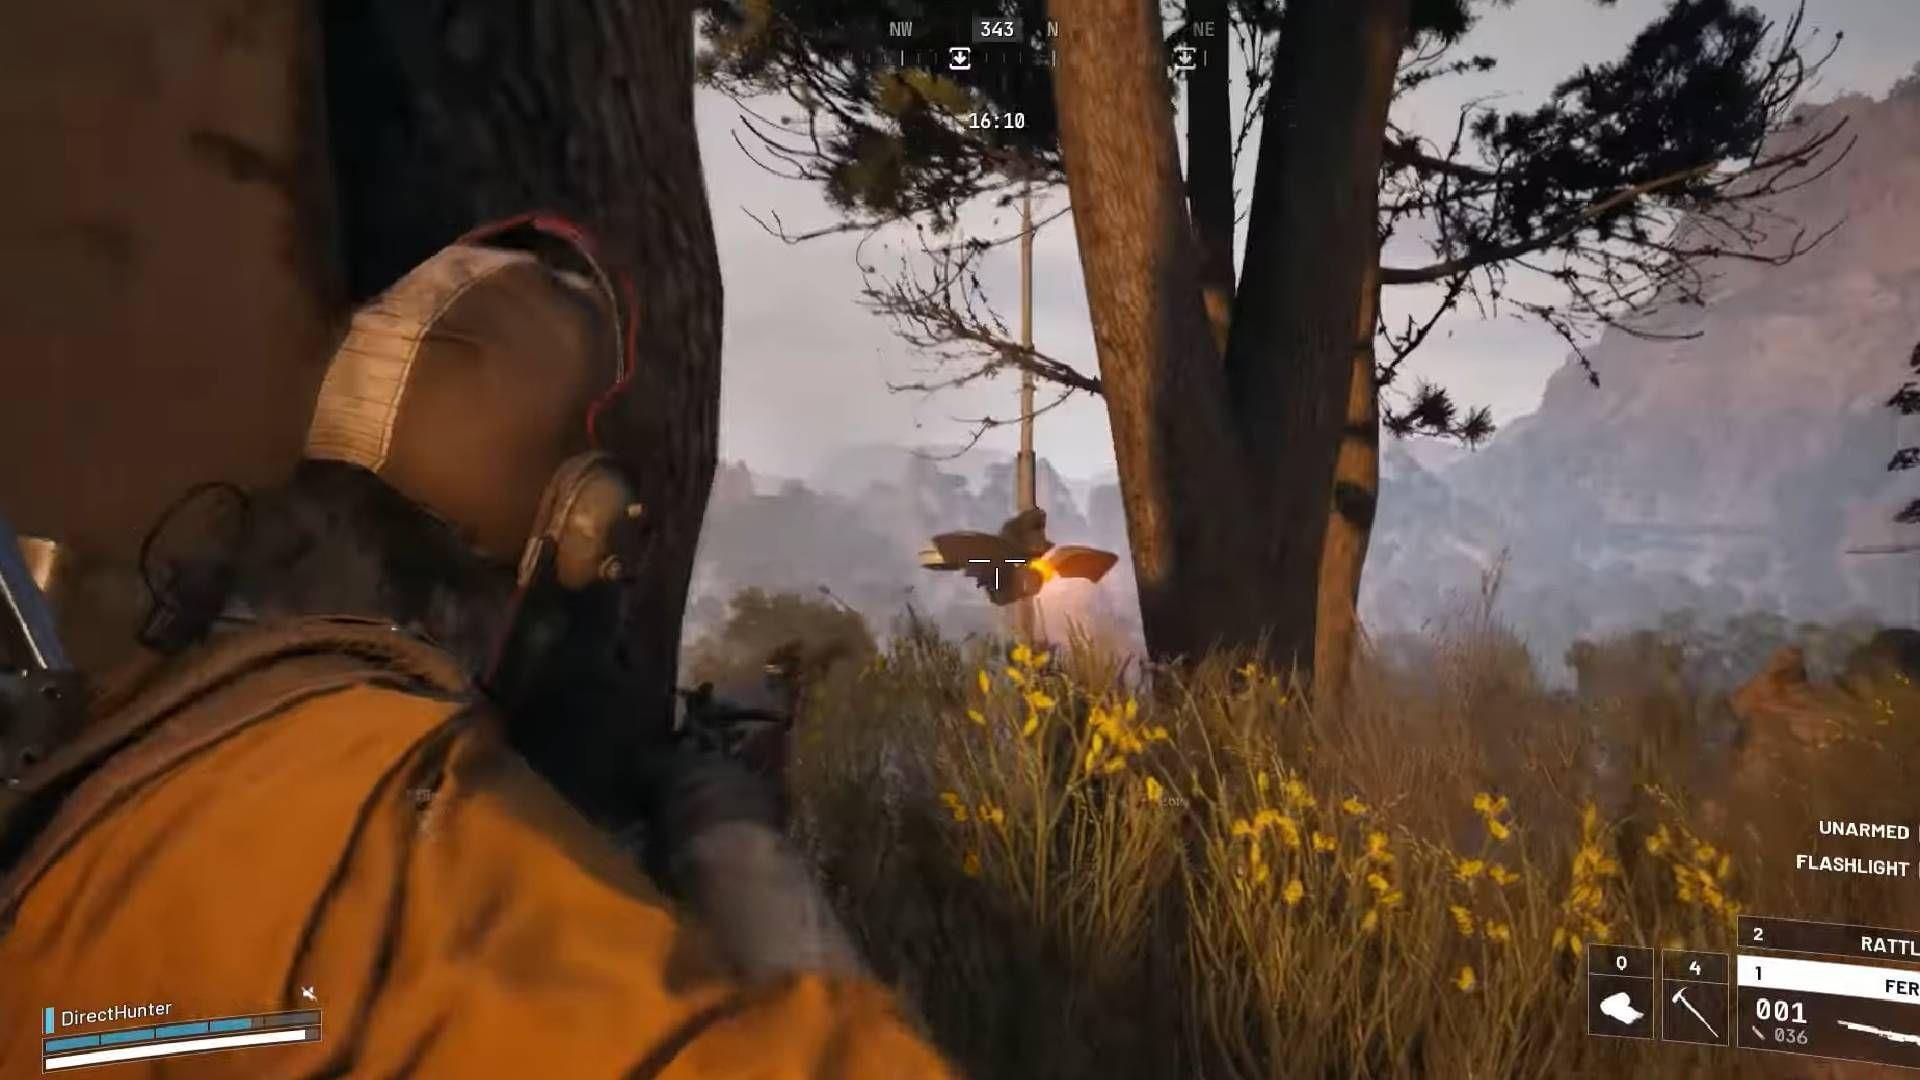
Hornet Location & Ideal Engagement Zone: Hornets patrol widely across all maps. The key to a clean execution is isolation. Scout for an area where a single Hornet operates at a distance from its peers. Terrain is your ally; position yourself near substantial cover like rock formations, ruined walls, or industrial structures. Engaging a group is a recipe for failure, as multiple beams will quickly overwhelm you.
The Two-Phase Combat Sequence: Upon sighting your target, initiate the encounter by landing a single shot. This aggroes the Hornet and draws it toward your position. As it closes in, hit it one more time. This second impact is critical—it temporarily disrupts the Hornet’s systems, rendering it vulnerable and creating the only safe window for your grenade throw.
Mastering the Grenade Toss: Once vulnerable, the Hornet will unleash a barrage of fire. Immediately duck behind your chosen cover. Observe its attack pattern; it will eventually cease firing to reacquire its target. This 2-3 second lull is your moment. Step out, aim carefully at the stationary or slowly searching Hornet, and lob your Snap Blast Grenade. A direct hit should result in a satisfying explosion. If you miss, do not panic—retreat to cover and repeat the process with your next grenade.
Read more: Where to find the Spaceport Control Tower key in Arc Raiders
Common Pitfalls & Pro-Level Optimization
Mistakes to Avoid: The most common error is rushing the grenade throw while the Hornet is still actively firing. This almost guarantees a wasted grenade and significant health loss. Another is choosing an engagement zone with poor sightlines or flanking routes, allowing other ARC units to stumble into the fight. Finally, under-preparing by bringing only one grenade turns a simple setback into a failed mission.
Optimization Tips for Advanced Players: For efficiency, combine this quest with other objectives in the same zone. Use a long-range weapon to perform the initial two hits from extreme distance, giving you more time to position. If you have a teammate, one can draw fire while the other lines up the perfect grenade shot. Consider using audio cues; the Hornet’s weapon emits a distinct charging sound—the throw should happen just after this sound stops.
Mission Completion & Reward Analysis
Extraction Protocol: Upon the Hornet’s destruction, a clear checkmark will validate the objective. Do not linger. Immediately plot a course to the nearest extraction point. The explosion may attract attention, so move with purpose while keeping your heavy ammo weapon ready for any intercepting patrols.
Reward Breakdown & Blueprint Utility: Successfully concluding the Sparks Fly quest grants you the Trigger ‘Nade Blueprint. This schematic allows you to craft Trigger ‘Nades at your base, providing a sustainable source of this explosive equipment for future raids. It’s a strategic asset that pays for itself over time, freeing you from total reliance on vendor purchases for your explosive needs.
Check out the links below for more such guides:
No reproduction without permission:Tsp Game Club » How to complete Sparks Fly quest in Arc Raiders Master the Sparks Fly quest in Arc Raiders with expert strategies, optimal loadouts, and reward maximization tactics.