TL;DR
- Star Destroyer portals activate after first storm closure with random map spawns requiring vehicle preparation
- You get 90 seconds of unlimited missile fire with 2-second cooldowns and damage scaling based on squad size
- Advanced zoom targeting and strategic positioning maximize elimination efficiency during limited time window
- Solo players deal up to 90 damage while coordinated teams can strategically control entire endgame zones
- Proper portal timing and mobility planning are critical for beating opponents to this game-changing advantage
The Fortnite Star Wars finale introduces one of the most powerful battlefield assets ever seen in the game. As the seasonal event concludes, Epic Games has deployed the iconic Star Destroyer as a strategic game-changer that can completely shift match dynamics when mastered properly.
Successfully accessing this weapon requires precise timing awareness. You must survive until the second storm phase begins, meaning the initial safe zone has completely collapsed. This survival requirement creates natural competition among remaining players seeking this advantage.

When the first storm finishes closing, an unmistakable alert broadcasts across your screen: “Star Destroyer Portal is Open”. This notification serves as your starting signal to begin the hunt for portal access.
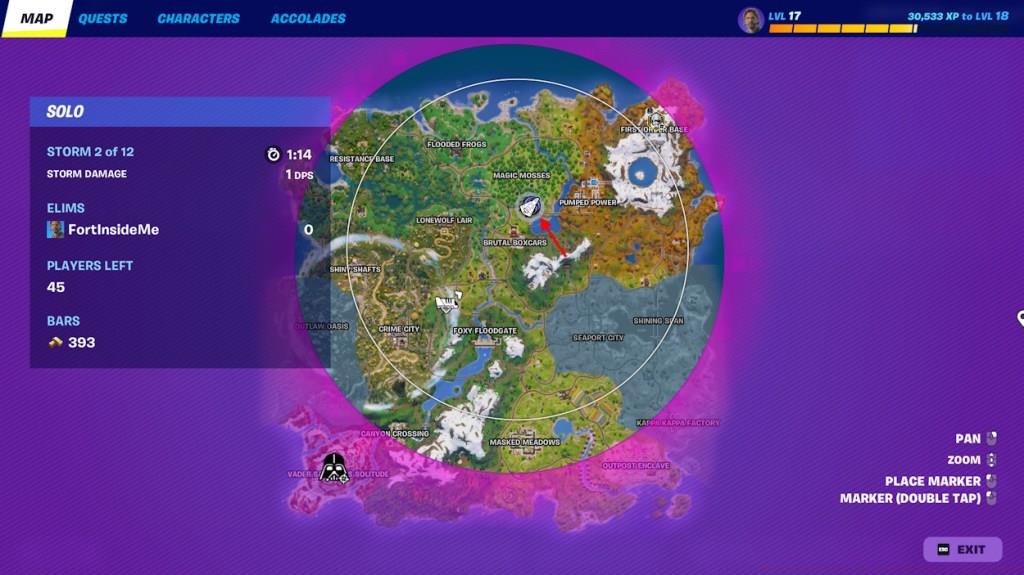
Portal positioning follows completely random generation patterns across the Fortnite Chapter 6 Season 3 landscape. Unlike fixed locations, this unpredictability demands adaptive navigation strategies. Having rapid transportation ready becomes essential – consider keeping a vehicle fueled and nearby during the first storm phase to ensure you can outrace competitors when the portal activates.
Pro Tip: Position yourself near central map areas during first storm closure to minimize travel distance regardless of portal spawn location. The time advantage gained from strategic positioning often determines who secures the Star Destroyer first.
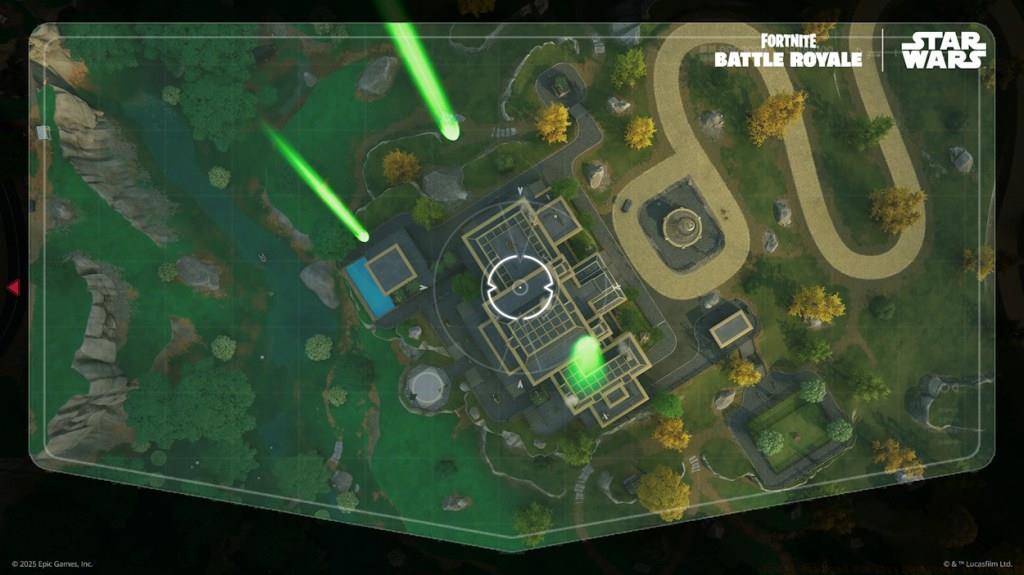
Upon locating the portal, you’ll recognize familiar Star Wars aesthetic elements resembling previous lightsaber training access points. The visual consistency helps experienced players quickly identify the interaction point amid chaotic battlefield conditions.
Engage the portal by pressing E to interact, which instantly transports you inside the Star Destroyer’s weapon control station. The transition is immediate, placing you in command of devastating orbital firepower.
The control interface allows full 360-degree targeting with powerful laser missiles. For precision strikes, utilize the alternate fire button to activate zoom functionality before launching projectiles. This telescopic targeting is crucial for hitting distant or mobile enemies effectively.
Immediately upon entry, a critical 90-second countdown timer appears prominently on your display. This strict time limitation defines your strategic window for maximum impact. When the timer expires, the system automatically ejects you back to the battlefield surface.
Weapon systems provide unlimited ammunition reserves coupled with a brief 2-second firing cooldown. This combination enables continuous barrage tactics – maintain constant missile pressure on enemy positions without conservation concerns.
Advanced Tactics: Prioritize high-ground targets and enemy structures first to eliminate positional advantages. Scan for player-built fortifications and concentrated enemy groups to maximize each missile’s elimination potential.
Common Mistake: Many players waste precious seconds adjusting aim unnecessarily. The missile travel time requires leading moving targets, so practice anticipating enemy movement patterns during earlier game phases.
The Star Destroyer’s combat effectiveness incorporates sophisticated damage scaling mechanics that adjust based on your current squad size. This intelligent balancing ensures both solo players and full teams can benefit meaningfully from controlling this powerful asset.
Solo operators achieve maximum impact with up to 90 damage per missile strike, making each shot potentially lethal against weakened opponents. The damage algorithm rewards precision and strategic target selection.
For squad play, damage values scale downward to maintain game balance, but the strategic value increases through coordinated targeting. Teams can assign specific members to spot targets while others concentrate fire on high-value objectives.
Strategic Insight: The infinite ammunition system eliminates resource management concerns, allowing complete focus on tactical execution. The consistent 2-second cooldown between shots creates a predictable firing rhythm that skilled players can optimize.
The 90-second operational window demands efficient time utilization. Plan your target sequence before entering – identify enemy concentrations, ongoing fights, and valuable structures during your approach to the portal.
Endgame Application: During final storm phases, the Star Destroyer becomes particularly devastating for disrupting enemy positioning and eliminating players forced into predictable movement patterns by the shrinking safe zone.
Like mastering advanced weapon systems in tactical shooters, effectively utilizing the Star Destroyer requires understanding its role within broader match strategy rather than just its raw damage potential.
Action Checklist
- Secure vehicle during first storm phase for rapid portal access
- Position near central map areas before first storm closure
- Monitor for ‘Star Destroyer Portal is Open’ notification
- Use zoom targeting for precision strikes on high-value targets
- Prioritize enemy structures and concentrated groups first
No reproduction without permission:Tsp Game Club » How to Find and Use Star Destroyer in Fortnite Master the Star Destroyer in Fortnite: Location strategies, combat tactics, and advanced damage mechanics explained