TL;DR
- Complete runs for 10-20 Bonds based on difficulty level
- Bank vaults and ghost towns offer 4-6 Bonds with proper execution
- Fort Constitution provides 6-7 Bonds but requires heavy weaponry
- Challenge board quests deliver consistent Bond income streams
- Strategic Bond spending unlocks powerful pre-run advantages
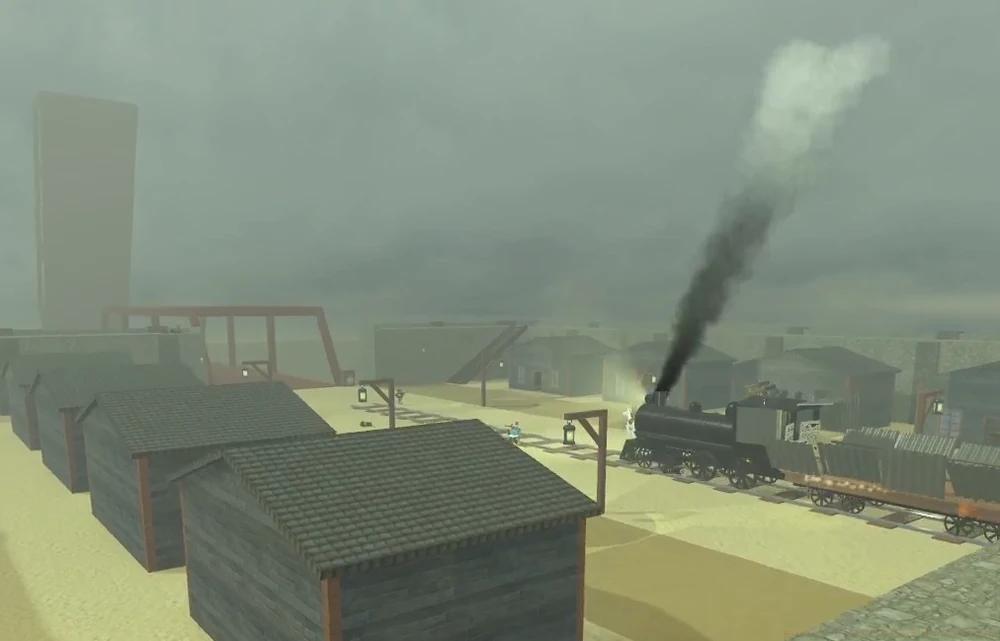
Dead Rails operates with a dual-currency economy where standard cash from selling valuables during escapes contrasts with Treasury Bonds, the premium resource that enables pre-run preparation. These distinctive reddish notes scattered throughout abandoned settlements serve as your ticket to acquiring superior classes, permanent boosts, and specialized equipment before embarking on your journey. Mastering Bond acquisition transforms your gameplay experience by providing strategic advantages that significantly increase survival odds.
Treasury Bonds represent the cornerstone of progression in Dead Rails, making efficient farming essential for players aiming to dominate leaderboards and secure consistent victories. Unlike temporary currency lost upon death, Bonds persist across runs, allowing you to build permanent advantages. Understanding their strategic value is crucial for optimizing your gameplay approach and resource allocation.

Successfully completing escape runs represents the most reliable Bond source, with Normal mode yielding 10 Bonds and Nightmare difficulty rewarding 20 Bonds per successful extraction. This method provides consistent returns while honing your core gameplay skills, making it ideal for beginners establishing their foundation.
The Challenge Board in your lobby presents targeted objectives like Tame a Unicorn or Bounty Hunter that automatically credit Bonds upon completion. These quests often align with natural gameplay flow, allowing you to earn additional Bonds without significantly altering your strategy. Regular challenge completion can substantially boost your hourly Bond earnings.
Large ghost towns infested with zombies frequently contain structures housing 4-6 Dead Rails Bonds. Employ mounted combat tactics by utilizing horses for superior mobility while engaging undead threats. This approach maximizes looting efficiency while minimizing confrontation risks in these high-density enemy zones.

Bank buildings within ghost towns feature a unique zombie variant distinguished by a long white beard and hat. Eliminating this special enemy yields a five-digit vault code essential for accessing the secure chamber. Alternatively, deploying Dynamite provides forced entry at the cost of potential Bond reduction from damaged contents.
Successfully accessing bank vaults typically rewards 4-6 Treasury Bonds, though compromised security measures may diminish returns. This high-risk, high-reward approach demands careful preparation and timing to maximize profitability.
Sterling Town presents a unique looting opportunity as its central structures remain zombie-free. Systematic exploration of these buildings can net approximately 4-6 Bonds with significantly reduced combat requirements, making it ideal for stealth-focused players or those with limited combat resources.

Fort Constitution positions approximately 10-30 km or 50-60 km from starting locations, presenting extreme danger zones populated by firearm-equipped zombies. Only venture into these areas when properly equipped with high-tier weapons, ample ammunition, and quality protective gear to withstand the intensified opposition.
Conquering Fort Constitution requires eliminating all hostile forces including Captain Prescott, whose defeat grants vault access authorization. The secured chamber contains 6-7 Bonds alongside a deployable Cannon, offering the game’s most substantial single-location Bond yield.

Effective Bond management begins with prioritizing purchases that provide the greatest survival and farming advantages. Classes with enhanced mobility or combat capabilities typically offer superior return on investment, while permanent boosts create compounding benefits across multiple runs. Consider your playstyle and current limitations when allocating these precious resources.
Common Bond acquisition mistakes include venturing into high-risk areas under-equipped, neglecting challenge board opportunities, and inefficient looting routes. Mitigate these errors through proper gear assessment, daily challenge review, and planned navigation paths that maximize structure coverage while minimizing unnecessary engagements.
Advanced farming techniques involve route optimization that sequences multiple Bond locations within single runs. Combine ghost town looting with nearby challenge objectives while maintaining escape viability. This integrated approach can yield 15-25 Bonds per successful extraction when executed properly.

For players seeking comprehensive gameplay mastery, our Complete Guide provides foundational knowledge essential for Dead Rails success. Understanding core mechanics through this resource will significantly enhance your Bond farming efficiency and overall performance.
Weapon selection dramatically impacts your Bond acquisition capabilities. Consult our Weapons Unlock Guide to ensure you’re properly equipped for high-yield locations. The right armament can mean the difference between successful extraction and catastrophic failure.
Class specialization plays a crucial role in optimizing Bond farming strategies. Our Class Guide details optimal loadouts for various playstyles and farming approaches, helping you maximize returns from each investment.

Action Checklist
- Complete daily challenge board quests for consistent Bond income
- Loot zombie-free Sterling Town structures for 4-6 low-risk Bonds
- Raid bank vaults using codes from bearded zombie or Dynamite alternatives
- Assault Fort Constitution with heavy weaponry for 6-7 high-yield Bonds
- Optimize farming routes by combining multiple Bond locations in single runs
No reproduction without permission:Tsp Game Club » How to Get and Use Bonds in Dead Rails Master Dead Rails Bonds farming with expert strategies, location guides, and advanced optimization techniques
