Complete guide to finding and mastering Merlin’s Thorn spell in Tainted Grail with advanced combat strategies
Understanding Merlin’s Thorn Spell Mechanics
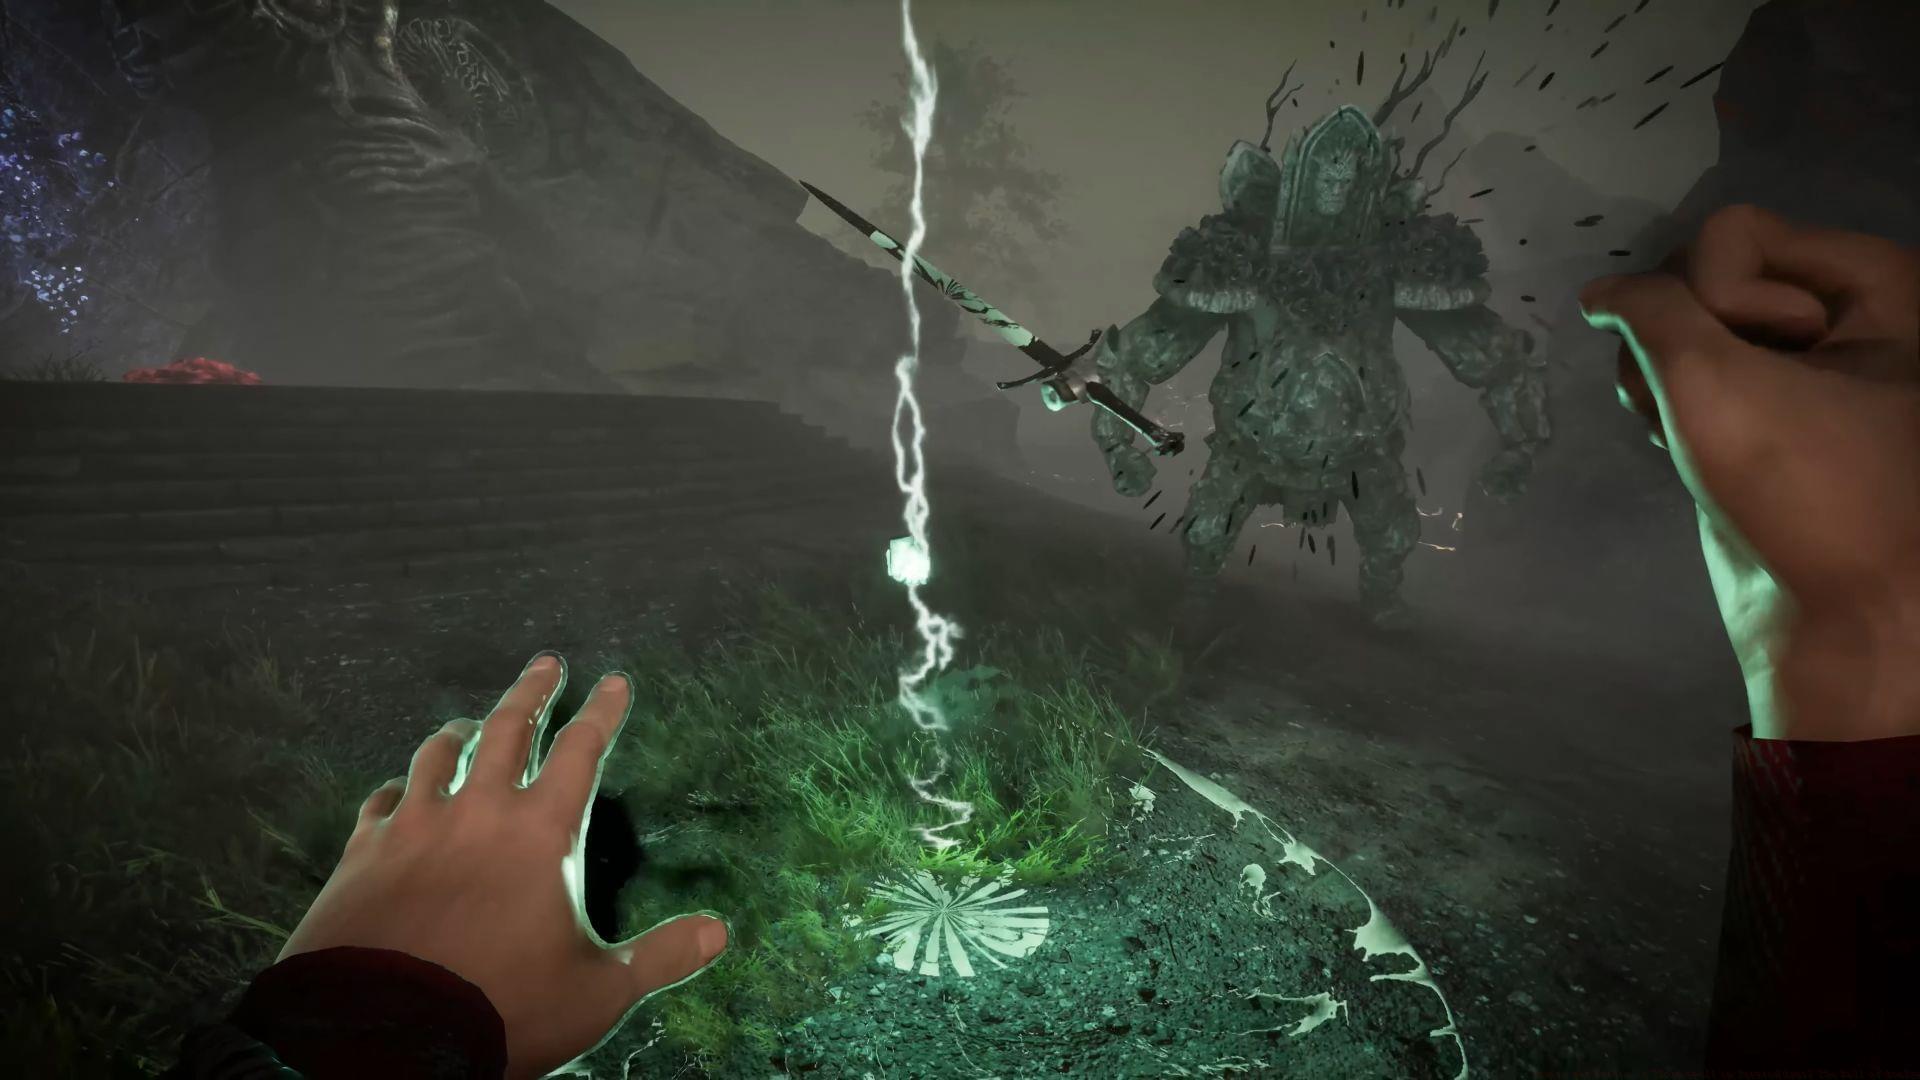
The Merlin’s Thorn spell in Tainted Grail The Fall of Avalon represents one of the most versatile offensive magic options available to players. This spell features a dual-casting system that adapts to different combat scenarios. The light cast deployment sends a single tracking projectile that automatically pursues targets, making it exceptionally reliable against evasive enemies. Meanwhile, the heavy cast variant unleashes a rapid sequence of up to seven smaller projectiles that can devastate grouped opponents or rapidly deplete a single target’s health bar.
What makes this spell particularly valuable is its damage range of 151-176 total output, which can be further enhanced through character build optimization. The projectiles possess innate homing capabilities, reducing the need for precise aiming during chaotic battles. This spell shines brightest during boss encounters and situations where you’re overwhelmed by multiple adversaries, providing both single-target elimination and crowd control capabilities in one package.
- Type: Homing projectile
- Fires one homing magic projectile at a target
- Type: Projectile burst
- Damage: 151–176 total
- Charges and releases up to seven smaller projectiles in a quick burst
Navigation to the Hidden Cave Location
This magical artifact resides within the same cavern system associated with The Last Voyage questline. If you’ve already begun this narrative thread, you’ll find yourself perfectly positioned to acquire Merlin’s Thorn without additional quest navigation. The cave entrance is typically marked by deteriorating boats and maritime debris, hinting at its connection to naval expeditions of Avalon’s past.
Upon entering the cavern, proceed past the initial boat wreckages that serve as environmental storytelling elements. Continue advancing through the primary tunnel until you encounter a critical path division. This fork in the road represents your first major navigation decision—always choose the left passage. The developers have provided subtle visual cues: this route features strategically placed torches that illuminate the way forward, though these become less frequent as you delve deeper.
The most challenging segment emerges as you enter a profoundly dark section where visibility drops significantly. Many players report disorientation in this area, as the environmental design intentionally obscures landmarks. During this phase, maintain constant contact with the left-wall surface—this tactile navigation method prevents circular wandering and ensures progressive advancement toward your objective.
Retrieving the Spell from the Shadow Chest
The treasure chest containing Merlin’s Thorn is cunningly concealed within the darkest portion of the cave network. As you navigate the left-wall path through the low-visibility zone, remain vigilant for a subtle recess in the cliff face. The chest is deliberately positioned in shadows, tucked away from immediate line of sight to challenge your observation skills.
Successfully claiming your prize requires coming prepared with lockpicks—this container is secured and cannot be forced open through conventional means. Once unlocked, you’ll discover not only the coveted Merlin’s Thorn spell scroll but also a supplementary monetary reward. The coins provide welcome resources for other adventuring needs, making this excavation doubly worthwhile.
Pro Tip: Before attempting this retrieval, ensure your character possesses at least three lockpicks to account for potential failed attempts. The lock difficulty is moderate, so investing a few skill points in lockpicking abilities can guarantee success if you’re concerned about resource conservation.
Advanced Combat Strategies and Optimization
Mastering Merlin’s Thorn extends beyond simple acquisition—intelligent deployment separates novice casters from true battle mages. The single homing projectile excels against agile enemies like spectral archers and quick-striking beasts that prove difficult to target with conventional spells. Meanwhile, the multi-projectile burst becomes your weapon of choice when surrounded or facing clustered enemy formations.
Strategic mana management proves crucial for extended engagements. The heavy cast consumes significantly more resources, so reserve it for situations where the damage payoff justifies the expenditure. Consider pairing Merlin’s Thorn with mana-regeneration equipment or spells to maintain casting sustainability during prolonged dungeon explorations.
Advanced Technique: Against particularly resilient bosses, initiate with the heavy cast to apply rapid damage, then switch to light casts for consistent pressure while your mana recovers. This hit-and-run magic approach maximizes damage output while minimizing vulnerability windows.
Common Pitfalls to Avoid: Don’t waste the multi-projectile burst on single, low-health enemies. Avoid using the spell in extremely confined spaces where projectiles may collide with geometry. Never enter the retrieval cave without adequate lockpicking capabilities or backup tools.
No reproduction without permission:Tsp Game Club » How to get Merlin’s Thorn spell in Tainted Grail The Fall of Avalon Complete guide to finding and mastering Merlin's Thorn spell in Tainted Grail with advanced combat strategies