Complete guide to acquiring the Legendary Onna-musha Kosode armor in Assassin’s Creed Shadows with expert strategies
Introduction to Onna-musha Kosode
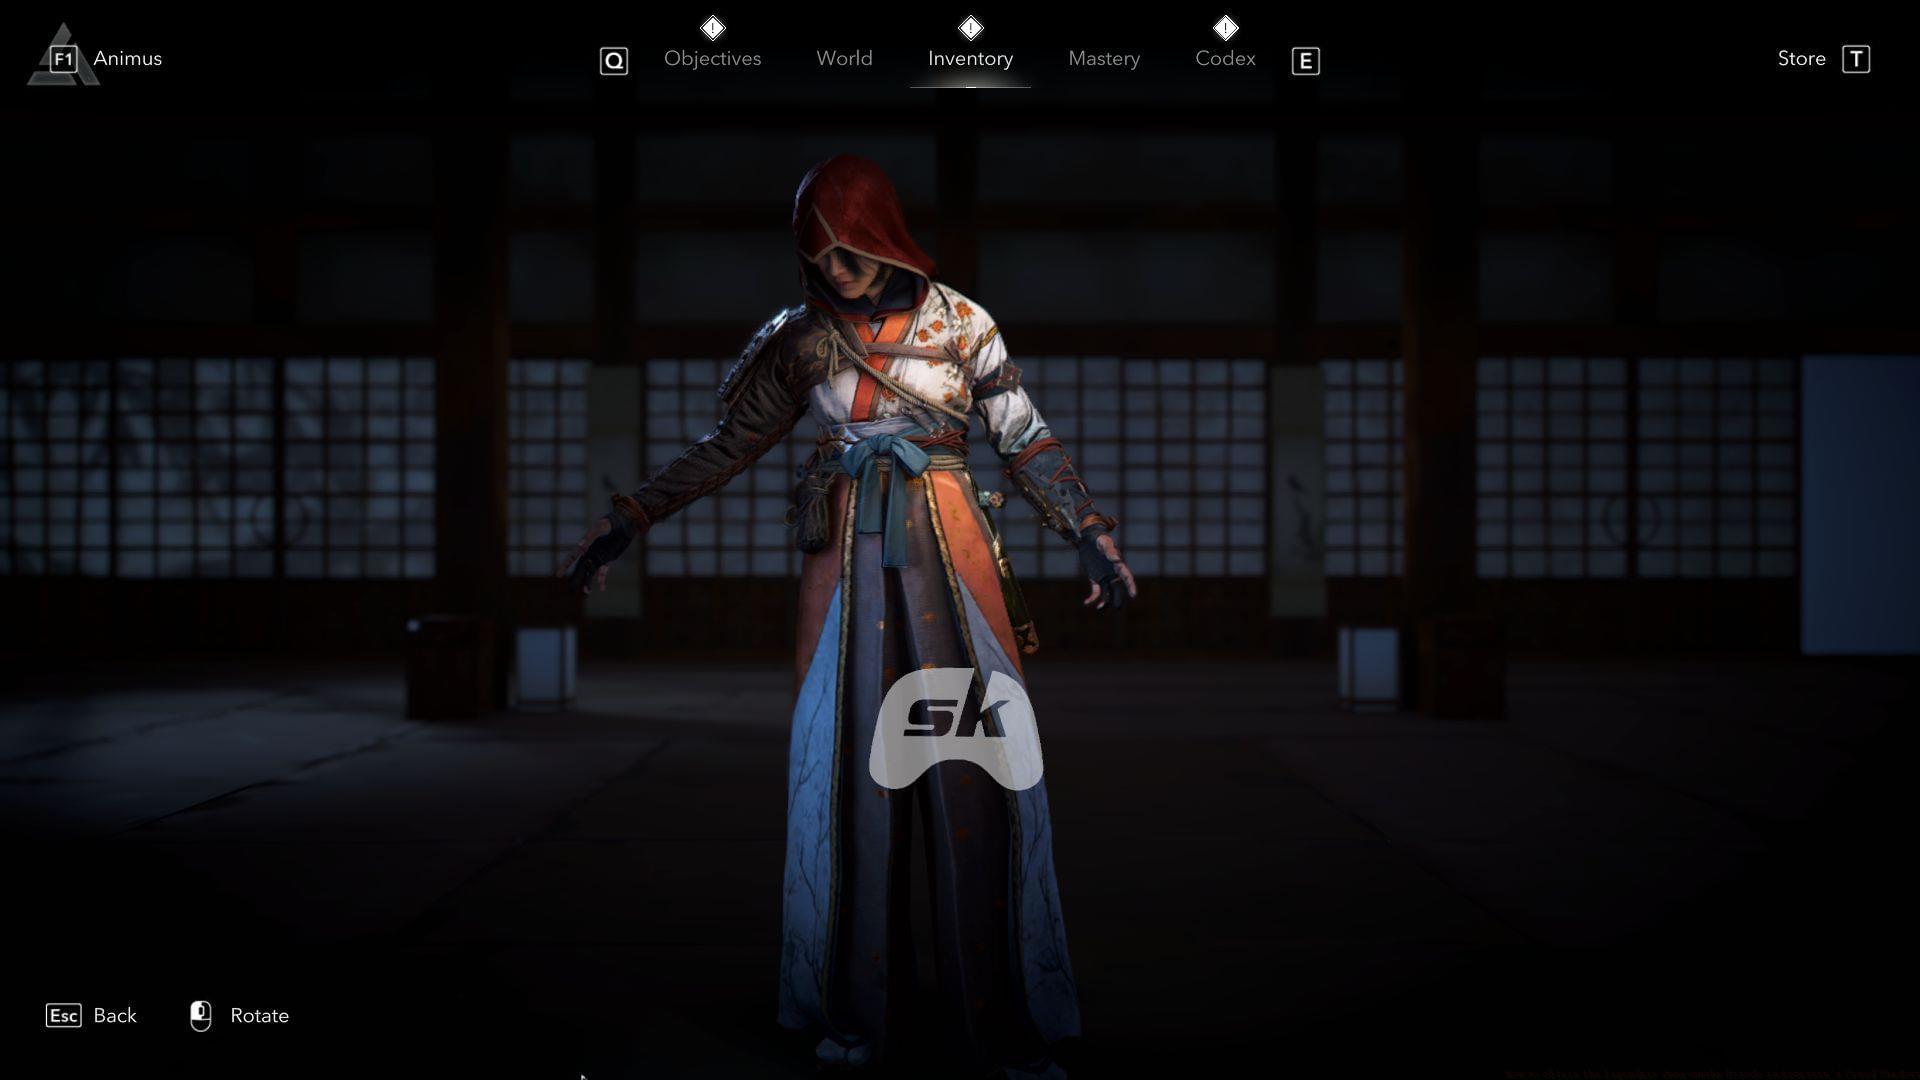
The Legendary Onna-musha Kosode represents one of the most sought-after armor pieces for Naoe mains in Assassin’s Creed Shadows. This exceptional torso equipment significantly enhances mobility-based combat approaches while providing substantial statistical advantages. Players specializing in agile, hit-and-run tactics will find this gear transforms their playstyle effectiveness.
What makes this armor particularly valuable is how it complements Naoe’s inherent strengths. The gear amplifies her natural agility while adding powerful combat modifiers that turn evasive maneuvers into offensive opportunities. However, acquiring this legendary item demands careful planning and strategic execution.
Uda Matsuyama Castle Location and Challenges
Uda Matsuyama Castle presents one of the more challenging strongholds in the Yamato region, positioned northeast of Takatori. This fortified location serves as the exclusive source for the Onna-musha Kosode, but accessing its treasures requires overcoming significant defensive measures.
The castle’s security revolves around four elite Samurai Daisho warriors, each stationed at strategic defensive positions:
- First Samurai Daisho — Southwestern Perimeter (controls main entrance approaches)
- Second Samurai Daisho — Northern Courtyard (patrols interior defenses)
- Third Samurai Daisho — Base of the Central Tower (guards primary structure access)
- Fourth Samurai Daisho — Southeast Courtyard (protects treasure tower entrance)
These guards coordinate their patrol routes, making simultaneous engagements risky. Elimination requires either perfect stealth execution or careful one-on-one combat scenarios to prevent alerting reinforcements.
Samurai Daisho Elimination Strategies
Successfully neutralizing all four Samurai Daisho guards demands either meticulous stealth planning or calculated combat engagements. For stealth approaches, begin with the Southeastern perimeter guard during his isolated patrol cycle. Use elevated positions and environmental distractions to create separation between targets.
Combat-focused players should prioritize the Northern Courtyard Daisho first, as this location provides the most cover and escape routes. Engage during weather conditions that reduce enemy visibility, such as heavy rain or fog. Each guard possesses unique attack patterns—the Central Tower defender favors heavy overhead strikes while the Southeastern guardian employs rapid combo attacks.
Critical Mistake to Avoid: Never engage multiple Daisho simultaneously. Their coordinated attacks can quickly overwhelm even well-equipped players. Instead, use whistle distractions or thrown items to isolate each target before engaging.
Advanced Strategy: Time your assaults during guard shift changes when patrol routes temporarily overlap less frequently. This creates brief windows where guards are more isolated and vulnerable to stealth takedowns.
Legendary Chest Rewards and Stats
After defeating all four Samurai Daisho guards, the legendary chest becomes accessible within the large southeastern tower. This reward cache contains not only the Onna-musha Kosode but also substantial progression resources:
- 3,000 Experience Points (significant level progression boost)
- Four Mastery Points (crucial for advanced skill development)
- Legendary Onna-musha Kosode Armor (primary objective)
The armor itself provides exceptional statistical advantages tailored for aggressive, mobile combat:
- Critical Damage: +24.8% (massively increases high-damage attack potential)
- Vulnerable Damage: +22.6% (exploits enemy weakness states effectively)
- Tool Daze Buildup: 26.0% (enhances gadget utility in combat)
- Knock down enemies by sliding into them (unique mobility-offensive hybrid ability)
- One Engraving slot (use the Hideout’s Blacksmith to engrave a perk of your choice)
The sliding knockdown ability proves particularly valuable for creating combat openings against tougher opponents or escaping dangerous situations.
Advanced Combat Synergies
The Onna-musha Kosode’s true potential emerges when integrated into specialized build configurations. The critical damage bonus pairs exceptionally well with high-crit weapon builds, particularly those utilizing the Celestial Blade Naginata for devastating combination attacks.
For maximum effectiveness, combine the armor’s sliding knockdown with aerial attack skills. This creates a fluid combat rhythm: slide to create openings, follow with aerial assaults, then use the critical damage bonus to finish disoriented enemies. The tool daze buildup further enhances this by allowing gadget interrupts during longer enemy animations.
Engraving optimization recommendations: Prioritize cooldown reduction for frequent ability usage or additional critical chance to further amplify the armor’s inherent damage bonuses. Avoid defensive engravings as they contradict the armor’s aggressive, mobility-focused design philosophy.
Endgame Application: This armor remains relevant throughout late-game content, particularly in boss encounters where creating attack windows through knockdowns provides crucial damage opportunities against health-sponge enemies.
No reproduction without permission:Tsp Game Club » How to obtain the Legendary Onna-musha Kosode in Assassin’s Creed Shadows Complete guide to acquiring the Legendary Onna-musha Kosode armor in Assassin's Creed Shadows with expert strategies