Master Overwatch 2 Stadium with Pharah: Ultimate build guide, strategic upgrades, and advanced aerial tactics
Pharah’s Stadium Debut and Core Playstyle
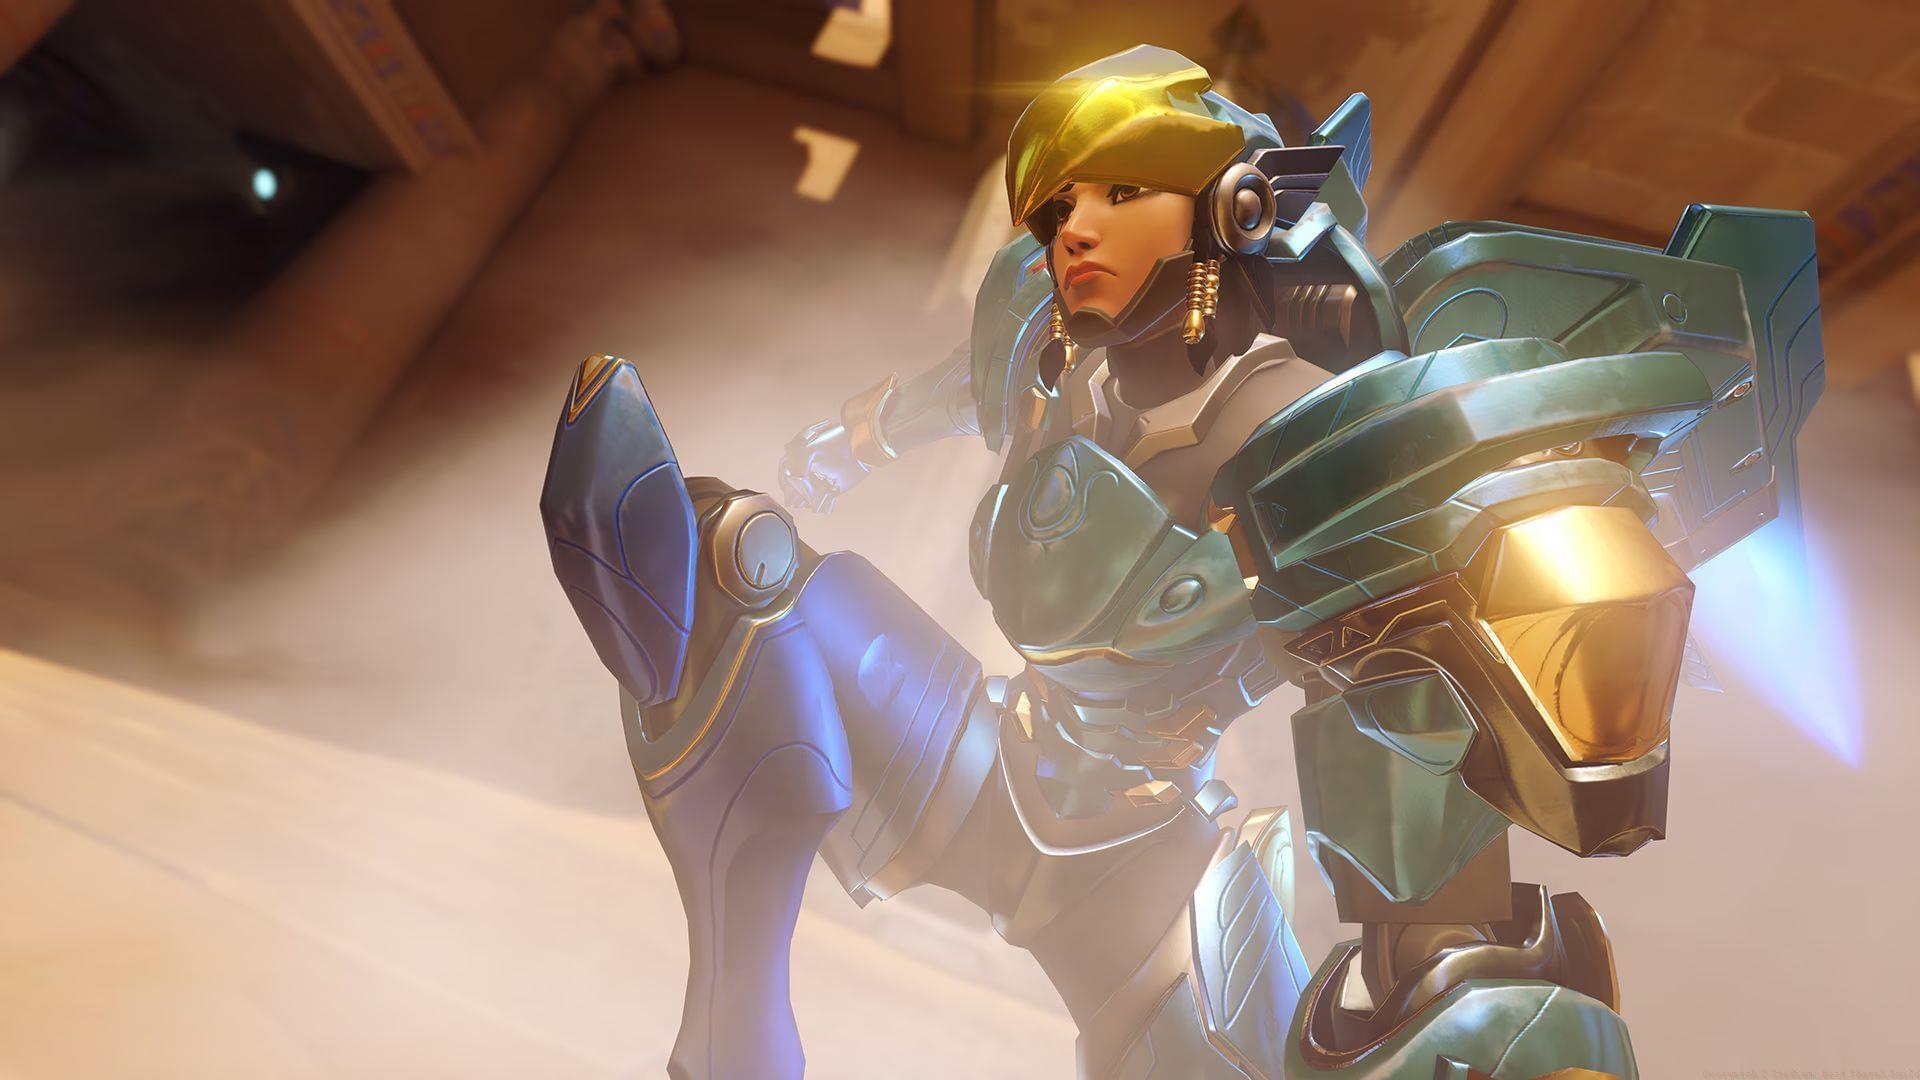
Pharah enters the Overwatch 2 Stadium arena as a dominant aerial force with the latest seasonal update. This fan-favorite flying hero brings explosive potential that can single-handedly shift match outcomes. Her comprehensive ability kit enables unique tactical approaches, team synergy combinations, and meta-defining play patterns that reward strategic thinking.
Strategic Insight: Pharah’s aerial mobility provides exceptional high-ground control, allowing you to pressure opponents from angles most heroes cannot effectively counter. Mastering vertical space management becomes crucial for maximizing her damage output while minimizing exposure to ground-based threats.
You might be interested in: Overwatch 2 Stadium: Best Orisa build
Round-by-Round Upgrade Strategy
Early Game Foundation (Round 1)
Begin with fundamental power enhancements to establish your damage presence. No new ability unlocks are necessary initially, allowing you to conserve resources for critical mid-game upgrades.
Essential early purchases include:
- Nano Cola: Provides 20% ability power increase for consistent damage output from the start.
- Overcharged Ordnance: Boosts ability power by 10% while expanding Mini Rocket blast radius by 25% for improved area denial.
- Evasive Maneuvers: Transforms Concussive Blast into a homing projectile after using Jump Jets, applying 1.5-second hindrance on direct hits for crowd control.
- Helix Inhibitor: Delivers 20% ability power enhancement plus 20% slow on Concussive Blast for two seconds, creating engagement opportunities.
Mid-Game Power Spikes (Round 2)
Maintain your established loadout foundation while considering these pivotal upgrades if resources permit:
- Champion’s Kit: Massive 35% ability power spike that significantly increases your threat level.
- Iridescent Iris: Combines 20% ability power with 10% cooldown reduction, plus grants 100 Overhealth for three seconds after ultimate usage.
- Extra Charge: Provides additional Concussive Blast charge for enhanced mobility and disruption frequency.
Pro Tip: If you skipped previous premium items, prioritize Champion’s Kit for the most substantial power increase relative to cost.
Check out: Overwatch 2 Stadium: Best Juno build
Late Game Optimization (Round 3)
Transition from pure damage to survivability and ultimate enhancement. Replace earlier items like Nano Cola and Overcharged Ordnance with these superior options:
- Lumerico Fusion Drive: Grants 50 Armor plus 15% ability power, with automatic 50 armor/shield restoration over three seconds after each ability use.
- Iridescent Iris: Maintains its value with ability power, cooldown reduction, and ultimate-triggered Overhealth synergy.
- Carpet Bomb: Critical ultimate enhancement providing 40% movement speed during Barrage plus 50% duration extension for team wipe potential.
Final rounds require no additional purchases, allowing you to perfect your fully upgraded build.
Advanced Tactical Execution
The optimized Pharah build focuses on establishing her as a formidable poke-style combatant. You’ll consistently pressure enemies using primary fire and enhanced Concussive Blast capabilities. The homing mini-missiles serve dual purposes: dealing supplemental damage while disrupting enemy team coordination and positioning.
With the amplified and extended Barrage ultimate, you possess exceptional team fight cleanup potential. Success with this build demands focused survivability improvement—your effectiveness directly correlates with time spent actively engaging rather than respawning.
Advanced Positioning Techniques
Utilize vertical cover and unpredictable movement patterns to avoid hitscan counters. Practice using Concussive Blast for rapid repositioning during engagements, not just for damage. The homing modification allows you to focus on movement while still applying pressure.
Ultimate Timing Strategy
Barrage becomes significantly more effective with Carpet Bomb, but remains high-risk. Coordinate with teammates who can provide shields or distraction. Ideal activation occurs when enemies are committed to an engagement with limited escape options.
Also read: Overwatch 2 Stadium: Best Zenyatta build
Common Mistakes and Counterplay
Avoid These Critical Errors
Overextension Without Support: Pharah’s aerial nature can create false security. Always maintain escape routes and awareness of cover positions. Getting caught without Jet Jump availability often means certain death.
Poor Resource Management: Concussive Blast serves multiple functions—using it exclusively for damage leaves you vulnerable. Balance offensive and defensive usage based on situational needs.
Enemy Counter Strategies
Be particularly cautious against hitscan heroes like Soldier: 76 and Widowmaker. Use environmental cover extensively and engage from unexpected angles. Against barrier-heavy compositions, focus on flanking routes and ultimate timing when barriers are depleted.
Advanced Optimization Tips
Master the rhythm of ability rotations to maintain constant Lumerico Fusion Drive healing. Time your engagements around Concussive Blast availability for both offensive and defensive flexibility. Practice Barrage from various elevations to minimize your hitbox exposure during activation.
This comprehensive guide covers everything required to dominate with Pharah in Overwatch 2 Stadium. For additional expert guides and competitive insights, continue following Sportskeeda’s esports and gaming coverage.
No reproduction without permission:Tsp Game Club » Overwatch 2 Stadium: Best Pharah build Master Overwatch 2 Stadium with Pharah: Ultimate build guide, strategic upgrades, and advanced aerial tactics