Master Wuthering Waves Melody Orchestration puzzles with expert solutions, location guides, and strategic completion tips
Understanding Melody Orchestration Mechanics
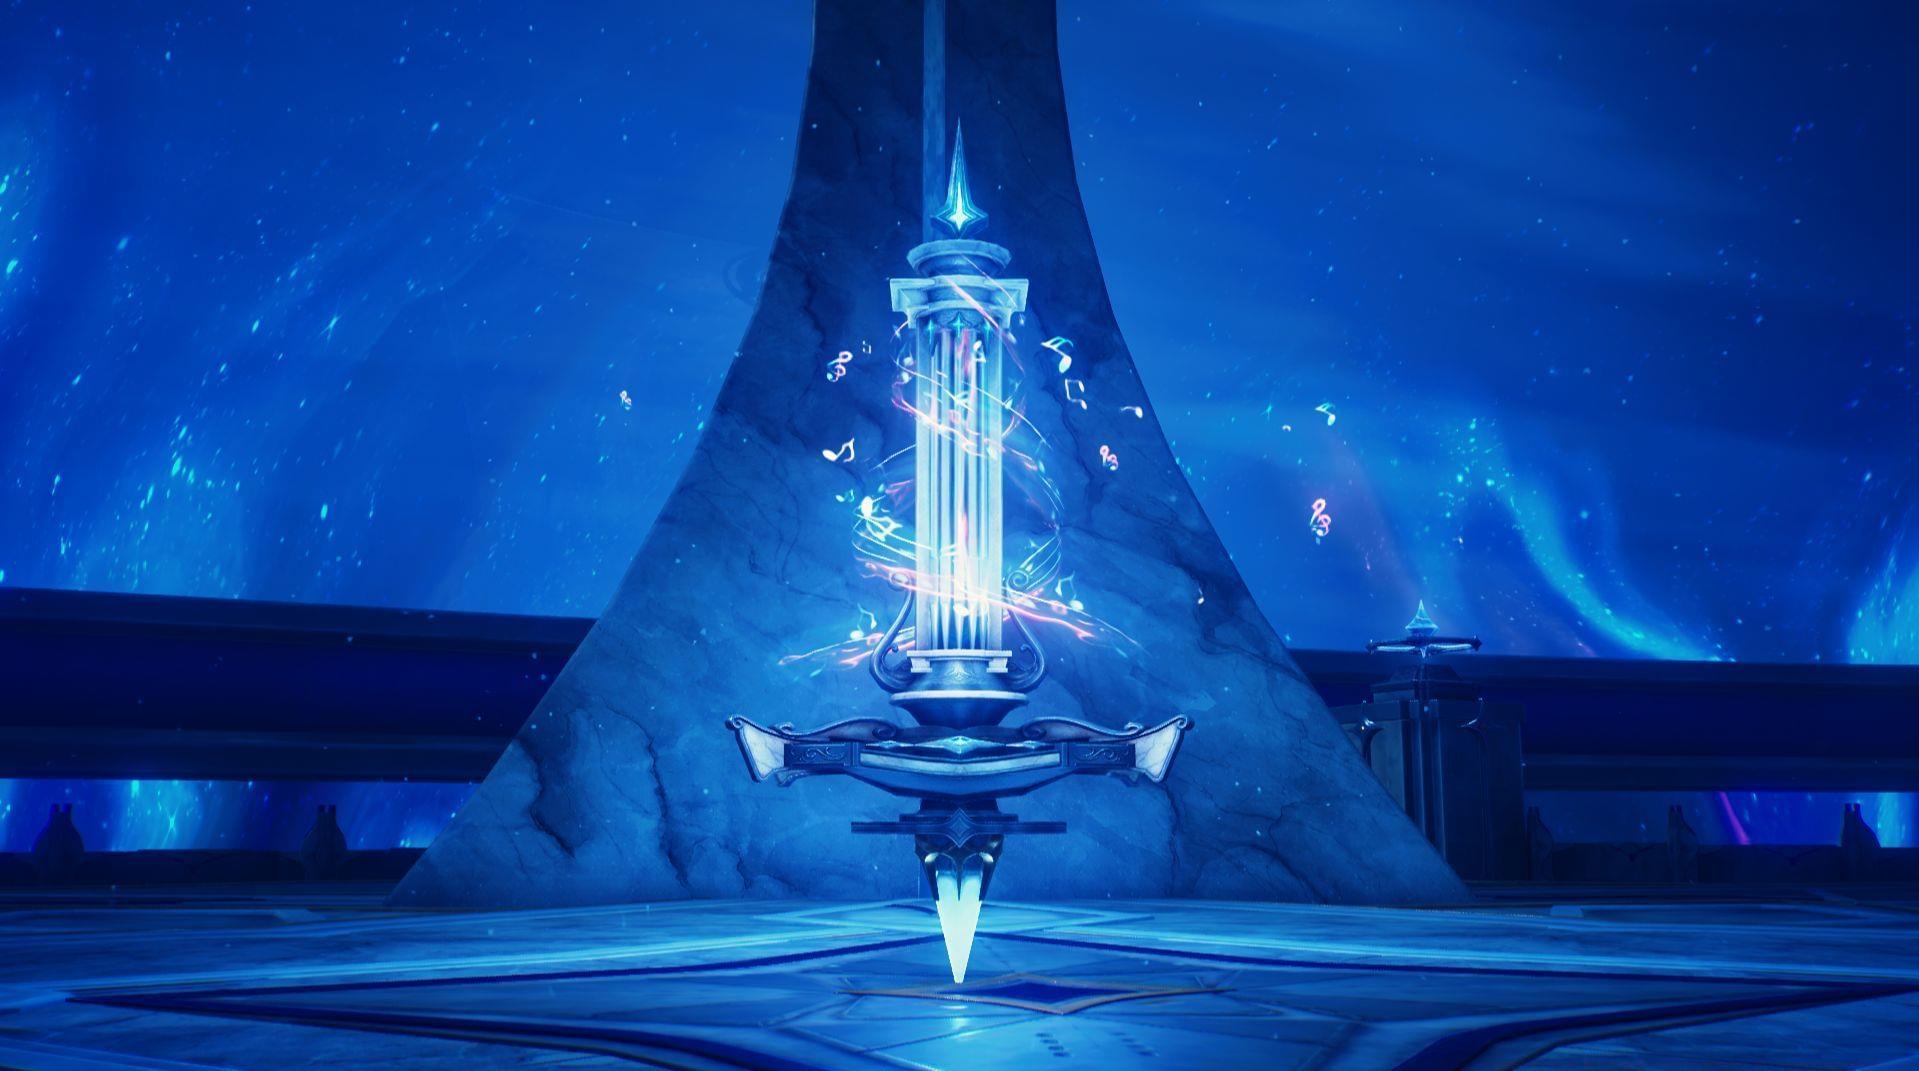
Melody Orchestration represents a sophisticated puzzle system within Wuthering Waves’ Fabricatorium of the Deep region. These musical challenges require players to connect colored notes to numbered tiles in specific sequences. Eight distinct puzzles comprise this system, with three integrated into the Dreamcatchers in the Secret Garden narrative arc and five accessible after completing the main storyline and unlocking the full map. Successfully solving each orchestration grants valuable resources including Astrites and Sacred Salts, making them essential for character progression and resource accumulation.
The fundamental mechanic involves clicking on starting notes and dragging connections to adjacent tiles while following numerical sequences. Each puzzle introduces increasingly complex patterns that test spatial reasoning and pattern recognition skills. Understanding the core mechanics before attempting the more challenging puzzles will significantly improve completion efficiency.
Main Story Puzzle Solutions (1-3)
The initial Melody Orchestration serves as an introductory tutorial with a single note configuration. This puzzle automatically integrates into your main quest progression. Simply interact with the solitary note and drag your cursor across all connecting tiles until reaching the final numbered destination. The linear nature makes this an ideal learning opportunity for understanding basic connection mechanics.
Puzzle two introduces the dual-note system that defines most orchestration challenges. Begin by connecting the pink note to all tiles marked “1” positioned above it, then proceed to connect “3” and “4” tiles before finally linking to the pink “5” endpoint. Complete the sequence by connecting the blue note to the remaining unconnected tiles. The key strategy involves ensuring neither note’s path blocks the other’s required route.
The third orchestration puzzle further develops the dual-note concept with more complex routing. Initiate from the pink note and systematically connect all “1” and “2” tiles until reaching the “3” tile, then proceed to the final pink destination. Once the pink sequence concludes, commence from the blue note and connect all remaining tiles to finalize the challenge. This puzzle teaches advanced pathfinding while maintaining separation between note trajectories.
Post-Story Puzzle Solutions (4-8)
Navigate to the northeastern Resonance Beacon within Anima Cradle and glide southwest to discover the fourth Orchestration Altar. Engage with the mechanism and establish a connection originating from the blue note to tile “3” on the right side. Proceed upward, then left, followed by rightward movement before connecting with “4” and “5” tiles. Subsequently, link the pink note with the remaining “2,” “3,” and “5” tiles to solve this moderately complex arrangement.
After conquering the fourth challenge, travel northwest within Anima Cradle to locate another Orchestration Altar. For this configuration, connect the blue note exclusively to the number “1” and “2” tiles positioned above it before establishing connection with the “5” tile. Finalize by linking all remaining tiles with the pink note. This puzzle emphasizes selective connection strategies rather than comprehensive coverage.
Journey to Fallen Grave to encounter another Orchestration Altar. Initiate from the pink note and connect all “1” tiles except the one positioned beneath the blue note, then link with number “3” and the pink “5” tiles. Conclude by connecting the remaining tiles with the blue note. This configuration requires strategic omission of certain tiles to create viable paths.
Teleport to Sanctuary of Faith and proceed eastward to find an Orchestration Altar. This arrangement demands connecting the blue note with the number “3” tile located either right or below it, then navigating around the blue “5” tile until establishing connection. Complete by linking the pink note with the remaining “3” and pink “5” tiles. Circular routing patterns characterize this challenge.
Locate the final Orchestration Altar in South Energy Hub. From the blue note, proceed rightward and connect with “3” and “5” tiles. Upon completion, link the pink note with all remaining tiles to conclude the challenge sequence. This represents one of the more straightforward post-story puzzles.
Advanced Strategies and Optimization
Successfully navigating Melody Orchestration puzzles requires avoiding common pitfalls. Never attempt to connect tiles diagonally – movement is restricted to horizontal and vertical directions only. Ensure you complete one note’s entire path before starting the second, as simultaneous connection attempts often create unresolvable blockages. Watch for tile numbering sequences carefully, as missing a single numbered tile will require complete restart.
Advanced players should develop systematic approaches: always survey the entire grid before making initial connections, identify potential blockage points between note paths, and prioritize completing the more constrained note first. For maximum efficiency, complete all three story puzzles during quest progression to avoid backtracking, then systematically clear the remaining five using fast travel points to minimize travel time between locations.
Each completed altar challenge rewards 300 Sacred Salts and between 30-40 Astrites, making these puzzles valuable for resource accumulation. Consider completing them during resource farming routes or when needing quick currency for character upgrades. The total potential reward across all eight puzzles represents significant progression value for time investment.
No reproduction without permission:Tsp Game Club » Wuthering Waves Melody Orchestration puzzles: All 8 locations and solutions Master Wuthering Waves Melody Orchestration puzzles with expert solutions, location guides, and strategic completion tips