Complete guide to finding all Chroma Elixir Shards with practical strategies and optimization tips
Understanding Chroma Elixir Mechanics
Mastering Chroma Elixir Shard collection in Clair Obscur: Expedition 33 provides crucial advantages for party survival. These valuable items permanently enhance your healing capacity, allowing complete party recovery when outside combat situations. The elixir automatically replenishes whenever you utilize Expedition Flags for resting, making capacity increases vital for extended exploration.
Pro Tip: Always prioritize shard collection before tackling major boss encounters, as the additional healing capacity can determine battle outcomes.
Searching for gaming guidance? Explore our comprehensive coverage of RPG mechanics and adventure titles.
Important: Subsequent content reveals specific game location details. Each shard requires solving three spherical “lock” mechanisms within distinctive Paint Cages. While three cages appear during normal progression, locating them demands thorough environmental exploration. The four shard regions comprise: Flying Waters, Ancient Sanctuary, Stone Wave Cliffs Cave, and Forgotten Battlefield.
Chroma Elixir Shards remain secured inside specialized containers called Paint Cages. These structures appear as domed formations containing swirling black energy patterns. Distinctive white illumination emanates from their continuously shifting apertures, making them recognizable from moderate distances.
Accessing cage contents necessitates destroying three separate locking mechanisms. These spherical constructs feature similar black energy patterns and distribute around the immediate cage vicinity. The Free Aim targeting system provides the optimal method for precise lock destruction.
Flying Waters Shard Location
The initial Chroma Elixir Shard awaits discovery within the Flying Waters region, positioned between the entrance and first Expedition Flag. Identify the distinctive shark tail landmark with an enormous chained cage suspended above it.
Lock Destruction Sequence:
Primary lock placement occurs at the shark’s tail extremity. The secondary mechanism hides among green vegetation clusters to the left side. The final lock situates opposite the tail, positioned rightward from a broad, fractured golden pillar featuring spiral designs.
Navigation Strategy: Approach from the main path and scan upward for the floating cage structure. The shark tail provides the most reliable reference point for orientation. Use high ground positions for improved targeting angles on all three locks.
Ancient Sanctuary Shard Location
Progress beyond the Sanctuary Maze Expedition Flag following the primary route to encounter a partially submerged domed structure. This area hosts combat engagements against both Catapult Sakapate and Robust Sakapate enemies.
Combat Preparation: Eliminate both enemy types before attempting shard collection, as their interference complicates precise aiming requirements.
Locate the entrance gap between twin wooden sculptures left of the main structure. Traverse elevated platforms to reach the Paint Cage positioning, observable above a accumulation of pale robotic components.
Lock Positioning Pattern:
The initial mechanism resides leftward from the central point. The subsequent lock conceals behind dual trees rightward from the mechanical debris. The concluding lock hides behind crate stacks positioned at the far right extremity.
Platform Navigation: Time your jumps carefully between platforms, as falling requires restarting the sequence. The robot part pile provides visual confirmation you’ve reached the correct elevation.
Stone Wave Cliffs Cave Shard
The third Chroma Elixir Shard resides inside Stone Wave Cliffs Cave, geographically eastward from the Stone Wave Cliffs primary map region.
After utilizing the secondary grapple point and crossing the extended narrow pathway, turn rightward and descend through the cramped space using the golden rope apparatus.
Lock Distribution Pattern:
All three locking mechanisms arrange sequentially while panning rightward, essentially completing full circular observation. The primary lock perches atop a blimp-style aircraft rightward from the cage position. The secondary mechanism positions on another descending blimp vessel. The concluding lock situates immediately rightward from this position.
Search Technique: Execute methodical rightward scanning from your initial position, as the locks appear in consecutive order. The blimp aircraft serve as unmistakable landmarks for orientation. Missing one lock typically indicates needing to continue the circular search pattern.
Forgotten Battlefield Shard
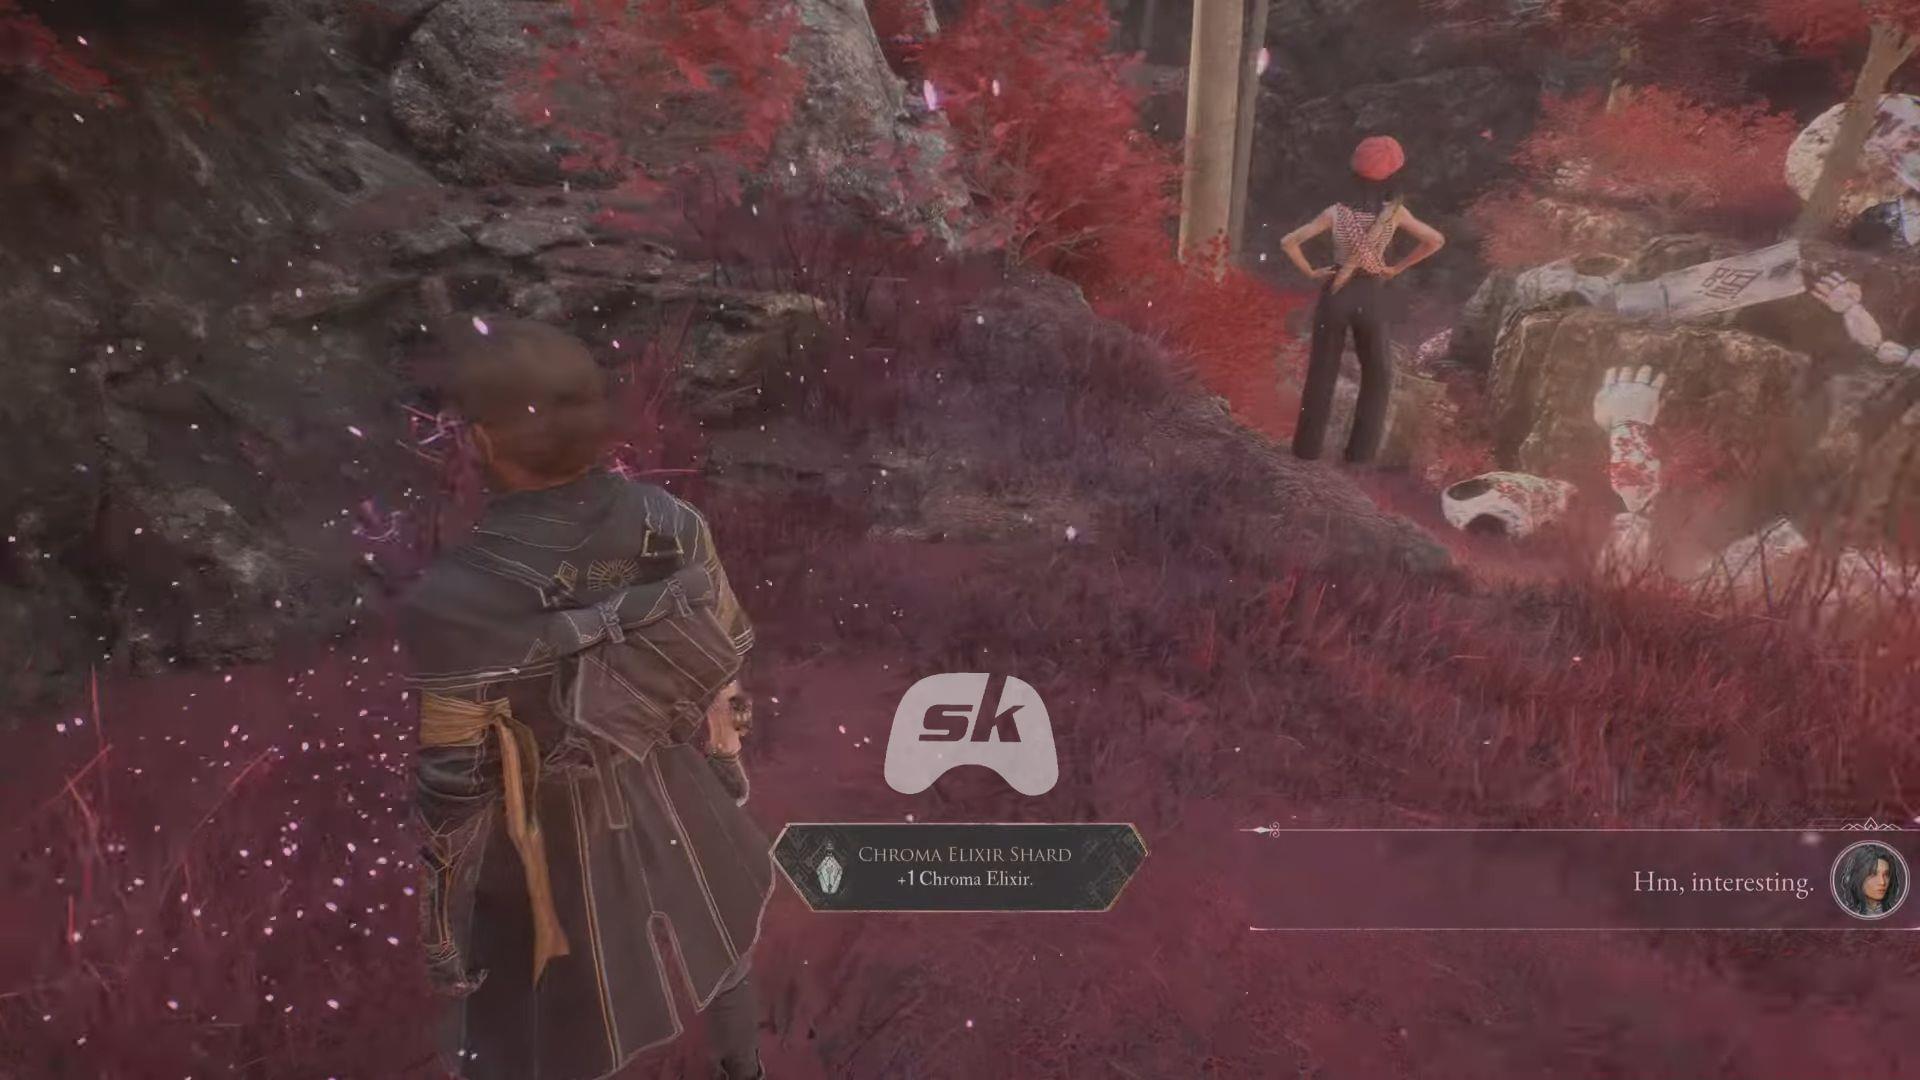
The ultimate Chroma Elixir Shard location lies within the Forgotten Battlefield map sector. Upon reaching the Vanguard Point Expedition Flag, advance forward to encounter The Fading Woman non-player character.
From her position, proceed directly forward, execute a right turn, then immediate left turn to spot the target Paint Cage.
Lock Acquisition Strategy:
The initial mechanism positions directly opposite the cage, concealed behind crate clusters. For the secondary lock, return to the area entrance and examine upward. From that vantage, execute consecutive right turns to locate boxes and barrels containing the final mechanism.
Vertical Targeting: The second lock requires upward aiming, often missed by players focused on ground-level searching. The crate and barrel formations provide cover, requiring careful positioning for clear shot opportunities.
Navigation Shortcut: After speaking with The Fading Woman, follow the main path until the first intersection – the cage becomes visible from this position without needing close approach.
Advanced Strategies & Common Mistakes
Shard Activation Process:
Access the Expedition menu interface to utilize collected shards. The activation prompt displays at the screen’s lower-right corner. Press the corresponding control input to permanently enhance Chroma Elixir capacity within Clair Obscur: Expedition 33.
Advanced Collection Strategies:
Always survey environments from multiple angles before engaging locks. Elevated positions frequently provide superior targeting sightlines. Pre-eliminate hostile entities to prevent combat interruptions during precise aiming sequences.
Common Player Errors:
Many players overlook vertical lock placements, particularly in the Forgotten Battlefield area. Others attempt lock destruction during active combat, resulting in inaccurate targeting. Rushing the circular search pattern in Stone Wave Cliffs Cave causes missed mechanisms.
Optimization Techniques:
Complete shard collection before confronting major story bosses. The enhanced healing capacity significantly improves survival odds during extended encounters. Consider mapping lock locations mentally before engaging to minimize movement between targets.
Check out our additional Expedition 33 coverage:
No reproduction without permission:Tsp Game Club » All Chroma Elixir Shard Locations in Clair Obscur: Expedition 33 Complete guide to finding all Chroma Elixir Shards with practical strategies and optimization tips