Complete Windward (Part 1) quest guide with advanced strategies, common pitfalls, and optimization tips for Avatar Frontiers of Pandora DLC
Quest Overview and Starting Location
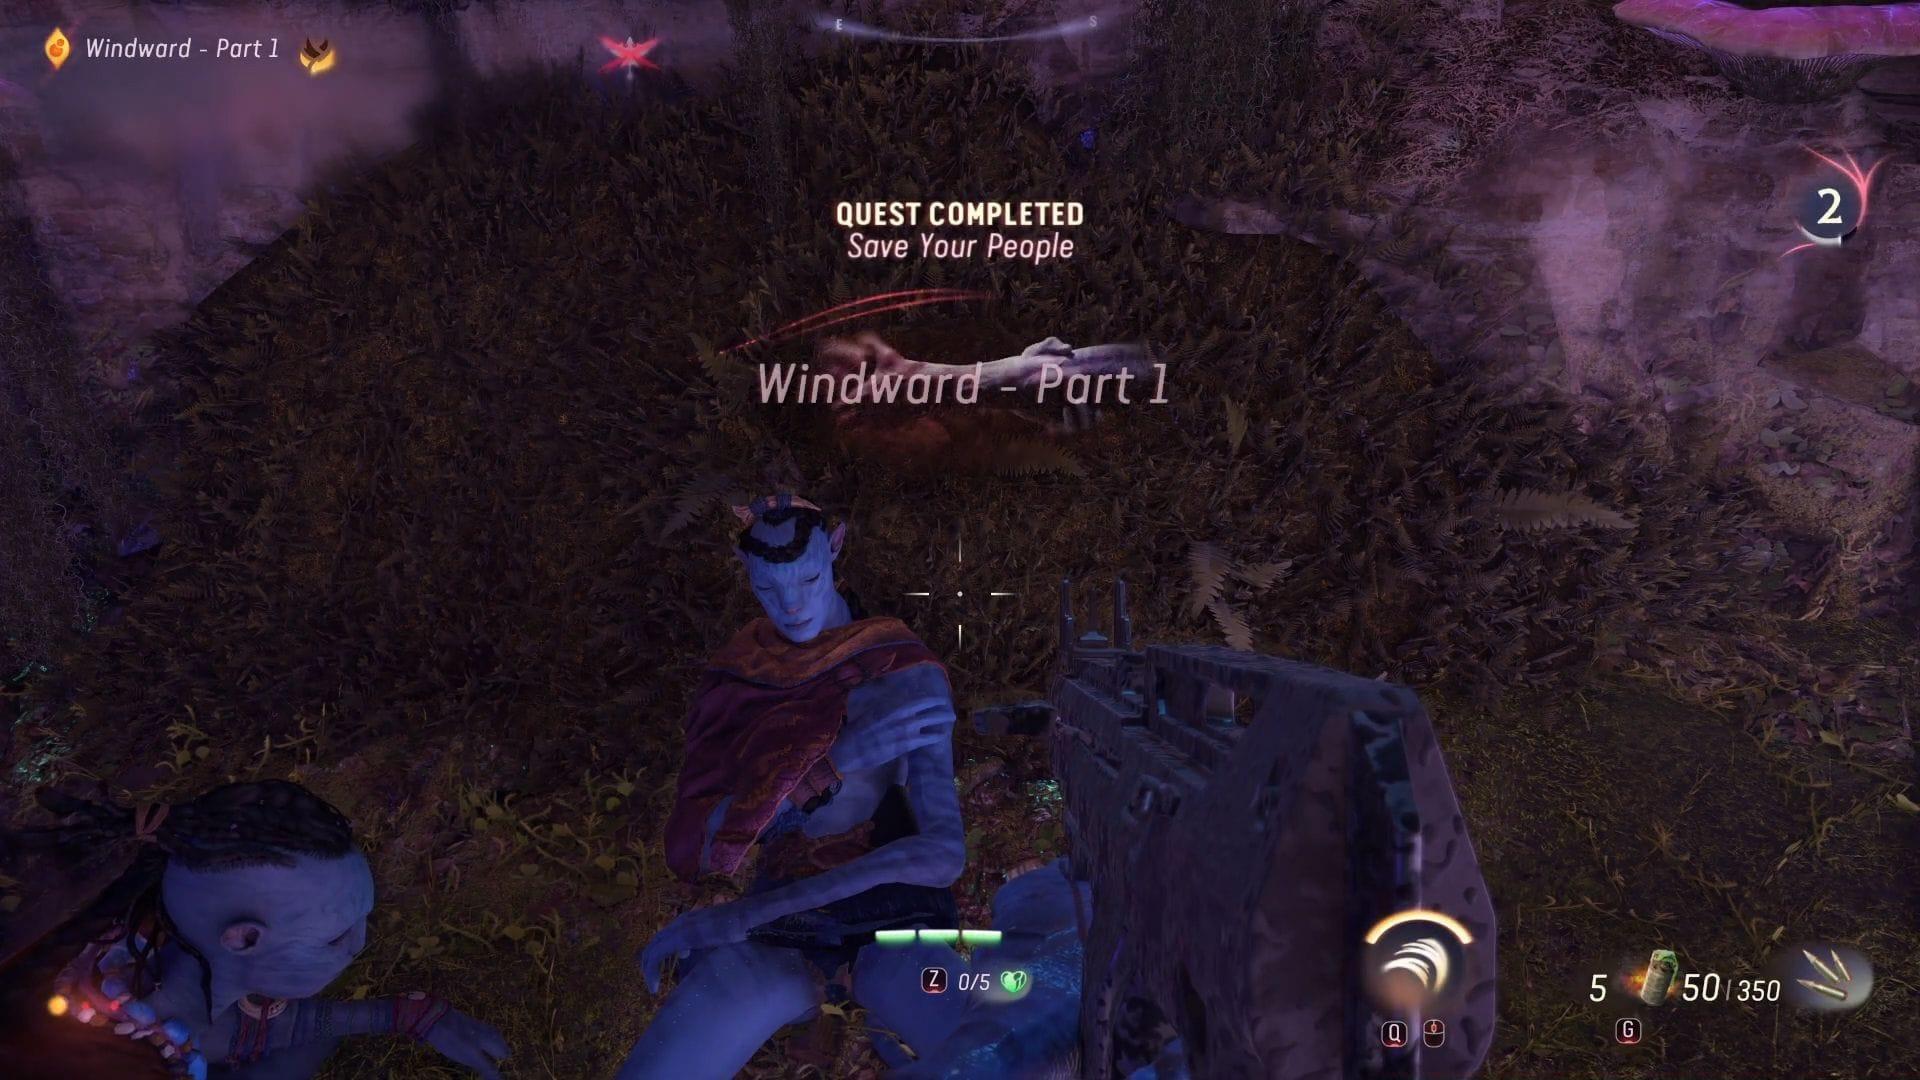
The Windward (Part 1) quest within Avatar Frontiers of Pandora’s From The Ashes expansion DLC content introduces players to a compelling narrative arc centered around locating the elusive Wind Traders faction within the rugged Boundless Range territory. This mission automatically activates during your progression through the Alone storyline when you eavesdrop on crucial Na’vi discussions occurring inside the central Hometree gathering place. Pro tip: Ensure you’ve completed prerequisite story elements and have your Ikran mount available before attempting this quest, as aerial mobility proves essential for success.
Upon receiving the quest objective, navigate using your Na’vi senses to identify the distinctive quest markers that will guide you toward the Wind Traders encampment. The initial interaction sequence with these NPCs establishes the foundation for the assistance you’ll provide throughout this multi-part adventure. Advanced players should note that dialogue choices, while not altering core progression, can provide additional lore context about Wind Trader culture and their significance within Pandora’s ecosystem.
Gondola Stabilization Phase
The stabilization process for the Wind Traders’ damaged Gondola structure unfolds across two distinct operational phases that test both your aerial combat proficiency and resource gathering efficiency. The initial stabilization task demands that you master the Ikran Smash aerial maneuver to systematically eliminate obstructive dead vines entrapping the Rimo’a creature. Strategic approach: Position your Ikran at optimal altitude (approximately 20-30 meters above target) before initiating the smash attack for maximum area coverage and vine destruction efficiency.
The subsequent tool retrieval operation presents a scavenger hunt-style challenge requiring you to locate and secure four essential mechanical implements scattered throughout the surrounding mountainous terrain. Optimization technique: Plot an efficient flight path connecting all four tool locations in a circular route rather than backtracking, saving valuable completion time. Each tool automatically registers in your inventory upon close aerial proximity, eliminating the need for dismounting. Common mistake: Players often miss the subtle audio cues indicating successful tool acquisition – listen for the distinctive chime sound confirming collection.
Once all four implements have been secured, deliver them to Kukulope to advance the Gondola repair sequence. This interaction triggers the next story beat where you’ll join forces with Kukulope to investigate the crash site and search for potential survivors.
Rescue Mission and Cave Navigation
The survivor search operation transports you and Kukulope via Ikran flight to the dramatic Gondola wreckage location, where you must systematically comb the area for signs of life among the debris. Follow the quest indicator until you encounter Leykuni, a surviving Wind Trader currently besieged by hostile RDA security forces. Combat strategy: Prioritize eliminating RDA troopers wielding flamethrowers first, as their area-denial weapons pose the greatest threat in this confined engagement space.
After successfully liberating Leykuni from immediate danger, he reveals critical intelligence about Ulinay’s predicament – injured but alive within a nearby cave system with blocked primary access. The solution requires vertical exploration and careful cliff-face navigation to locate an alternative entry point. Navigation tip: Scan the cliff surface for distinctive moss patterns and slight discolorations that often indicate hidden passages and crevices leading to interior spaces.
Upon locating the concealed upper entrance, descend carefully into the cavern interior where you’ll discover the wounded Ulinay. The subsequent interaction triggers an emotional narrative sequence that advances the character development arc while setting up the impending confrontation with RDA reinforcements.
Advanced Combat and Navigation Tips
The concluding segment of Windward (Part 1) escalates in intensity as Kukulope alerts you to arriving RDA reinforcement units accompanied by a formidable Mangkwan raider. This combat encounter demands strategic target prioritization and environmental awareness to overcome the numerical disadvantage. Advanced tactic: Use the cave entrance as a chokepoint to funnel enemies into manageable groups, and focus the Mangkwan raider first due to its high damage output and disruptive combat abilities.
Following the successful neutralization of all hostile forces, the narrative culminates in a poignant return journey to Ulinay’s location alongside Kukulope. This triggers a concluding cinematic sequence that resolves Ulinay’s story arc while establishing narrative threads for subsequent Windward chapters. Reward insight: Completion typically grants experience points, faction reputation with Wind Traders, and occasionally rare crafting materials depending on performance metrics during combat engagements.
Progression preparation: Before embarking on Windward (Part 2), ensure your character has adequate healing items, upgraded weaponry, and necessary traversal abilities to handle the increasingly complex challenges ahead. The emotional weight of this quest’s conclusion significantly impacts character motivations throughout the remaining DLC content.
No reproduction without permission:Tsp Game Club » Avatar Frontiers of Pandora From The Ashes walkthrough: How to complete Windward (Part 1) quest Complete Windward (Part 1) quest guide with advanced strategies, common pitfalls, and optimization tips for Avatar Frontiers of Pandora DLC