Complete walkthrough for Etuwa’s Fire Part 2 with advanced combat strategies and stealth techniques
Quest Initiation and Preparation
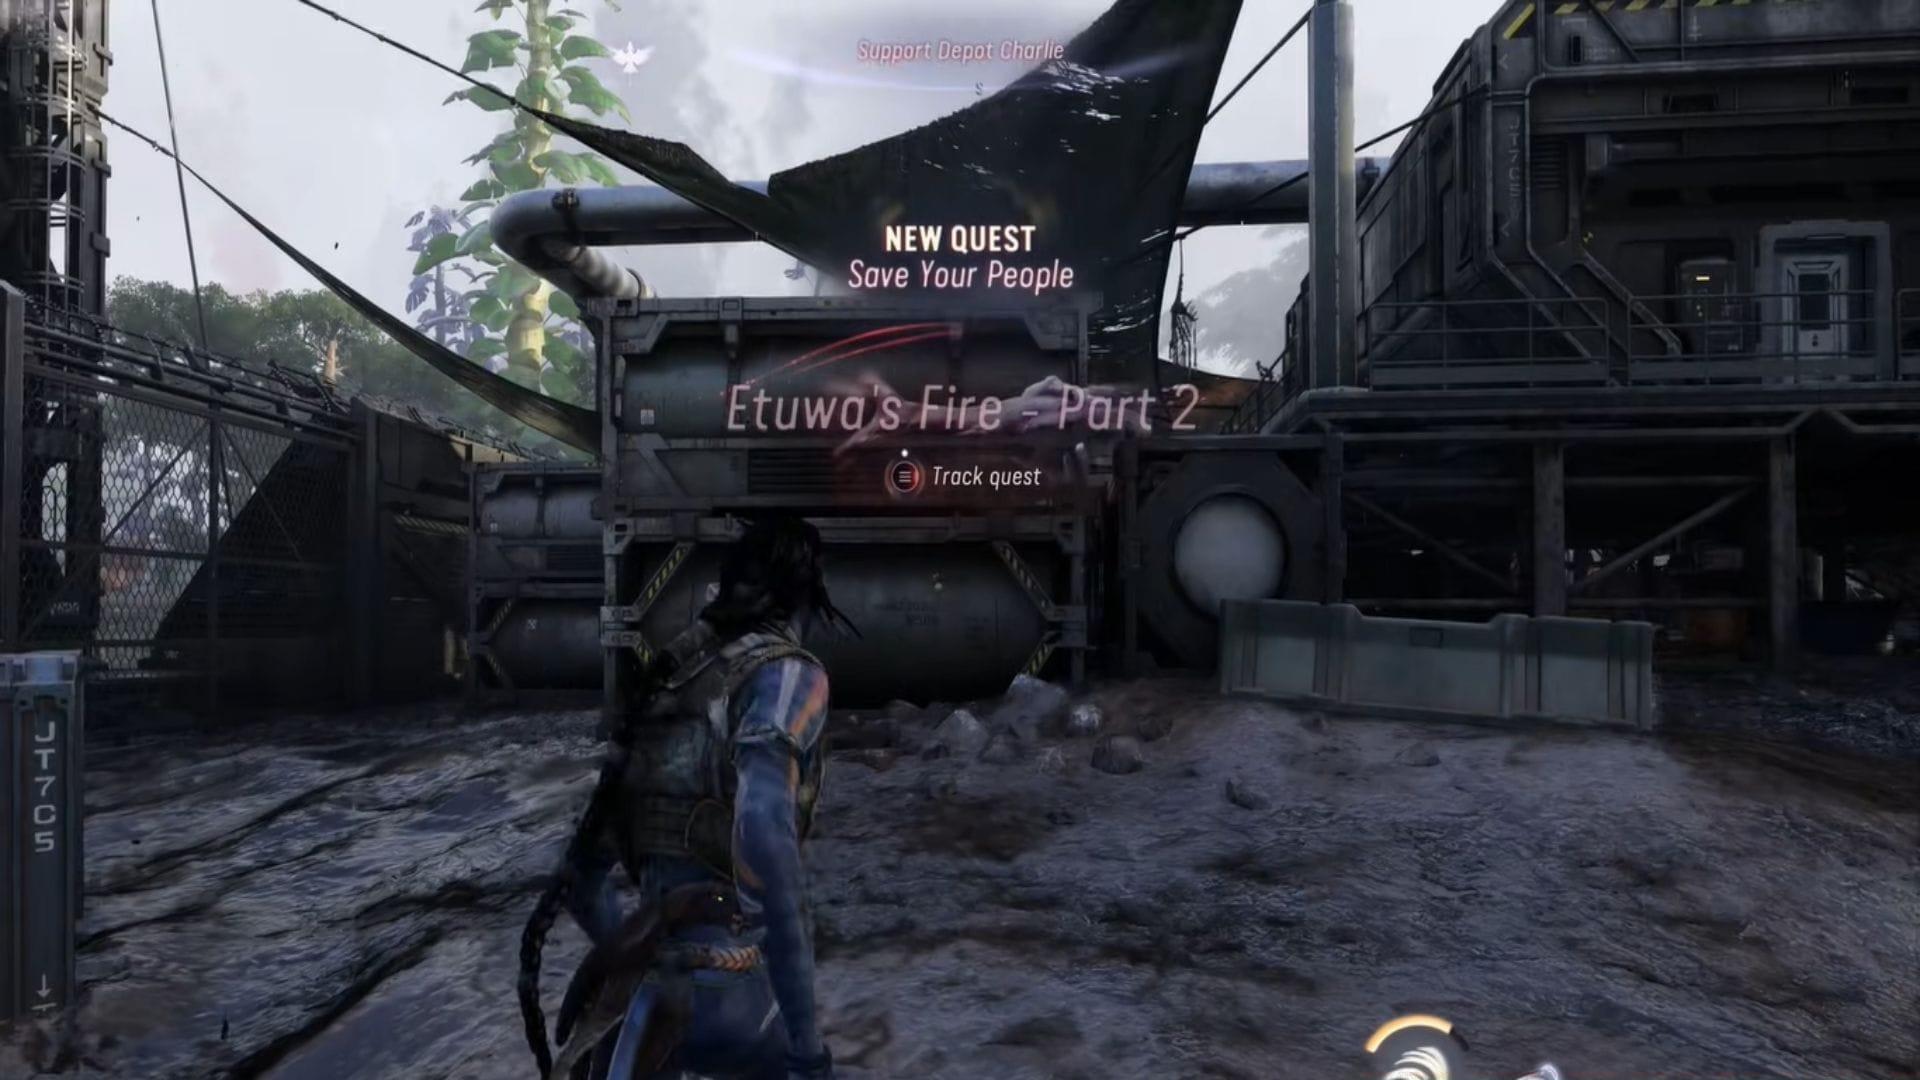
Upon completing the initial segment of Etuwa’s Fire in Avatar Frontiers of Pandora’s From The Ashes expansion, Part 2 immediately becomes accessible. The previous mission involved raiding an RDA installation alongside Etuwa in pursuit of a Mangkwan target. While the initial search proved unsuccessful, intelligence gathered revealed the target potentially relocated to Sector 12. Completion triggers a notification from Teylan detailing the Mangkwan’s current location.
Navigate to the Highmost Seat and initiate conversation with Etuwa. This interaction activates a cinematic sequence where So’lek formally commits to supporting her objective. Following this dialogue, both characters mount their Ikran and depart for the designated coordinates.
Once you regain control of your Ikran, set course for the Subterranean Research Outpost. During the aerial transit, Etuwa and So’lek engage in strategic discussion regarding their planned approach against the Mangkwan threat and speculate about potential Na’vi corruption by the Sky People faction.
The destination appears clearly marked on both your map and within the game world. Simply navigate your Ikran to the indicated location and dismount upon landing. Pro Tip: Before dismounting, perform a quick aerial reconnaissance of the area to identify potential enemy positions and entry points.
Also read: Avatar Frontiers of Pandora From The Ashes walkthrough: How to complete Welcome Home quest
Surface Combat and Entry Strategy
The combat scenario in Sector 12 follows similar patterns to Etuwa’s Fire Part 1. Your primary objective involves entering the combat arena and neutralizing all RDA personnel securing the perimeter. The expansive zone contains numerous soldiers complemented by mechanized security units. Deploy your Assault Rifle for efficient elimination of threats in this open environment.
Combat duration remains relatively brief due to limited enemy numbers. Systematically scan upper building levels to ensure complete area clearance. Within moments, a doorway on the arena’s right flank activates. Eliminate any emerging hostiles before proceeding through the entrance.
Advance into the newly accessible zone and commence exploration. Execute a right turn maneuver and descend the staircase system. Continue downward until reaching the lowest level. Alternatively, shadow Etuwa’s path to the subterranean level where you’ll encounter RDA guards engaged in casual conversation. Advanced Tactics: Use environmental cover and height advantages to pick off enemies from safety before engaging in close-quarters combat.
Common Mistake: Rushing through the arena without clearing upper levels often results in enemies flanking you during later stages of the mission.
Stealth Infiltration and Intelligence Gathering
Your subsequent mission objective involves covertly monitoring RDA troop communications. Position yourself in a crouched stance beneath the window aperture and attentively listen to their discussion. The conversation reveals critical intelligence suggesting the commander potentially relocated the subject elsewhere.
Also read: Avatar Frontiers of Pandora From The Ashes walkthrough: How to complete The Fall quest
Direct your attention leftward to identify an accessible doorway. Proceed through this entrance, execute a right turn, and confront the soldiers you previously monitored. Rapidly neutralize these targets and advance into the Security Room compartment. Locate and destroy the documentation files positioned along the wall adjacent to the window.
Return to the initial lobby area by retracing your path through the entry door. A previously sealed doorway on your right now stands open. Enter this passage and descend the stairwell. Etuwa awaits your arrival at this location. Force entry through ventilation systems and continue progression.
After navigating the ventilation network, you’ll unexpectedly drop into an enclosed chamber. Etuwa must facilitate your escape from this containment. Once freed, turn right and sabotage the yellow security circuit interface. This action unlocks access to the Control Room and initiates a cinematic sequence where Teylan provides additional contextual information about the area. Stealth Optimization: Use the Na’vi sense ability frequently to track enemy movements through walls and plan your route accordingly.
Control Room Assault and Escape
Enter the designated area while maintaining stealth protocols. Employ your Bow for silent elimination of distant threats and execute sneak attacks against armored RDA mechanized units. Completely clear all hostile entities within this sector before ascending the staircase leading directly to the control room.
Upon entering the control room, an automatic cutscene commences.
During this cinematic sequence, an RDA soldier informs So’lek and Etuwa that Ka’nat represents their subsequent operational target. So’lek instructs Etuwa to depart and verify camp status. Your mission parameters now shift to secure exfiltration from the outpost.
Exit via your previously utilized staircase route. An armored adversary positions itself to your right. Engage and eliminate this threat as rapidly as possible. This encounter triggers widespread hostilities. Neutralize all opposition along your path and precisely retrace your initial route to the Control Room. Return to the Subterranean Research Outpost surface level by reversing your ingress trajectory. Combat Strategy: Prioritize eliminating automated turrets and armored units first as they pose the greatest threat during your escape.
Final Confrontation and Quest Completion
Once you emerge at surface level, you confront the Mangkwan Raider Yalit. Rapidly close the engagement distance and utilize your shotgun to defeat this adversary. This confrontation typically concludes quickly, as Yalit doesn’t present significant combat challenges and proves relatively straightforward to overcome.
Following Yalit’s defeat, retrieve the Mangkwan Token from the raider’s remains. This action concludes Etuwa’s Fire Part 2 and enables progression to Part 3 within the From The Ashes DLC storyline.
Yalit’s defeat represents the culminating objective for this quest segment in Avatar Frontiers of Pandora From The Ashes. Access your quest interface and select Part 3 to advance this narrative arc.
Transitioning to the third installment, Etuwa informs So’lek that Ka’nat has disappeared from the camp and requires location. Part 3 constitutes the final chapter within the Etuwa’s Fire quest sequence. Weapon Recommendation: The shotgun’s spread pattern and high damage at close range make it ideal for the Yalit encounter, especially when combined with dodging maneuvers.
Read more Avatar Frontiers of Pandora From The Ashes walkthroughs from Sportskeeda:
No reproduction without permission:Tsp Game Club » Avatar Frontiers of Pandora From The Ashes walkthrough: How to complete Etuwa’s Fire (Part 2) quest Complete walkthrough for Etuwa's Fire Part 2 with advanced combat strategies and stealth techniques