TL;DR
- Custom loadouts in REDSEC require strategic mission completion or high-risk custom drop acquisition
- Prioritize mission objectives with guaranteed loadout rewards over random loot for consistent results
- Coordinate squad movements for custom drops with planned escape routes and defensive positioning
- Optimize weapon attachments based on engagement distance and personal playstyle preferences
- Develop multiple loadout combinations to adapt to evolving match conditions and enemy tactics
Deploying personalized weapon configurations in REDSEC’s high-intensity battle royale environment requires mastering specialized acquisition systems that separate elite operators from casual participants.
Securing tailored equipment sets in Battlefield REDSEC fundamentally transforms engagement outcomes, turning potential early eliminations into consistent victory scenarios. Unlike conventional battle royale formats that limit you to randomized ground loot, REDSEC integrates your meticulously crafted Battlefield 6 armory directly into the combat ecosystem. This comprehensive breakdown covers all essential methodologies for obtaining and leveraging these decisive tactical advantages.
Your preferred weapon configurations aren’t automatically available upon spawn – acquiring custom loadouts demands calculated approaches through two distinct acquisition pathways:
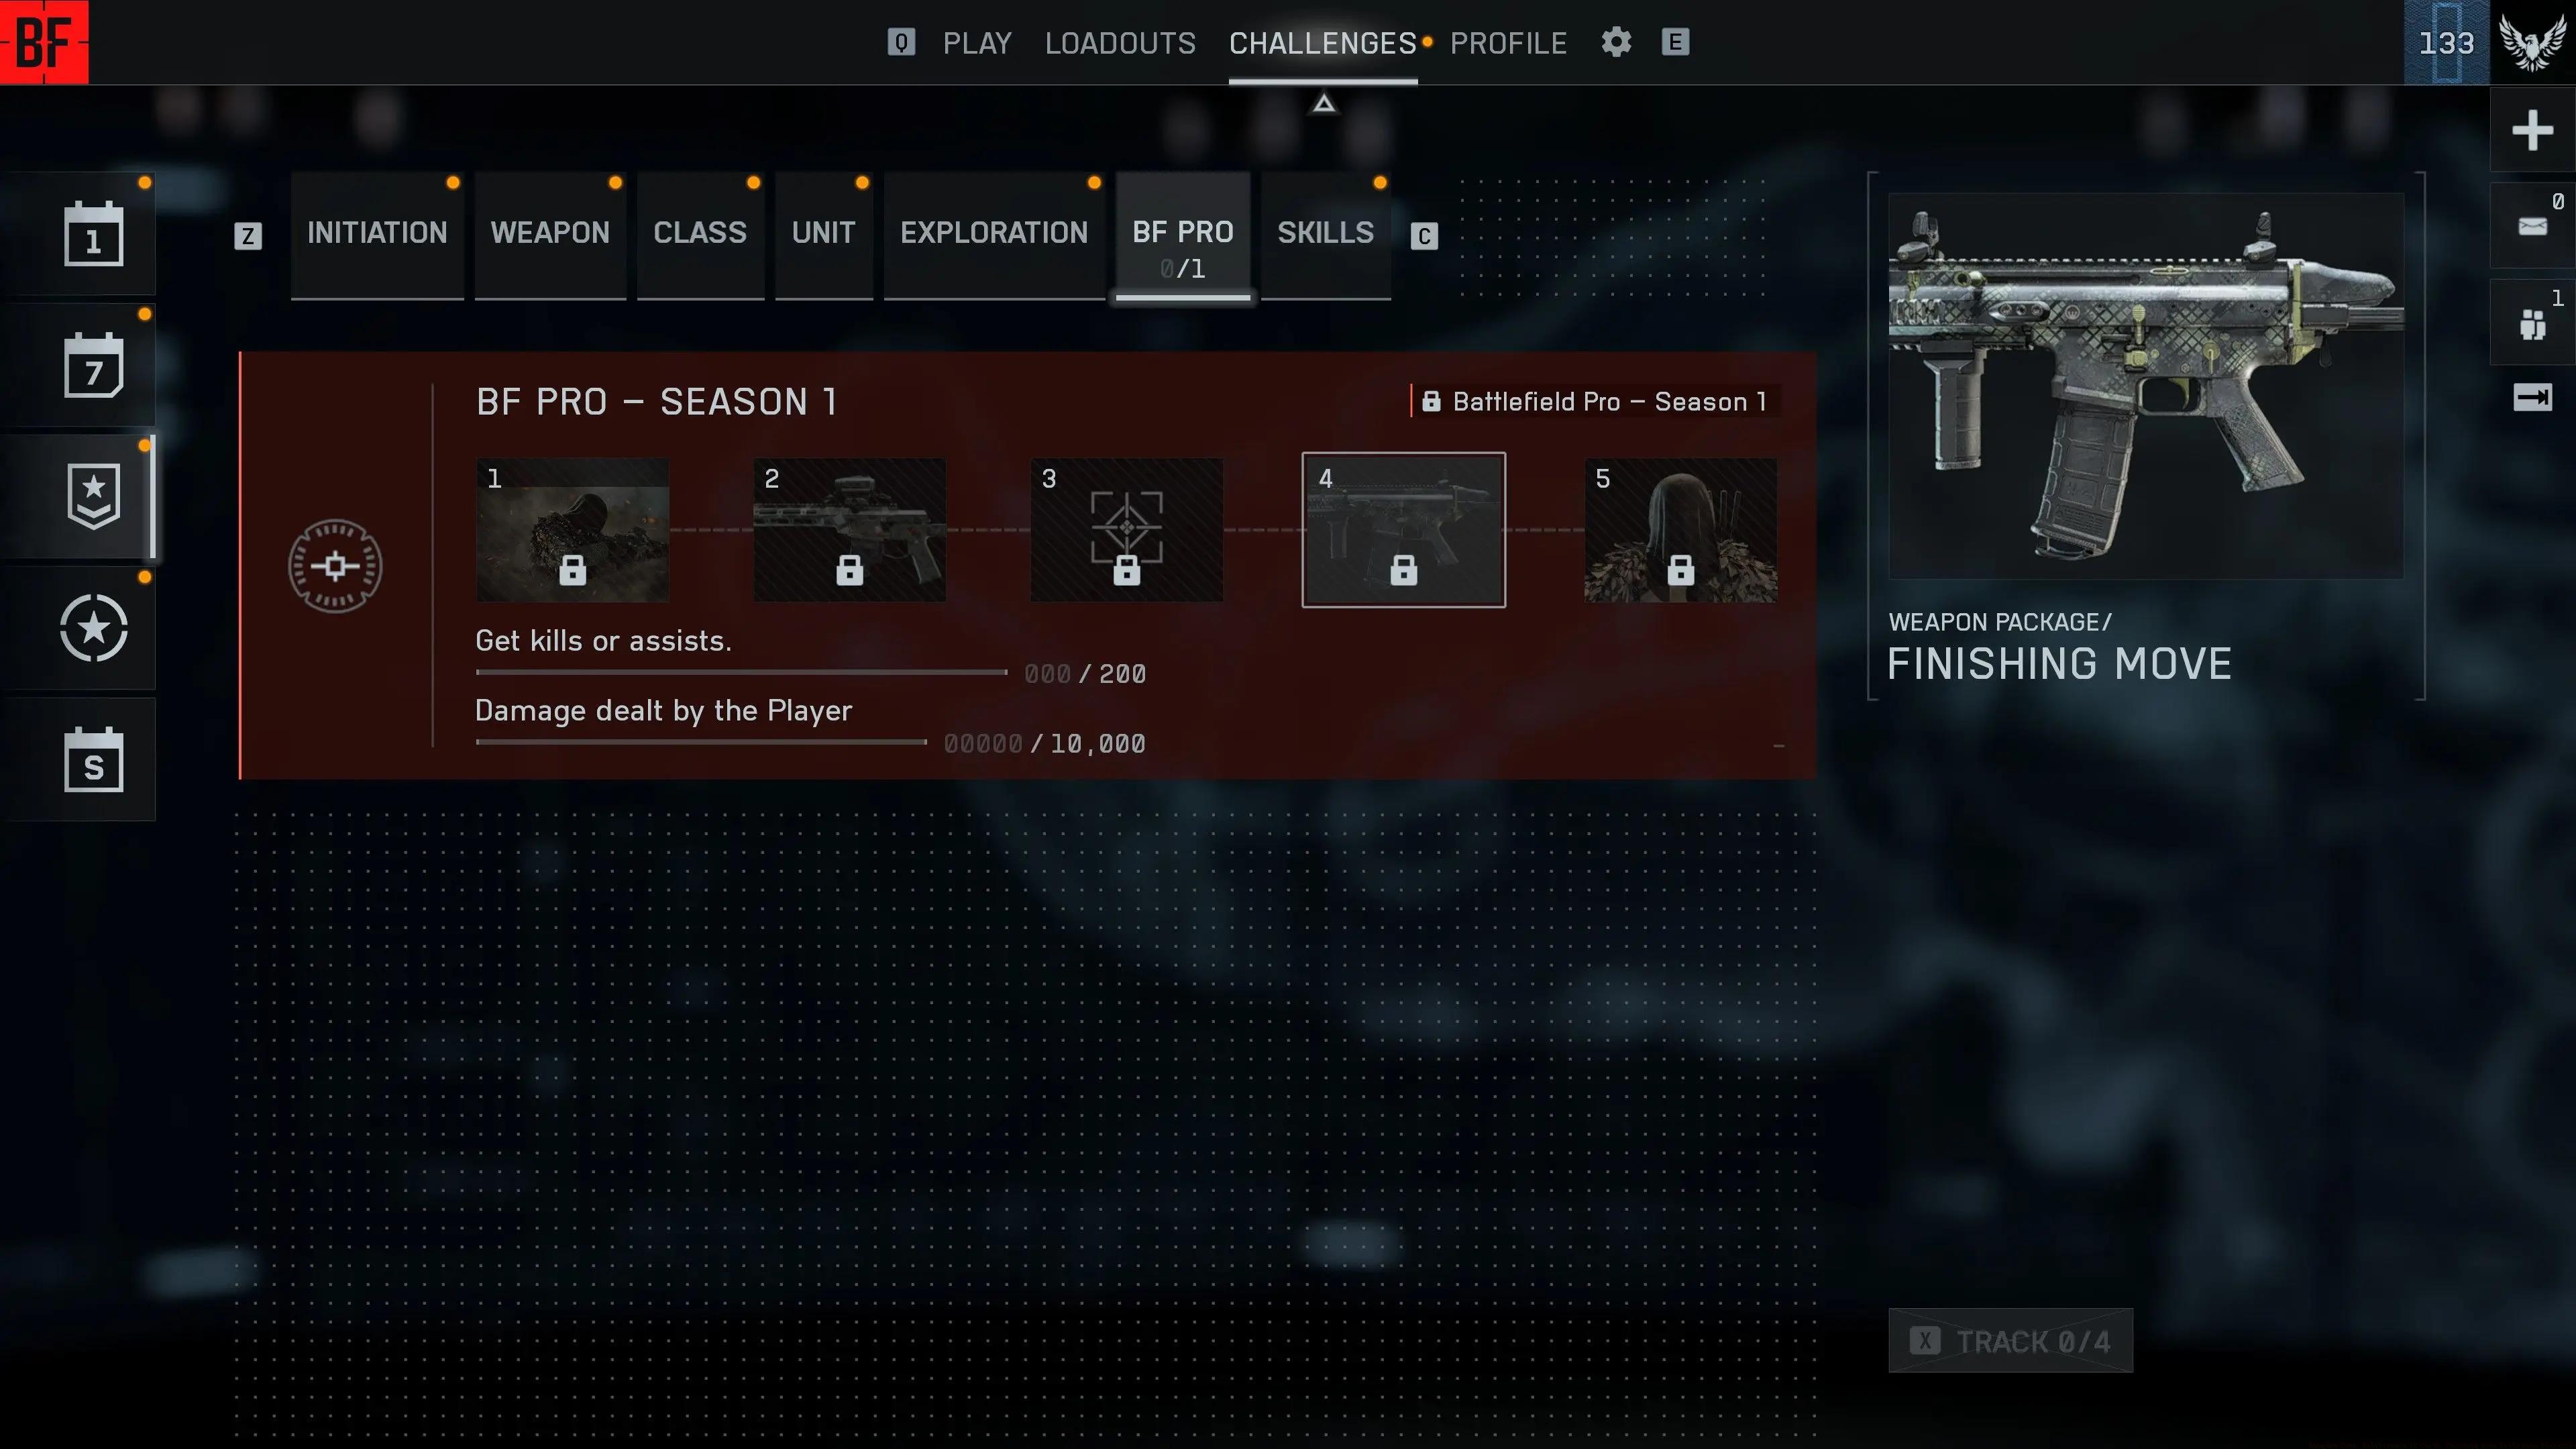
Missions provide the most consistent avenue to secure your specialized equipment. These targeted objectives materialize on your tactical display at match commencement and deliver assured rewards following successful execution.
Elevate mission types offering custom loadout rewards above alternative objectives. The strategic benefit surpasses most competing early-match advantages.
Battlefield 6’s battle royale mode is …
Custom drops constitute the hazardous yet potentially rewarding alternative method. These unpredictable occurrences transmit positional data across the entire combat zone, generating concentrated firefight zones as multiple squads converge toward identical objectives.
Worldwide drops draw numerous competing teams. Advance with complete squad synchronization and pre-planned extraction pathways.
The alert mechanism notifies all combatants simultaneously, ensuring you’ll encounter determined opposition. Successful acquisition necessitates:
Common Acquisition Errors: Many operators underestimate the audio visibility during custom drop engagements. The distinctive delivery mechanism emits substantial audible cues that can reveal your position to nearby enemies. Additionally, attempting solo drop acquisitions against coordinated squads typically results in rapid elimination. Always verify your squad’s readiness state before committing to drop zone approaches.

Close-quarters engagement scenarios demand specialized weapon configurations optimized for rapid target acquisition and maximum damage output within confined spaces.
SMG Dominance Builds: Submachine guns excel in building clearance and urban combat situations. The MP7 configuration with extended magazine, tactical suppressor, and angled foregrip provides exceptional mobility while maintaining controllable recoil patterns. For more aggressive playstyles, the P90 with laser sight and rapid-fire modification delivers overwhelming close-range suppression capability.
Shotgun Optimization: Pump-action shotguns like the 870 MCS become devastating with choke attachments that tighten pellet spread, increasing effective range by approximately 30%. Semi-automatic variants benefit from extended tubes and recoil-dampening stocks for sustained engagement capability. Remember that shotgun effectiveness diminishes dramatically beyond 15 meters, making them situational tools rather than primary weapons.
Movement-Attachment Synergy: Your attachment selections should complement your movement patterns. Aggressive players benefit from laser sights and stock modifications that improve hip-fire accuracy during rapid advancement. Defensive players should prioritize optical enhancements and foregrips that stabilize aimed fire from covered positions.
Advanced Technique: Master the sprint-to-fire transition by combining stock attachments with tactical grip tapes. This reduces the weapon readiness delay after movement by nearly 40%, providing critical milliseconds advantage in sudden encounters.
Precision engagement at extended distances requires specialized weapon systems and calculated ballistic understanding to dominate open terrain and provide overwatch support.
Sniper Rifle Configurations: Bolt-action rifles like the L96A1 become exceptionally lethal when paired with high-magnification optics and bipod attachments. The bipod dramatically reduces scope sway and recoil recovery time, enabling rapid follow-up shots. For faster-paced sniping, the semi-automatic DSR-1 with tactical muzzle brake maintains target visibility between shots while controlling vertical climb.
DMR Precision Setups: Designated Marksman Rifles bridge the gap between sniper precision and assault rifle versatility. The MK14 EBR with variable zoom scope and precision stock offers effective engagement from 100-300 meters. The SVD platform benefits greatly from compensators that mitigate its distinctive horizontal recoil pattern, making it more manageable for sustained precision fire.
Range Calculation Techniques: Master bullet drop compensation by practicing at known distances in the Battlefield 6 practice range. Most sniper rounds require approximately 2 mils of elevation adjustment per 100 meters beyond 200 meters. DMRs typically need 1.5 mils adjustment under the same conditions. Windage compensation becomes critical beyond 300 meters, with full-value winds requiring 1-2 mils of lateral adjustment depending on cartridge power.
Advanced Positioning: Your sniper nest selection should provide multiple escape routes and concealment options. Avoid obvious elevated positions that make you vulnerable to counter-sniping. Instead, utilize partial cover at medium elevations that offer firing angles while maintaining quick withdrawal capabilities.

Strategic attachment selection transforms standard weapons into specialized tools tailored to your combat methodology and engagement preferences.
Recoil Control Hierarchy: Vertical recoil management begins with muzzle devices – compensators reduce vertical climb by approximately 15% while flash hiders conceal muzzle flash at the cost of recoil control. Foregrips provide secondary stabilization, with vertical grips offering superior vertical control and angled grips improving horizontal stability. Stock selections influence both recoil recovery and aiming stability, creating compound effects with other attachments.
Aiming Stability Priority: For precision-oriented weapons, prioritize attachments that enhance aiming stability over pure recoil reduction. Heavy barrels increase bullet velocity and range while improving stability during sustained fire. Bipods provide maximum stability when deployed but require positional awareness to utilize effectively. Remember that stability attachments typically increase weapon weight, affecting aim-down-sights speed and movement penalty.
Mobility Tradeoffs: Every attachment decision impacts your mobility profile. Laser sights improve hip-fire accuracy but reveal your position when active. Suppressors conceal firing positions but reduce bullet velocity and damage range. Short barrels improve handling speed but increase recoil and damage falloff. Evaluate each attachment’s mobility impact based on your intended engagement distance and movement patterns.
Advanced Configuration: Create attachment presets for specific map sectors and combat phases. Early-game configurations should prioritize mobility and close-quarters effectiveness, while late-game setups benefit from stability and range enhancements as engagements occur at extended distances.

Mastering loadout deployment timing and situational adaptation separates competent players from truly dominant operators in REDSEC’s evolving combat environment.
Loadout Rotation Systems: Develop multiple specialized loadouts for different combat scenarios rather than relying on a single universal setup. Maintain a close-quarters configuration for urban sectors, a balanced medium-range setup for versatile engagement, and a precision package for open terrain dominance. The ability to rapidly switch between these configurations based on zone positioning provides adaptable response capabilities throughout match progression.
Map-Specific Adaptations: Different REDSEC maps demand specialized loadout considerations. Urban environments with dense building networks benefit from shotguns and SMGs with laser attachments for interior clearing. Mixed terrain maps require versatile assault rifles with variable zoom optics. Open landscape maps necessitate sniper support and DMR configurations for long sightlines. Study each map’s distinctive engagement distances before match commencement to pre-select appropriate loadouts.
Endgame Preparation: The final combat zones typically feature compressed engagement areas with limited cover options. Prepare for endgame scenarios by securing a loadout combining close-range lethality with medium-distance capability. Weapons like the assault rifle category with holographic sights and angled grips provide this balanced performance. Ensure your final loadout includes adequate ammunition reserves and tactical equipment suitable for the anticipated final zone terrain.
Squad Role Specialization: Coordinate loadout diversity within your squad to cover multiple engagement scenarios simultaneously. Designate specific members for close-quarters entry, medium-range support, and long-range overwatch. This role distribution ensures your team maintains tactical flexibility regardless of zone positioning or enemy composition.

For comprehensive weapon statistics and unlocking methodologies, consult our detailed BF6 Weapons Unlock Guide to maximize your armory options. Understanding class synergies further enhances loadout effectiveness through our Class Guide covering specialized role optimization. These resources complement your REDSEC proficiency when combined with our overarching Complete Guide to Battlefield 6 mechanics and strategies.
Action Checklist
- Prioritize mission objectives with guaranteed custom loadout rewards during early game phase
- Establish squad coordination protocols for custom drop acquisitions with designated roles
- Create specialized loadout presets for close, medium, and long-range engagement scenarios
- Practice attachment combinations focusing on recoil control and mobility tradeoffs
- Develop map-specific loadout strategies based on anticipated engagement distances
No reproduction without permission:Tsp Game Club » Battlefield REDSEC Guide: How to Get Custom Loadouts Master REDSEC custom loadout acquisition with strategic mission tactics and optimal weapon builds for Battlefield 6 dominance