TL;DR
- Brall excels as SUPERVIVE’s premier melee specialist with unmatched mobility and area damage
- Optimal builds prioritize ability cooldown reduction and survivability enhancements
- Master advanced combos using dash charges and movement abilities for maximum impact
- Avoid over-committing without escape options and learn proper engagement timing
- Positioning and target selection determine Brall’s effectiveness in team fights
Transform Brall into SUPERVIVE’s ultimate melee combatant through optimized equipment configurations, sophisticated ability chains, and professional positioning methodologies that maximize his battlefield impact.
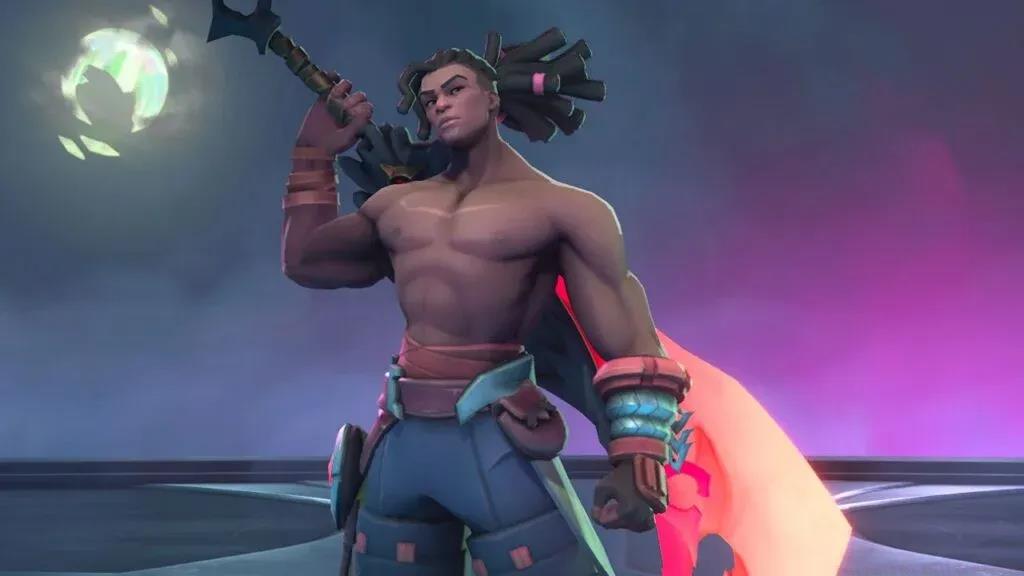
When embracing aggressive playstyles and seeking to control close-range engagements, Brall emerges as SUPERVIVE’s definitive melee expert. This blade-wielding combat specialist merges catastrophic damage potential with superior movement capabilities, creating the ideal selection for gamers who excel in high-stakes, reward-heavy gameplay scenarios. Through precise implementation, you’ll evolve into an unstoppable combat entity capable of decisively altering team encounter outcomes.
Optimal Brall Configuration for SUPERVIVE Dominance
Brall thrives as SUPERVIVE’s leading short-range combatant, delivering unparalleled adaptability during squad engagements. His ability set focuses on penetrating combat zones and generating maximum disruption while preserving exceptional survivability via intelligent skill utilization.
Your core combat advantages encompass:
Brall benefits assertive players capable of interpreting engagement rhythms and determining optimal commitment timing versus strategic repositioning.
Building Brall effectively requires understanding his core stat priorities and ability synergies. Unlike traditional damage dealers, Brall’s effectiveness stems from maintaining constant pressure while avoiding fatal retaliation.
Primary Stat Focus: Ability haste should be your foremost priority, followed by health regeneration and movement speed. These three statistics amplify Brall’s natural strengths while mitigating his vulnerability to crowd control and burst damage.
Weapon Enhancement Strategy: Focus on equipment that reduces your critical ability cooldowns. The difference between having your mobility tools available versus being on cooldown often determines survival versus elimination in high-level play.

Advanced Loadout Tip: Consider incorporating at least one defensive item even in aggressive builds. The momentary damage immunity from properly timed defensive abilities can completely reverse engagement outcomes when used during enemy ultimate abilities.
For players transitioning from other Class Guide characters, remember Brall operates fundamentally differently than ranged specialists. His success depends on closing distance efficiently rather than maintaining it.

Mastering Brall’s combat sequences separates competent players from true specialists. His combo potential revolves around chaining movement abilities with area damage effects for maximum battlefield control.
Primary Engagement Combo: Initiate with your longest-range mobility tool to close distance, immediately follow with your area damage ability, then utilize dash charges to reposition while abilities recharge. This basic sequence delivers substantial damage while maintaining evasion capabilities.
Advanced Technique: The ‘Reset and Re-engage’ method involves using one dash charge to initiate, delivering your damage rotation, then utilizing remaining dashes to disengage briefly before repeating. This pattern maximizes your survivability while applying consistent pressure.

Team Fight Execution: In coordinated engagements, position yourself to flank rather than frontal assault. Your primary value lies in disrupting enemy formations and eliminating vulnerable backline targets. Coordinate with teammates who can provide crowd control to maximize your damage windows.
Understanding these advanced techniques will significantly enhance your performance with Brall. For comprehensive Complete Guide strategies applicable across multiple characters, explore our detailed gameplay library.

Avoiding common mistakes dramatically improves Brall’s effectiveness and survival rates. Many players underestimate the importance of resource management and engagement timing when playing this high-skill-capacity character.
Critical Error #1: Exhausting all mobility resources during initiation. Always preserve at least one dash charge for emergency disengagement. Without movement options, Brall becomes exceptionally vulnerable to crowd control and focused fire.
Target Selection Mistake: Focusing tankier opponents instead of prioritizing vulnerable damage dealers. While Brall can damage multiple enemies, his elimination potential shines against lower-health targets. Proper target priority often determines team fight outcomes.
Positioning Fault: Remaining in combat after delivering your ability rotation. Brall’s sustained damage without abilities is substantially lower than his burst potential. Learn to disengage during cooldown periods rather than attempting basic attack exchanges.
For players struggling with these concepts, our Weapons Unlock guide provides fundamental combat principles that translate well to Brall’s playstyle. Remember that mastering avoidance techniques often proves more valuable than perfecting aggressive maneuvers.
Action Checklist
- Practice basic engagement combo in training mode for 15 minutes
- Configure loadout prioritizing ability haste and survivability stats
- Master disengage timing by practicing reset patterns against AI opponents
- Analyze replay to identify positioning errors and target selection mistakes
No reproduction without permission:Tsp Game Club » Best Build for Brall in SUPERVIVE Master Brall's melee dominance with advanced builds, combo strategies, and positioning tactics for SUPERVIVE supremacy