Mastering Dead by Daylight’s Demogorgon: Advanced strategies for aggressive builds and map control
Understanding the Demogorgon’s Core Mechanics
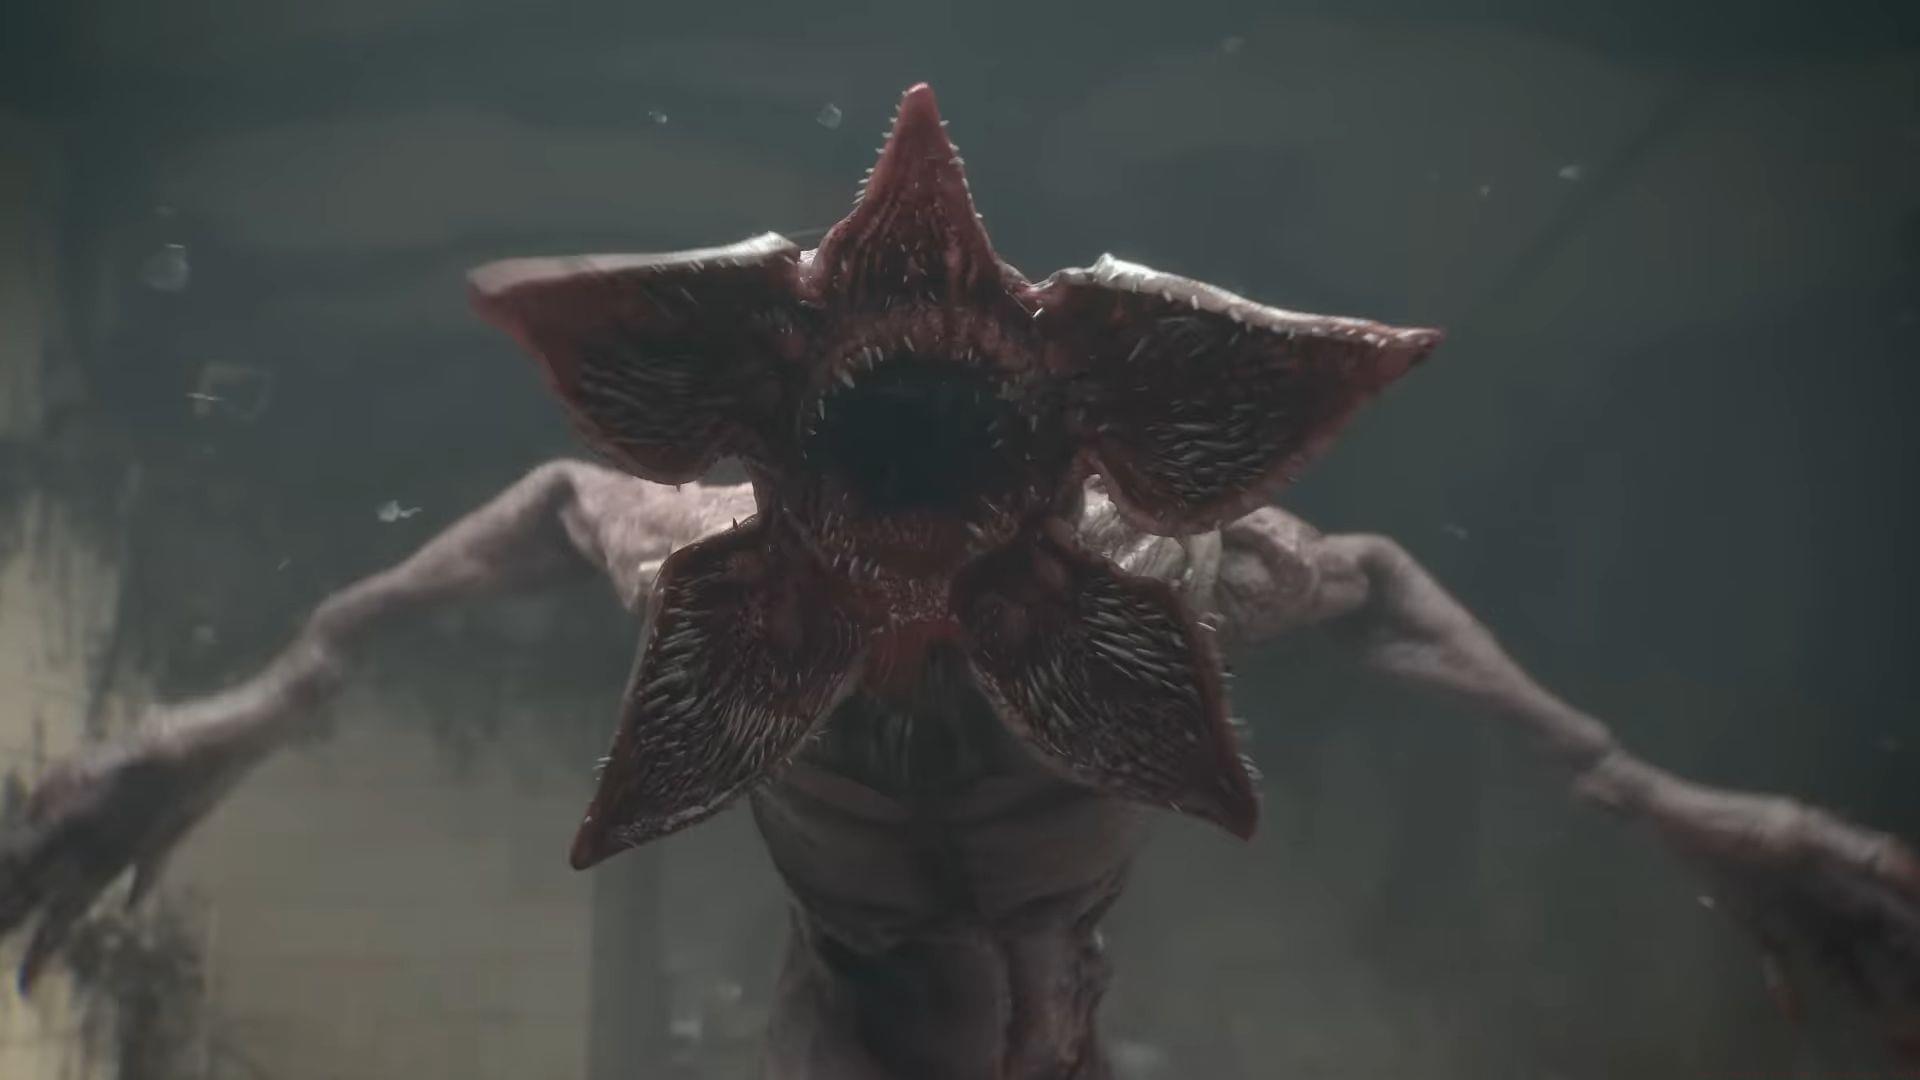
Mastering the Dead by Daylight Demogorgon build presents a rewarding challenge that separates skilled killers from beginners. This iconic creature from Stranger Things brings exceptional mobility, powerful map pressure capabilities, and a devastating anti-loop Shred attack that can quickly turn the tide against survivors. While classified as Hard difficulty, the Demogorgon’s learning curve offers significant payoff for dedicated players.
The Shred special attack enables the Demogorgon to lunge forward aggressively, dealing damage upon contact with survivors, breakable walls, or pallets. This versatile ability allows for instant destruction of key environmental elements while maintaining offensive pressure. However, maximizing the killer’s potential requires strategic perk utilization and understanding of its unique mechanics.
Beyond its base kit, the Demogorgon possesses three distinctive perks: Surge, Cruel Limits, and Mindbreaker. These enable generator regression, vault location blocking, and exhaustion infliction respectively, creating constant pressure throughout matches. Strategic portal placement further enhances the Demogorgon’s map presence, allowing rapid traversal between key locations.
Also read: Assassin’s Creed Shadows x Dead by Daylight quest collaboration
Optimal Perk Loadout for Maximum Aggression
The standard Demogorgon playstyle revolves around utilizing the Shred special attack to punish survivors during vault attempts and pallet drops. However, Shred features substantial charge time and extended recovery animation, creating significant vulnerability windows where survivors can create distance. Proper timing and prediction become crucial for minimizing these punishment periods.
Effective Demogorgon builds leverage perks like Corrupt Intervention and Bamboozle to establish early map control. These are complemented by information-gathering perks such as Nowhere to Hide and generator-regression tools like Pop Goes the Weasel. This combination creates a comprehensive strategy that pressures survivors across multiple gameplay aspects simultaneously.
- Pop Goes the Weasel: Following a successful hook, damaging any generator immediately removes 20% progression before standard regression begins. This synergizes perfectly with the Demogorgon’s mobility, allowing quick generator checks between chases.
- Bamboozle: This Clown-derived perk increases your vault speed by 15% while blocking the vault location from survivor use for 16 seconds. It’s particularly effective at shutting down strong window loops that would otherwise waste considerable time.
- Nowhere to Hide: Originating from The Knight, this perk reveals survivor auras within 24 meters for five seconds after damaging a generator. The intelligence gathered helps maintain pressure and prevents generator progress during downtime.
- Corrupt Intervention: From The Plague’s arsenal, this blocks the three generators farthest from your starting position during the initial 120 seconds. This forces survivors toward you, enabling early engagements and portal setup in key areas.
Also read: Where Winds Meet walkthrough: How to complete March of the Dead quest
Essential Add-ons and Strategic Combinations
These recommended add-ons focus on enhancing the Shred attack’s effectiveness by reducing cooldown durations, thereby increasing chase potential and overall mobility while improving successful attack frequency.
- Barb’s Glasses: This uncommon add-on reduces the attack cooldown by 10% specifically for successful Shred attacks used to destroy pallets or breakable walls. This enables more aggressive pallet-breaking strategies without sacrificing chase momentum.
- Black Heart: A common add-on that provides a 10% cooldown reduction for successful Shred attacks that connect with survivors. This improves your ability to maintain pressure in extended chases and capitalizes on survivor positioning mistakes.
Advanced Add-on Combinations: For experienced players, combining Rat Liver (increased movement speed while charging Shred) with Lifeguard Whistle (faster portal traversal) creates unparalleled map mobility. This setup allows rapid repositioning between generator pressure and chases, overwhelming coordinated survivor teams through constant pressure application.
Also read: Dead By Daylight x Five Nights at Freddy’s update is now live: Full patch notes explored
Advanced Play Strategies and Common Pitfalls
Map Control Through Portal Placement: Strategic portal positioning separates average Demogorgon players from exceptional ones. Place portals near key generators and strong loops during early game, then use them for rapid transitions between pressure points. Remember that survivors can close portals, so diversify placement locations to maintain map presence.
Avoiding Common Mistakes: New Demogorgon players often overcommit to Shred attacks at unsafe loops, resulting in extended cooldown punishment. Instead, use normal attacks at tight loops and reserve Shred for longer loops or guaranteed hits. Another frequent error involves poor portal management – don’t place all portals in one area, and always have an escape portal ready near your current objective.
Advanced Shred Techniques: Master the ‘flick’ technique during Shred attacks to slightly adjust your trajectory mid-lunge, catching survivors who try to juke. Practice Shred-canceling by pressing the ability button again during charge-up to fake attacks and bait out survivor reactions. These mind games can force early pallet drops and create easier hit opportunities.
Generator Patrol Routes: Establish efficient patrol patterns between your Corrupt Intervention-blocked generators and portal locations. The Demogorgon’s strength lies in its ability to pressure multiple generators simultaneously through strategic teleportation. Time your portal usage to coincide with generator repair sounds for surprise attacks.
That covers everything you need to dominate with the optimal Dead by Daylight Demogorgon build. For additional gaming guides and strategy content, follow Sportkeeda’s Esports and Gaming section.
No reproduction without permission:Tsp Game Club » Best Dead by Daylight Demogorgon build Mastering Dead by Daylight's Demogorgon: Advanced strategies for aggressive builds and map control