Master the Battlefront 2 Heavy class with optimal weapon choices, strategic Star Cards, and advanced combat techniques
Heavy Class Fundamentals: The Battlefield Juggernaut
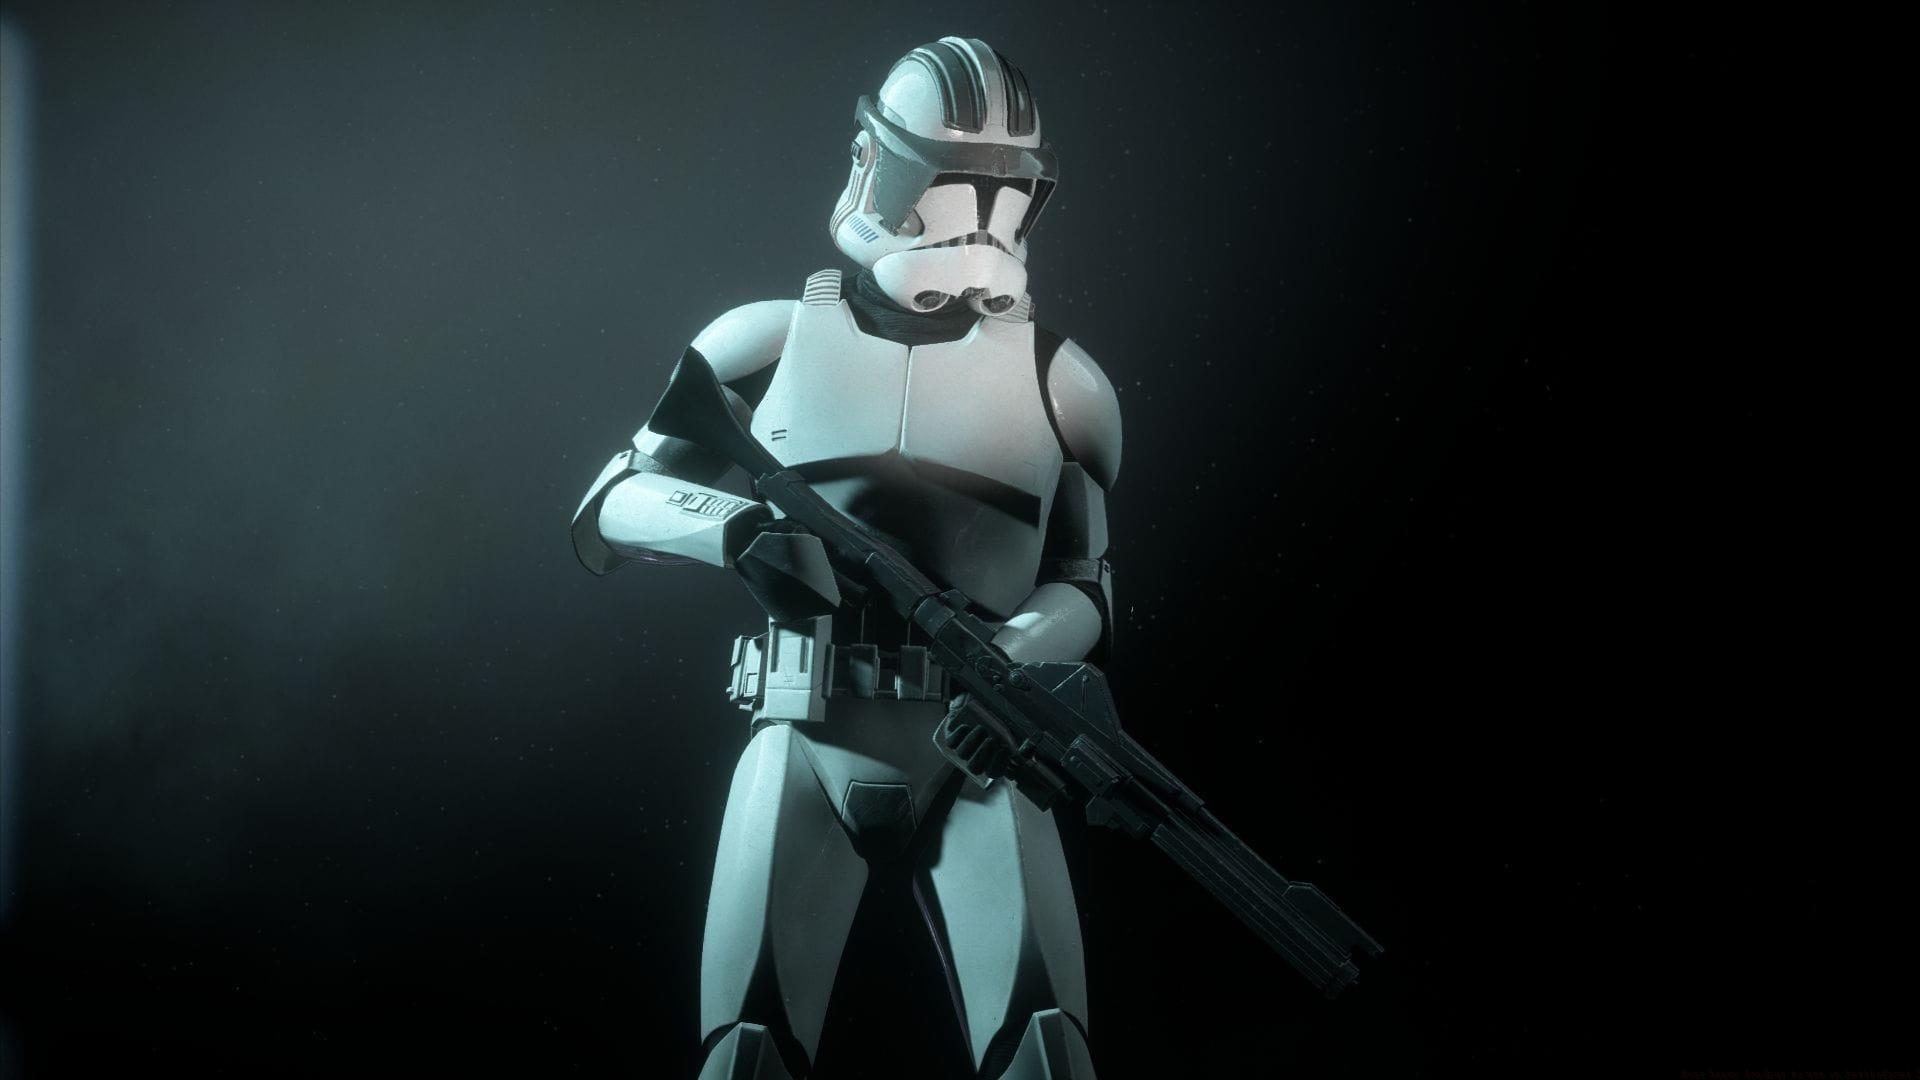
The Star Wars Battlefront 2 community has experienced a significant resurgence, prompting renewed interest in optimizing the heavy loadout to use in Battlefront 2. As one of the four core classes, heavy troopers function as the battlefield’s anchor points, combining formidable firepower with exceptional durability. These walking fortresses control engagement zones through their specialized equipment including the devastating sentry gun deployment system, area-denial impact grenades, and personal combat shielding technology.
Understanding the heavy’s role is crucial – they’re not frontline rushers but tactical position holders. Their strength lies in creating defensive perimeters, suppressing enemy advances, and providing covering fire for advancing teammates. Mastering positioning and ability timing separates average heavy players from those who truly dominate the combat zone.
Weapon Arsenal Analysis: Choosing Your Primary Blaster
Your primary weapon selection fundamentally shapes your heavy playstyle. Each blaster offers distinct advantages for different combat scenarios and player preferences.
- DC-15LE: This versatile blaster provides excellent all-around performance with its consistent fire rate, manageable recoil pattern, and reliable damage output. Its hipfire accuracy makes it effective in medium-range engagements where quick target acquisition is essential. The weapon’s balanced characteristics make it ideal for players who adapt to changing combat situations frequently.
- TL-50: Designed for aggressive close-quarters combat, this blaster features an impressive rate of fire complemented by its concussive blast secondary fire mode. The concussion ability temporarily disorients enemies, creating opportunities for finishing moves or tactical retreats. Its damage profile excels in tight corridors and objective defense scenarios where engagement distances are shortened.
- T-21: This precision-oriented weapon trades fire rate for significantly higher damage per shot, resulting in one of the lowest time-to-kill metrics among heavy weapons when landing accurate hits. The lack of optical attachments demands strong iron sight proficiency, but rewards skilled marksmen with devastating elimination potential at medium to long ranges.
Weapon choice should align with your intended playstyle and map characteristics – the DC-15LE for versatility, TL-50 for aggression, and T-21 for precision marksmanship.
Attachment Optimization: Maximizing Weapon Performance
These foundation weapons can be significantly enhanced through strategic attachment selection, each modifying performance characteristics for specialized combat roles.
The concussive shot attachment provides crowd control utility, temporarily impairing enemy movement and aiming capabilities. This is particularly effective when defending objectives or creating escape opportunities when overwhelmed. Time the activation to disrupt enemy pushes or disable multiple opponents simultaneously.
Ion-shot modifications transform your blaster into an anti-vehicle and equipment-destroying tool. This attachment deals increased damage to vehicles, turrets, and shield generators, making it invaluable on vehicle-heavy maps or against teams relying on defensive emplacements. The trade-off in reduced soldier damage requires careful consideration of expected enemy composition.
Burst mod configurations alter firing behavior to deliver damage in concentrated packages rather than sustained streams. This can improve ammunition efficiency and increase burst damage potential against single targets, though it reduces suppressive fire capability. Master the firing rhythm to maximize damage output while managing the unique recoil pattern.
Advanced players often maintain multiple loadouts with different attachments ready to swap based on map progression and enemy team composition.
Star Card Synergy: Building Your Enhancement Loadout
Working in coordination with your blaster selection, Star Cards provide crucial ability enhancements that define your heavy’s battlefield capabilities. These cards offer both passive boosts and active ability modifications that dramatically impact combat effectiveness.
- Bounty Hunter: This economic enhancement accelerates battlepoint acquisition, allowing faster access to powerful reinforcements and hero units. Unlocking at Heavy class level 20, it’s essential for players focused on contributing to team victory through superior resource generation. The increased battlepoint flow can translate to 2-3 additional hero opportunities per match when played effectively.
- Improved Combat Shield: Available from class level 2, this fundamental survival tool provides substantial bonus health and significantly reduced recharge delay. The enhanced shielding allows heavies to sustain prolonged exposure during objective contests and survive encounters that would eliminate other classes. Master the timing between shield activation and deactivation to maximize uptime.
- Mobile Sentry: Unlocked at class level 15, this sentry variant revolutionizes heavy mobility by allowing movement during deployment while providing damage reduction. The health regeneration during activation creates sustained combat presence, making it ideal for advancing under fire or maintaining positional pressure.
- Survivalist: This Boost Card (unlocked at Heavy class level 30) dramatically reduces health regeneration delay, effectively increasing survivability between engagements. The shortened downtime allows more aggressive positioning and frequent re-engagement, crucial for maintaining frontline presence.
- Supercharged Sentry: The ultimate area denial tool available at class level 30, this sentry variant delivers explosive blasts with each shot while maintaining health regeneration during deployment. The explosive damage clears groups of enemies and devastates objectives, though the reduced mobility requires careful positioning.
Effective card combinations typically include one survival card (Improved Combat Shield or Survivalist), one sentry variant, and one utility card (Bounty Hunter) for balanced performance across all combat scenarios.
Advanced Combat Strategies and Common Pitfalls
Mastering the heavy class extends beyond equipment selection to encompass tactical decision-making and situational awareness. Advanced players understand when to deploy abilities and how to position themselves for maximum impact.
Positioning Strategy: Heavies excel in chokepoints, objective zones, and areas with limited flanking routes. Avoid open areas where your reduced mobility makes you vulnerable to snipers and flanking attacks. Use cover strategically during ability cooldowns and always have an escape route planned when deploying sentry modes.
Ability Rotation: Coordinate your abilities rather than using them simultaneously. Deploy combat shield when advancing or reviving teammates, use impact grenades to flush enemies from cover, and activate sentry modes when holding strategic positions. Proper ability sequencing creates near-constant combat effectiveness.
Common Mistakes to Avoid: Many heavy players deploy sentry modes in vulnerable positions where they can be easily flanked. Others waste impact grenades on single targets rather than saving them for groups or objective denial. Additionally, maintaining combat shield during full-health periods wastes potential regeneration time – learn to toggle it strategically.
Advanced Technique: Master the ‘shield dance’ – rapidly toggling your combat shield to absorb burst damage while allowing health regeneration between enemy attacks. This advanced maneuver significantly extends your combat longevity against sustained enemy fire.
Remember that the heavy’s primary role is area control and suppression. Your presence should dictate enemy movement options and create safe zones for your team to operate within.
No reproduction without permission:Tsp Game Club » Best heavy loadout to use in Battlefront 2 Master the Battlefront 2 Heavy class with optimal weapon choices, strategic Star Cards, and advanced combat techniques