TL;DR
- The L110 LMG excels at area denial and suppression with its 100-round magazine and 720 RPM fire rate
- Prioritize barrel upgrades and recoil control attachments for maximum effectiveness
- Master burst firing and positioning to overcome the weapon’s mobility and reload limitations
- The Support Class eliminates movement penalties, making it the ideal operator for LMG gameplay
- Strategic attachment selection within the 100-point budget system is crucial for optimal performance
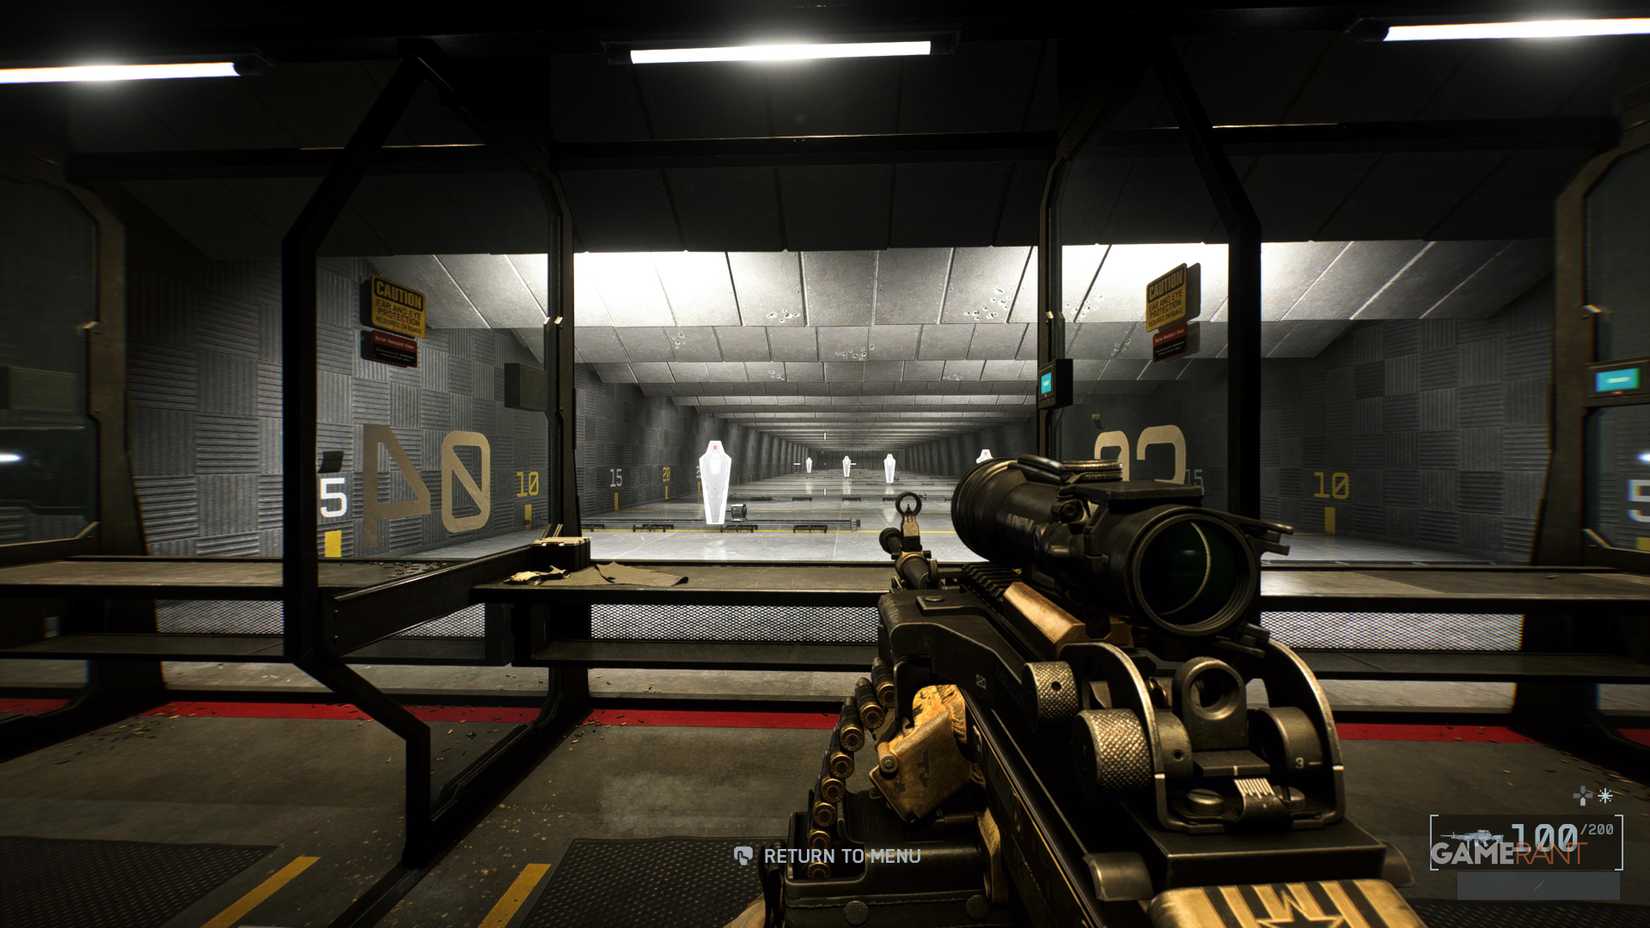
As the primary starting LMG in Battlefield 6, the L110 becomes an essential tool during your initial hours of gameplay. This weapon category finds its natural home with the Support Class, where operators benefit from zero movement speed penalties when wielding these heavy weapons. The transition to ADS (Aim Down Sights) occurs significantly faster compared to other weapon classes, providing crucial advantages during firefights.
Through extensive attachment customization, the L110 transforms from a basic firearm into a dominant area-control weapon capable of locking down objectives. Our comprehensive analysis covers both fundamental weapon characteristics and specialized loadout configurations suitable for both novice players and seasoned veterans of Battlefield 6.
|
Damage |
25 |
|
Rate of Fire |
720 |
|
Magazine |
100 |
|
Hipfire |
40 |
|
Precision |
32 |
|
Control |
54 |
|
Mobility |
30 |
|
ADS Speed |
433 |
|
Reload Speed |
6.5 |
|
Muzzle Velocity |
780 |
|
Headshot Multiplier |
x1.34 |
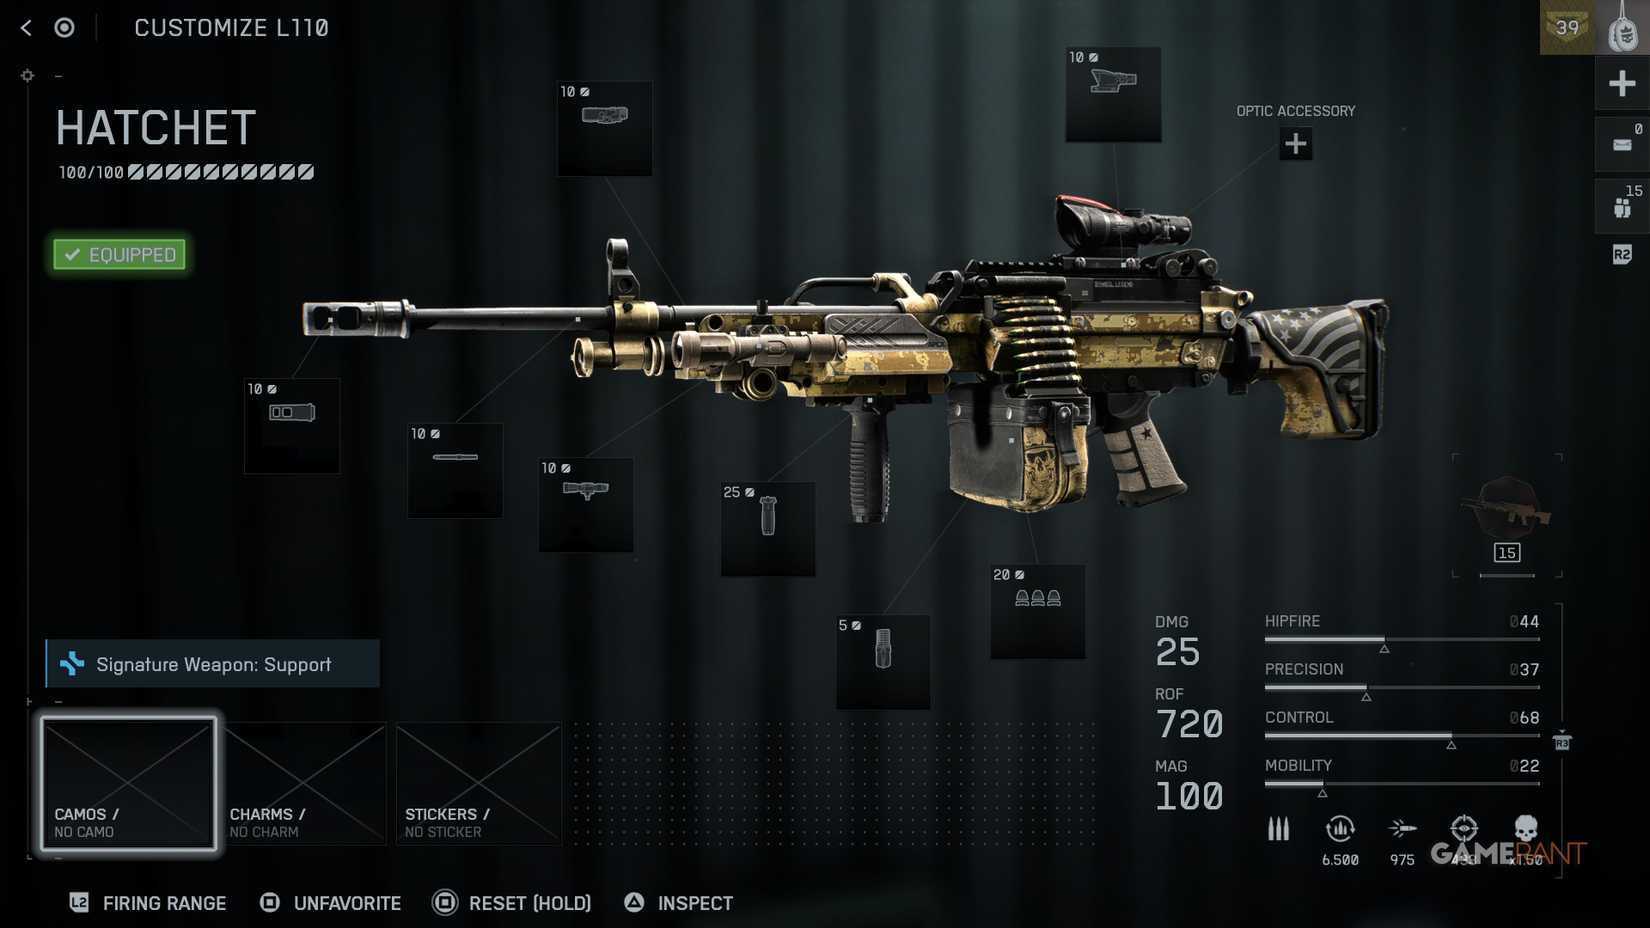
Among the eight available LMGs in Battlefield 6, the L110 distinguishes itself with its generous 100-round default magazine capacity. Its impressive Rate of Fire of 720 rounds per minute ranks third-highest in its class, enabling rapid damage output against multiple targets. The combination of high ROF and substantial ammunition reserves creates perfect conditions for establishing effective suppression zones. Completing the Bullet Storm Assignments requires sustained enemy suppression using LMGs—a process that becomes significantly easier once you master the technique of firing near hostile positions to pin down opponents for your squadmates.
The substantial Reload duration represents this LMG’s most significant drawback, though this limitation proves understandable given the massive ammunition capacity. Initial Projectile Speed of 780 provides respectable baseline performance that can be enhanced through strategic attachment selection. When firing extended bursts, the weapon exhibits pronounced recoil patterns and bullet dispersion characteristics, making it particularly challenging in close-quarter engagements where mobility and target acquisition speed prove critical.
Pro Tip: Employ 3-5 round burst firing patterns beyond 30 meters to maintain accuracy while conserving ammunition. The L110’s effectiveness dramatically increases when utilized from fortified positions overlooking objective zones rather than during aggressive assaults.
Common Mistake: Many players attempt to use the L110 as an assault weapon, leading to frequent deaths during reload cycles. Instead, position yourself with cover nearby and clear lines of sight to multiple approach routes.
For the Bullet Storm challenges, focus on suppressing enemies capturing objectives in Conquest mode—this typically yields 2-3 times faster progression compared to random suppression attempts. Expect to spend approximately 3-5 matches specifically focused on this objective to complete the assignment requirements.
|
Low Level |
High Level |
|
|
Muzzle |
Single-Port Brake |
Double-Port Brake |
|
Barrel |
465MM LB |
465MM LB |
|
Left Accessory |
N/A |
Flashlight |
|
Right Accessory |
5MW Green Laser |
50 MW Green Laser |
|
Underbarrel |
Classic Grip Pod |
6H64 Vertical |
|
Magazine |
100RND Belt Pouch |
100RND Belt Pouch |
|
Ammunition |
FMG |
Hollow Point |
|
Scope |
R4T 2.00X |
PVQ-31 4.00X |
|
Optic Accessory |
N/A |
N/A |
Your initial attachment priority should focus on barrel replacement. The standard 349MM SB barrel provides adequate Muzzle velocity of 780, but upgrading to the 465MM LB delivers an immediate performance boost of nearly 200 units, substantially enhancing target acquisition capabilities and engagement effectiveness. Simultaneously equipping the Flashlight alongside the 50 MW Green Laser, generates significant hipfire accuracy improvements—particularly valuable when forced into unexpected close-quarter confrontations.
For underbarrel modifications, the 6H64 Vertical Grip represents the essential acquisition, providing dramatic recoil reduction at the cost of mobility. The default Magazine configuration remains optimal since the 200RND Belt Box demands a prohibitive 55-point investment—an unsustainable resource allocation for mere capacity enhancement within the standard 100-point loadout budget.
Advanced Optimization: Once you’ve mastered the L110’s fundamentals, consider experimenting with the Double-Port Brake for additional recoil control, though this requires careful point management across other attachment categories.
Implementing Hollow Point ammunition dramatically increases headshot damage multipliers. The PVQ-31 4.00X magnified optic enables effective engagement against distant targets attempting objective capture across any Battlefield 6 map environment.
For comprehensive weapon mechanics understanding, our Complete Guide covers advanced tactics, while the Weapons Unlock guide details progression requirements. Don’t forget to consult our Class Guide for optimal Support Class configuration.
Action Checklist
- Prioritize unlocking the 465MM LB barrel attachment for improved muzzle velocity
- Practice 3-5 round burst firing patterns at medium range to control recoil
- Master defensive positioning near objectives with cover and multiple sightlines
- Complete Bullet Storm assignments by suppressing enemies capturing Conquest objectives
- Optimize loadout within 100-point budget, prioritizing recoil control over magazine capacity
No reproduction without permission:Tsp Game Club » Best L110 Builds in Battlefield 6 Master the L110 LMG in Battlefield 6 with optimal builds, suppression tactics, and advanced combat strategies