TL;DR
- Ashes of the Damned features the largest Zombies map ever with six distinct locations and complex navigation
- The main easter egg requires upgrading Ol’ Tessie, rescuing Klaus, and defeating multiple boss enemies
- Community completion took over 11 hours due to intricate puzzles and hidden objectives
- Proper preparation with specific gear and map knowledge significantly reduces completion time
- Avoid common mistakes like insufficient stun grenades and missing hidden interactions
Call of Duty Black Ops 7 delivers an unprecedented Zombies experience with Ashes of the Damned, boasting the most expansive round-based environment in the franchise’s history. Drawing inspiration from the classic TranZit design philosophy, this dark aether-infused battleground immerses players in atmospheric mystery across six meticulously crafted locations. The map introduces unique gameplay elements including a specialized Wonder Weapon and the essential Ol’ Tessie vehicle that becomes your primary means of traversing the challenging terrain.
Since the game’s launch, the community has been intensely focused on deciphering the main easter egg, with many players seeking comprehensive guidance through its intricate steps. This guide provides the complete roadmap for conquering Black Ops 7 Zombies’ most ambitious quest to date.
The Ashes of the Damned main quest presents a multi-stage challenge that spans vehicle enhancement, character rescue operations, sequential boss confrontations, and cryptographic puzzles within Yuri’s laboratory before the ultimate showdown with Veytharion. Recognized as one of the most extensive easter egg investigations in Zombies chronology, the complexity is demonstrated by the 11+ hours required for initial community completion.
Before attempting the main easter egg, ensure you have adequate survival gear and understand the map’s intricate layout. The six locations are connected through specific pathways that require strategic navigation, especially when transporting objectives between zones. Early rounds should focus on building points and securing defensive positions near key interaction points.
Strategic preparation involves understanding zombie spawn patterns and identifying safe routes between objectives. Players should prioritize acquiring reliable weapons and establishing escape routes before initiating the main quest sequence. The expansive nature of Ashes of the Damned means proper positioning can mean the difference between success and failure.
For optimal performance, consider studying our BF6 Weapons Unlock Guide to ensure you have the right tools for each encounter. Different weapon types excel in specific situations throughout the easter egg progression.
Here’s a comprehensive breakdown of the critical steps required to complete the main easter egg, organized for optimal execution:
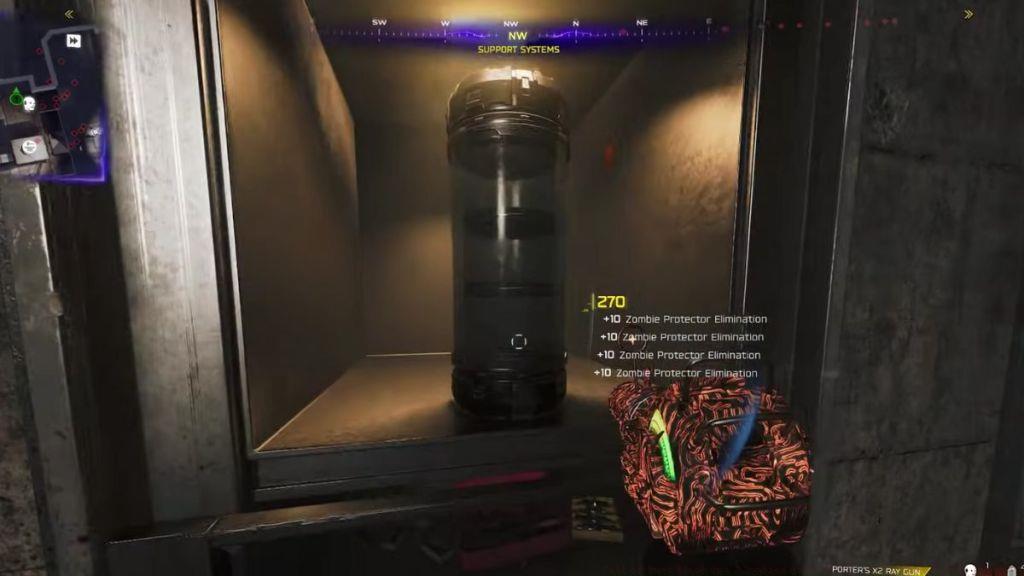
- Complete the initial objectives to activate the Pack-A-Punch machine and strategically position it on Ol’ Tessie for mobile accessibility during later stages.
- Navigate to the Diner vicinity near Exit 115 and eliminate a zombie to acquire the essential Freezer Key, which unlocks access to crucial components.
- Utilize the obtained key to access the freezer section adjacent to the kitchen area, retrieving the Abomination Carcass necessary for vehicle enhancement. Interact with Ol’ Tessie to implement this significant upgrade.
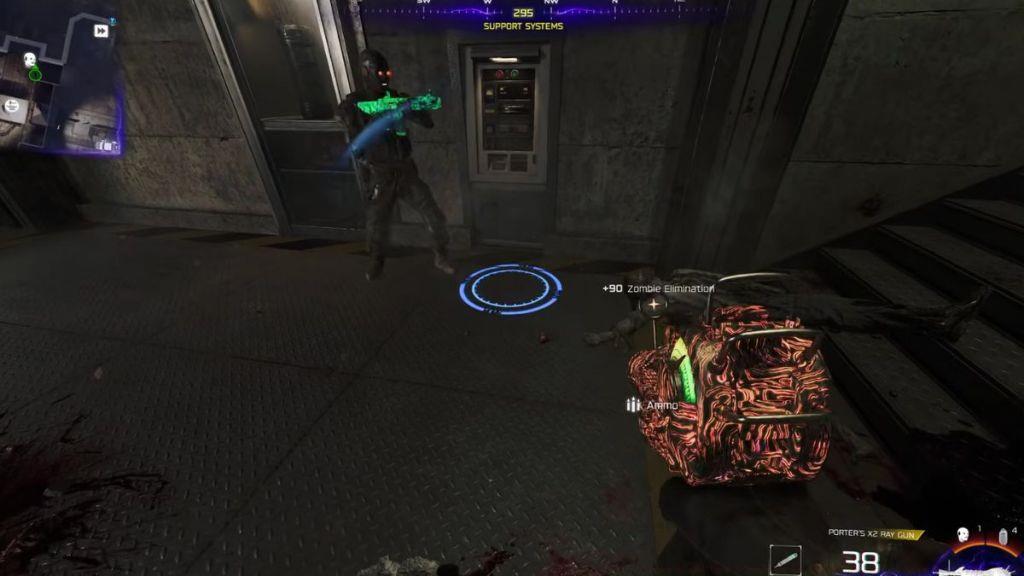
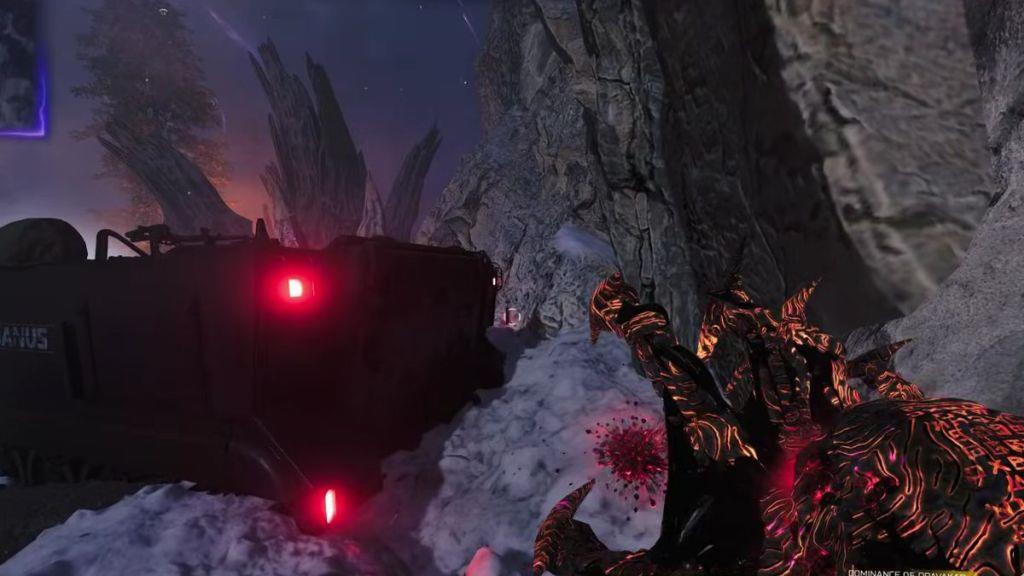
- Proceed to Janus Plaza where you’ll encounter the formidable Uber Klaus enemy systematically patrolling surrounding roadways. Defeat this mini-boss to secure the Stabilizer Chip.
- Visit any available Crafting Table to manufacture a minimum of four Stun Grenades—underpreparing this requirement is a common failure point.
- Journey to the Sheriff’s Office located in Ashwood to locate Klaus imprisoned within the structure.
Understanding character roles and abilities is crucial for success. Our BF6 Class Selection Guide provides deeper insights into team composition strategies that can dramatically improve your easter egg completion chances.
Seasoned players should focus on several optimization techniques to reduce completion time. Coordinate with teammates to simultaneously complete objectives in different map sections, and establish communication protocols for boss encounters. The Uber Klaus confrontation benefits significantly from pre-planned positioning and specialized equipment.
Avoid these common mistakes: insufficient stun grenade preparation (carry 6+ for safety), neglecting to upgrade weapons before boss fights, and failing to establish escape routes during high-pressure situations. Many teams fail at the Yuri’s lab code segment due to inadequate note-taking or miscommunication.
Time management is critical—experienced teams can complete the easter egg in approximately 6-8 hours with proper coordination, compared to the initial 11+ hour community discovery period. The Veytharion boss fight requires specific damage phases and environmental awareness that punish reckless approaches.
For comprehensive gameplay mastery beyond Zombies mode, explore our Battlefield 6 Complete Guide for cross-mode strategies and mechanics understanding that can enhance your overall performance.

When you successfully initiate the ritual sequence, you’ll receive a prompt requesting your blood contribution to the mixture. This action immediately triggers an area lockdown protocol, reducing your maximum health capacity to 75 points while forcing you to withstand multiple waves of zombie assaults. Successfully surviving this onslaught results in a distinctive purple glass effect enveloping the area, signaling your progression eligibility to subsequent mission stages.
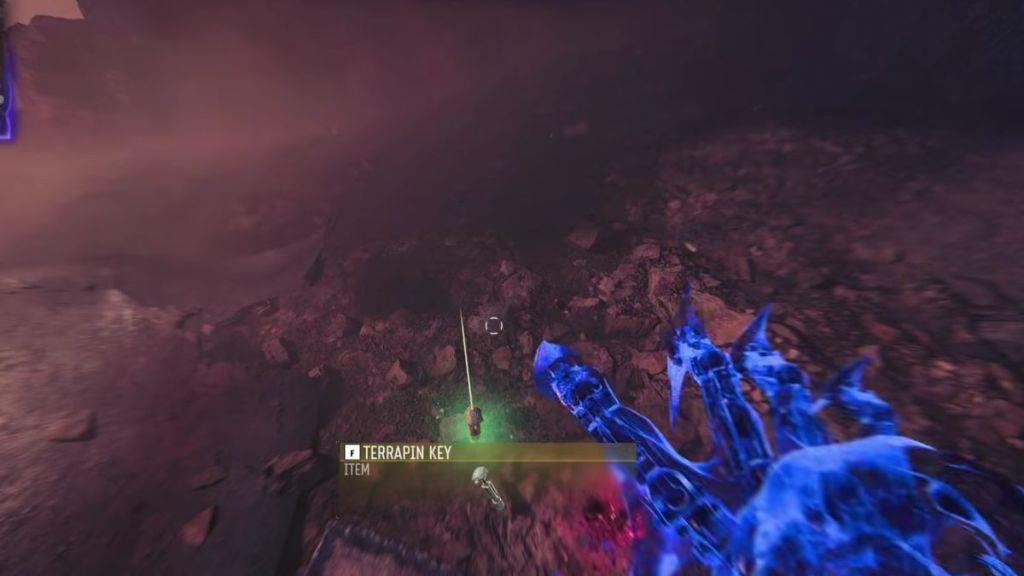
Following successful code decryption, your next objective involves retrieving three strategically placed keys distributed throughout the Battlefield 6 map. Each key acquisition applies a cumulative character debuff, making thorough equipment preparation and tactical planning essential before initiation. The keys are specifically positioned in these locations:
- Within the Radio Tower structure interior
- Positioned atop the cliff formation on the left side
- Adjacent to the destroyed pylon at the building’s summit
Seasoned Battlefield 6 operators recommend coordinating key collection with squad members to distribute debuff effects across the team. Common mistakes include attempting solo collection without proper medical supplies or underestimating the zombie respawn rates during lockdown phases. For optimal efficiency, assign specific class roles using our Class Guide to counter debuff disadvantages – medics can offset health reductions while engineers handle area denial. Most teams complete the full key collection sequence within 15-20 minutes when properly coordinated.
Advanced players should consult the Weapons Unlock guide to select loadouts that compensate for movement speed penalties or damage resistance reductions from acquired debuffs. Remember that the Pax Armata game mode introduces additional complexity to these challenges, requiring adaptation of standard Conquest strategies.
Action Checklist
- Activate Pack-A-Punch and mount it on Ol’ Tessie
- Secure Freezer Key from zombie near Exit 115 Diner
- Retrieve Abomination Carcass and upgrade Ol’ Tessie
- Defeat Uber Klaus at Janus Plaza for Stabilizer Chip
- Craft minimum 4 Stun Grenades at Crafting Table
- Rescue Klaus from Ashwood Sheriff’s Office
- Navigate to Zarya Cosmodrome ramp and activate wall panel with Klaus
- Collect Dark Aether barrel and plan optimal route to three Power Pumps
- Complete all three Power Pump placements within two-minute time limit
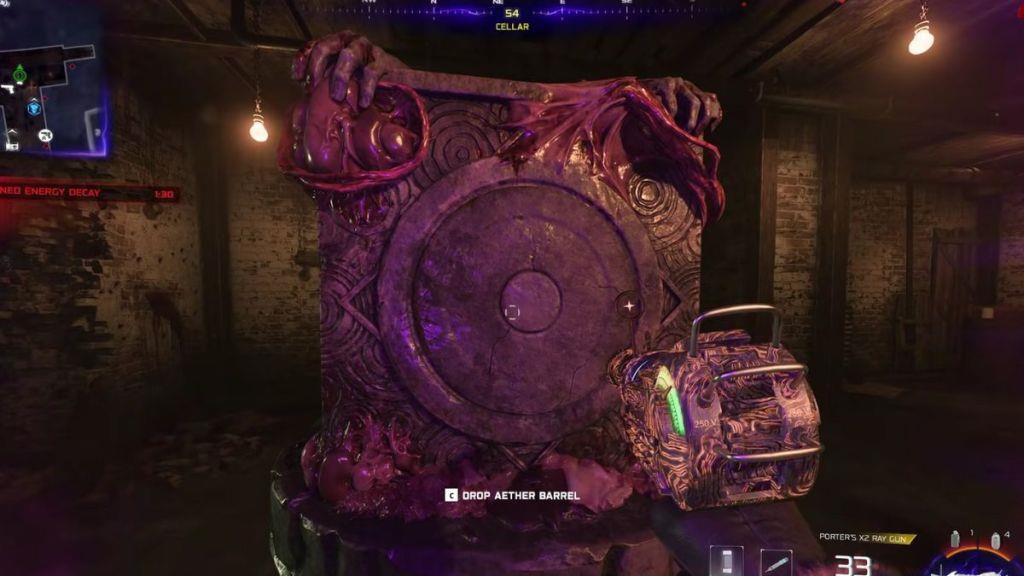
- Retrieve barrel from Vandorn Farm and descend to cellar cube
- Use jump pad to identify building symbols and match them on the cube
- Interact with red eye symbol to claim Necrofluid Gauntlet
- Complete blood ritual and prepare for 75 health cap during zombie lockdown
- Navigate to Crashed Rocket via Ol’ Tessie between Ashwood and Zarya Cosmodrome
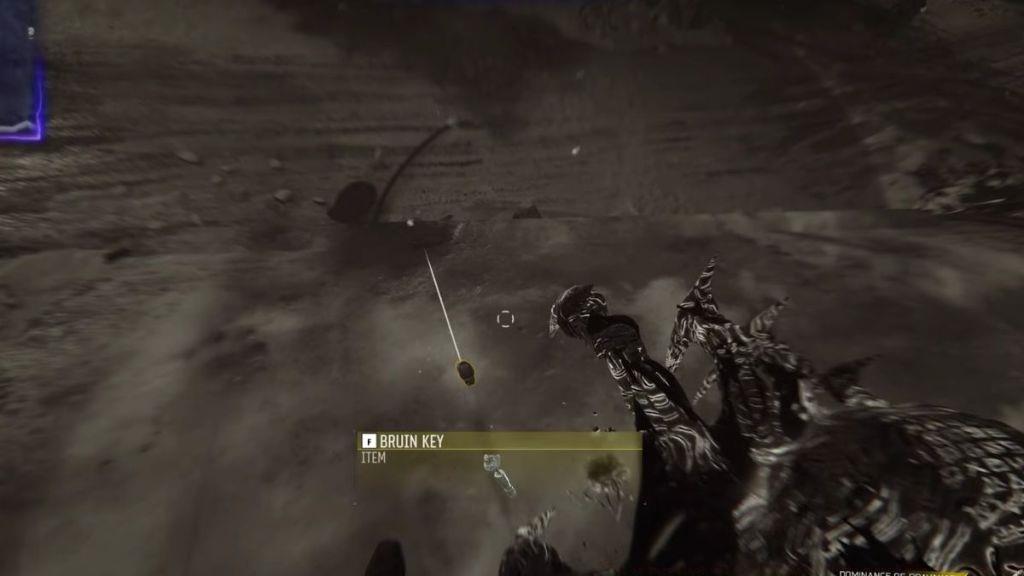
- Systematically search all three Bruin key spawn locations
- Coordinate with team to distribute debuff effects and maintain combat effectiveness
No reproduction without permission:Tsp Game Club » Call of Duty Black Ops 7 Zombies Ashes of The Damned Main Easter Egg Guide