TL;DR
- Master grid movement with 5 mana per turn – positioning prevents automatic enemy counterattacks
- Use Sacred Groves strategically for healing and resource conversion while managing enemy respawns
- Prioritize versatile early cards like Defensive Swing over expensive upgrades initially
- Study enemy attack patterns – Gloomcroak pulls while Dreadfins require closing distance
- Balance card crafting with Teardrop unlocks based on your current progression needs
Conquer Death Howl’s challenging spirit realm through strategic deck construction, tactical combat positioning, and efficient resource management in this demanding soulslike card game.
Entering Death Howl’s Scandinavian folklore-inspired spirit world presents an immediate challenge. The game drops you into hostile territory without tutorials, armed only with basic cards and facing aggressive spirits that will repeatedly send you back to the start. This unforgiving deckbuilder demands patience and strategy, but mastering its systems transforms frustration into immense satisfaction.
Your expedition across thirteen dangerous realms requires careful planning, resource conservation, and tactical foresight. Each choice carries weight when managing your limited five mana pool between movement actions and card plays. This guide provides the foundational knowledge to survive your initial encounters in this punishing afterlife.
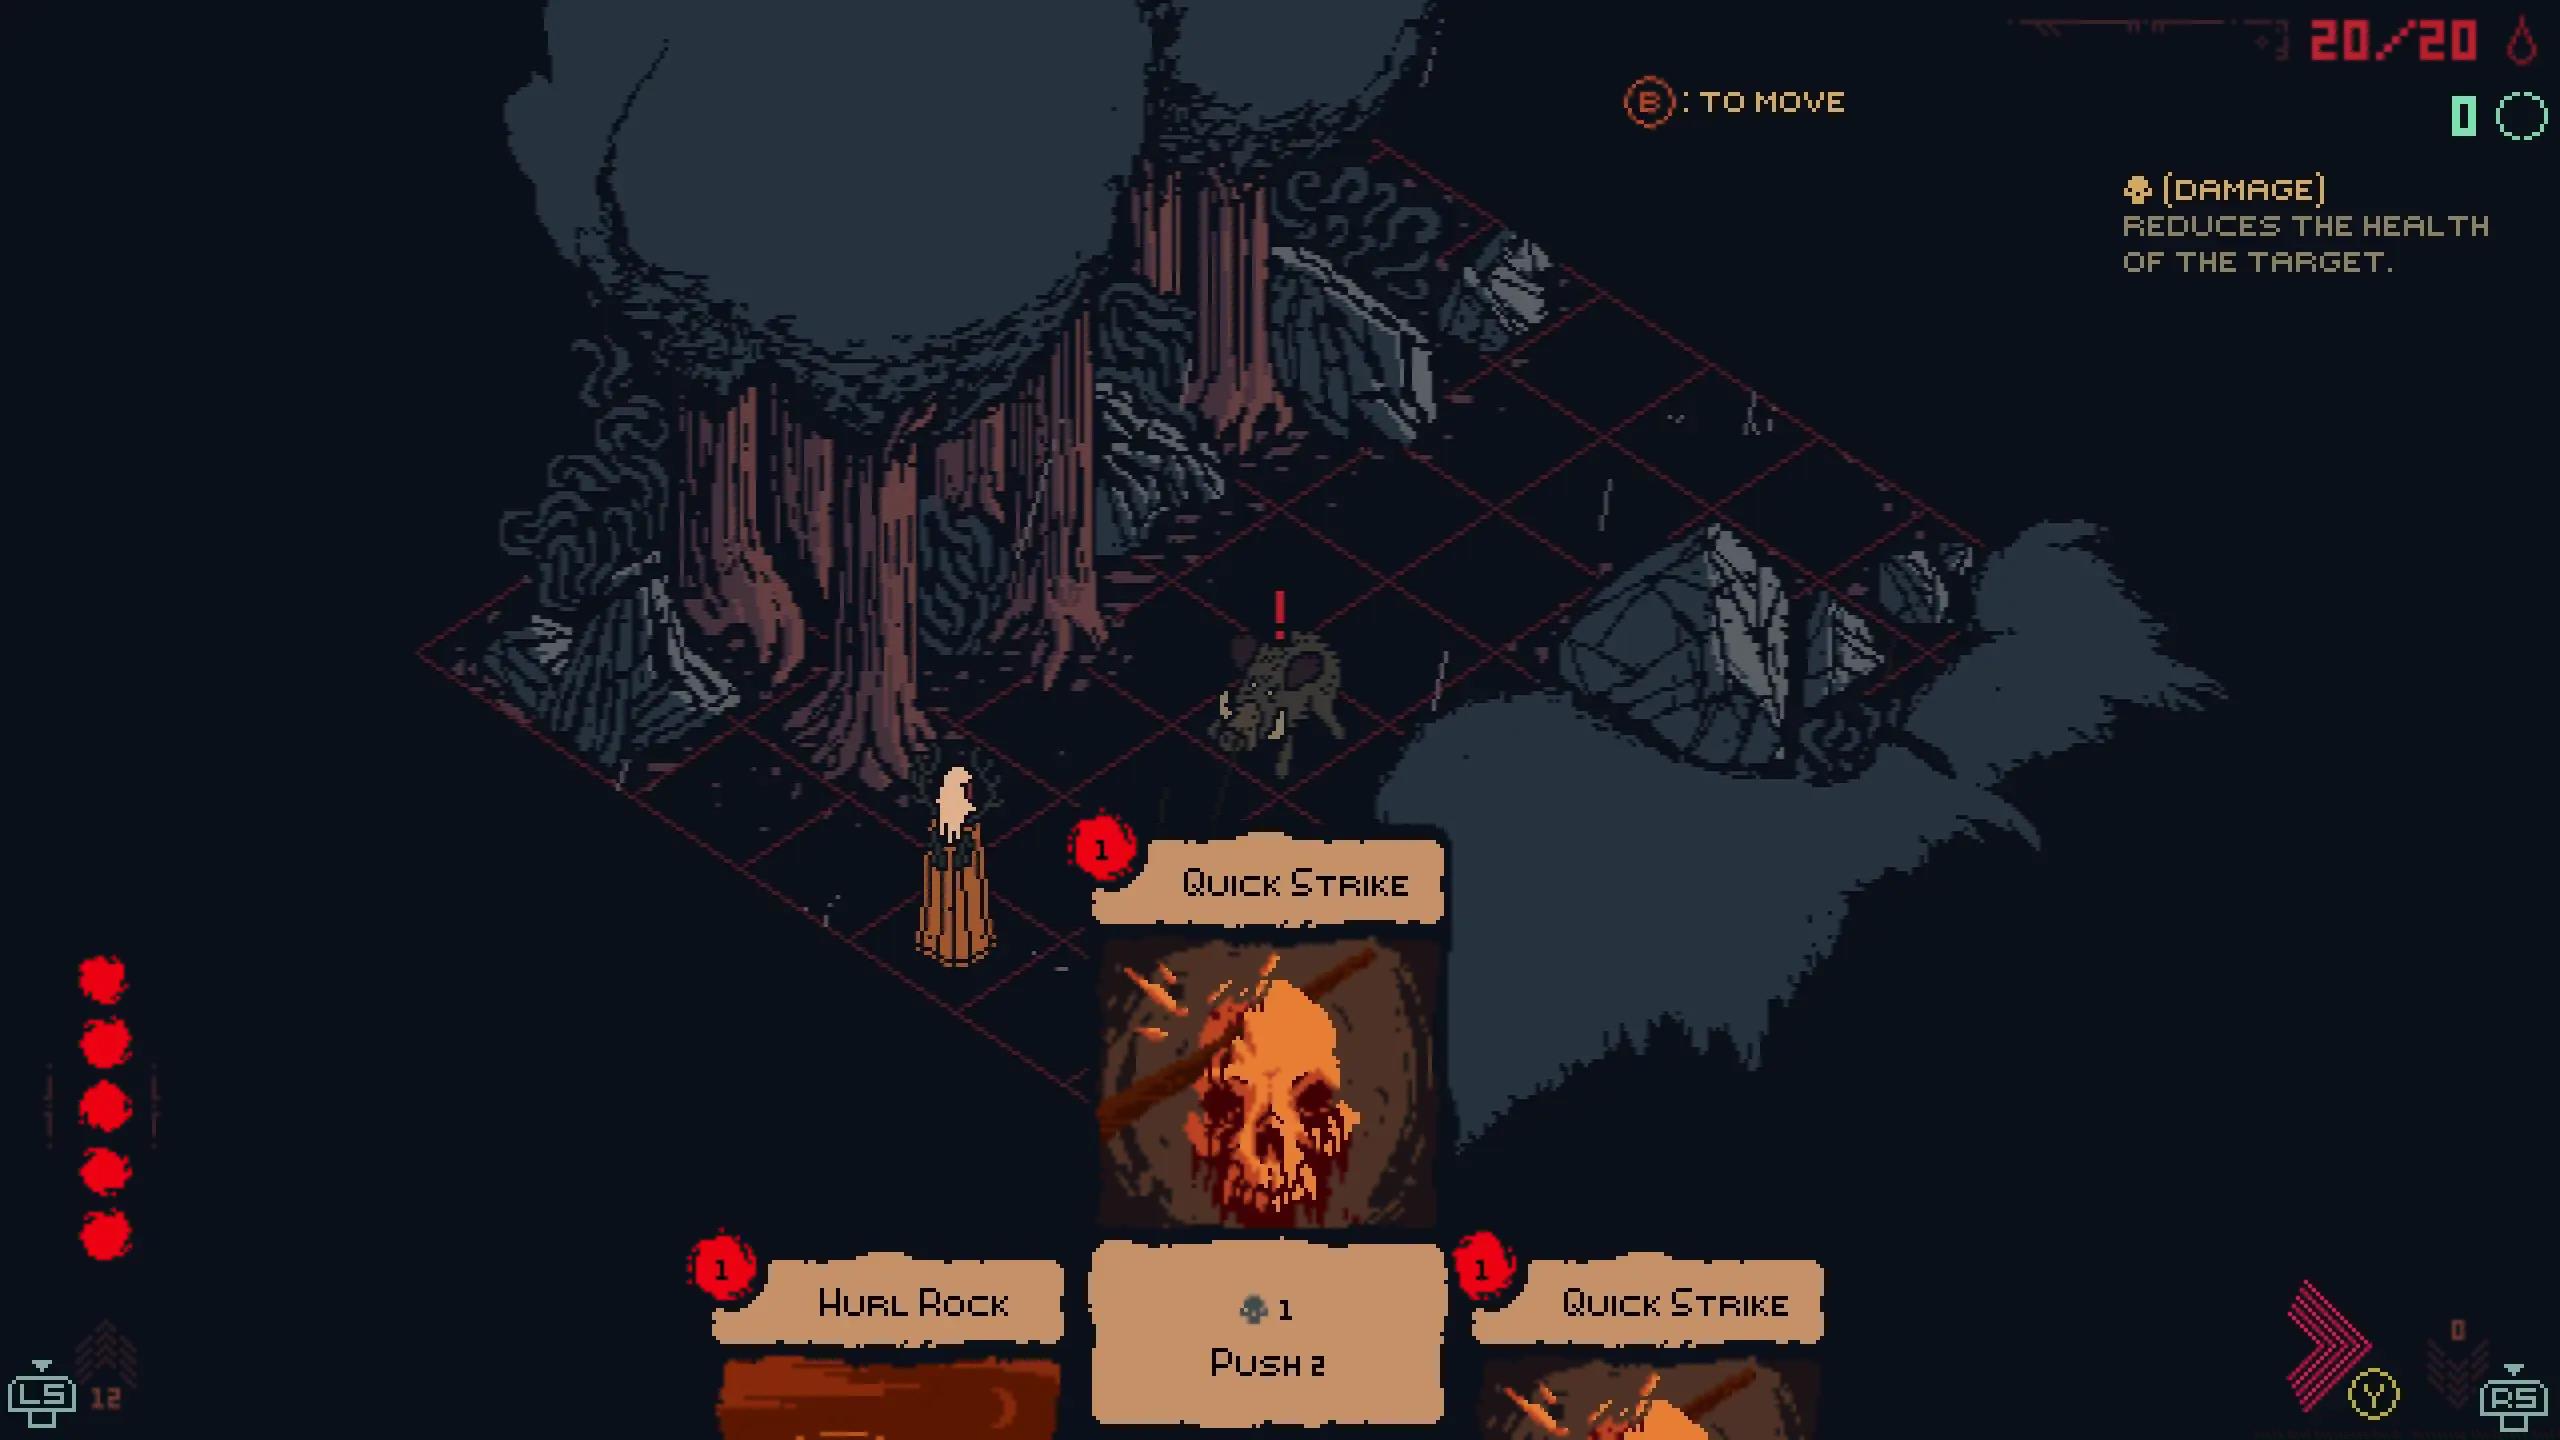
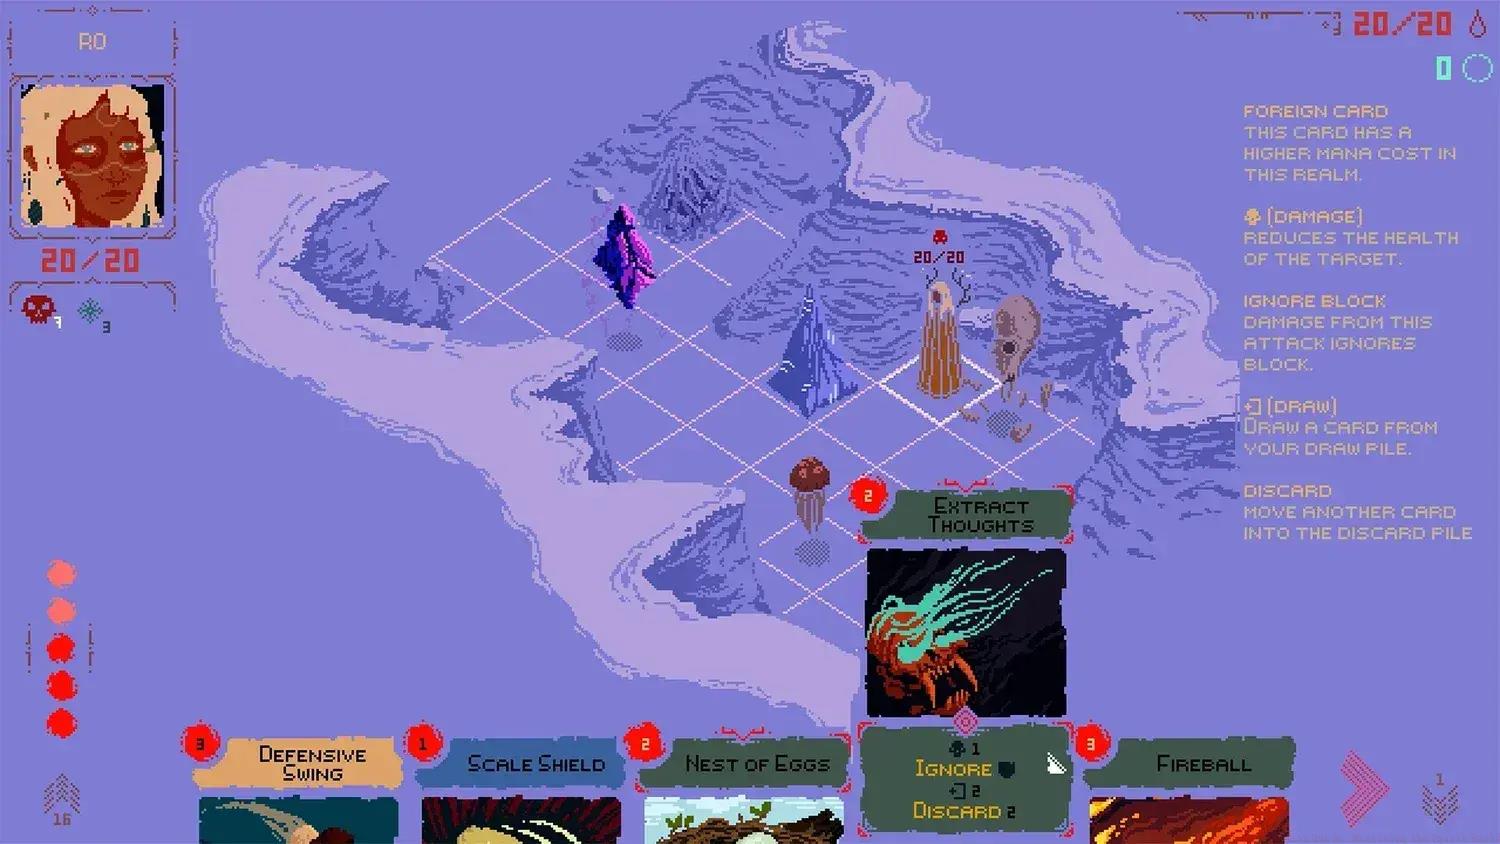
Death Howl’s combat unfolds on a tactical grid where positioning determines survival. Each turn grants five mana points to allocate between square movement and card activation from your hand. Movement follows chess rook mechanics (horizontal and vertical only), consuming one mana per square traversed.
Card mana costs appear in red circles at the top-left corner, with many requiring specific positioning. Aim for the Heart demands distance from targets, whereas Defensive Swing provides bonuses when adjacent to enemies. Your hand discards completely at turn completion, eliminating any benefit from hoarding cards for ideal situations.
Enemies automatically counterattack when you enter their range, making spatial awareness essential. Observe attack patterns during initial encounters. The Gloomcroak‘s tongue pull ability requires maintaining distance, while Dreadfins‘ ranged assaults demand closing gaps or using your own distance cards.
Movement expenses accumulate rapidly. Always calculate total mana expenditure before executing actions. Becoming stranded one square short of delivering a finishing blow renders your turn ineffective.
Sacred Groves serve as crucial survival hubs throughout the spirit realm. These sanctuaries fully restore health and automatically convert gathered Death Howls into Teardrop Points. The critical consideration: Grove activation respawns all defeated enemies since your last rest.
This regeneration mechanic represents opportunity rather than punishment. You can repeatedly farm the same spirit encounters, mastering their behavior patterns while accumulating Death Howls for card creation or Teardrop enhancements. The Xbox Game Pass December inclusion introduced numerous new players to this essential grinding cycle for advancement.
Groves additionally function as instant transportation nodes. Once activated, you can instantly teleport between them from any map position. This enables efficient backtracking for resources or returning to simpler farming locations with remarkable convenience.
Pro Tip: Always exhaust nearby resource nodes and defeat accessible enemies before resting at a Grove. This maximizes Death Howl accumulation while ensuring you don’t waste exploration opportunities. Consider creating a mental map of enemy placements to efficiently farm specific card components or Teardrop points when needed.
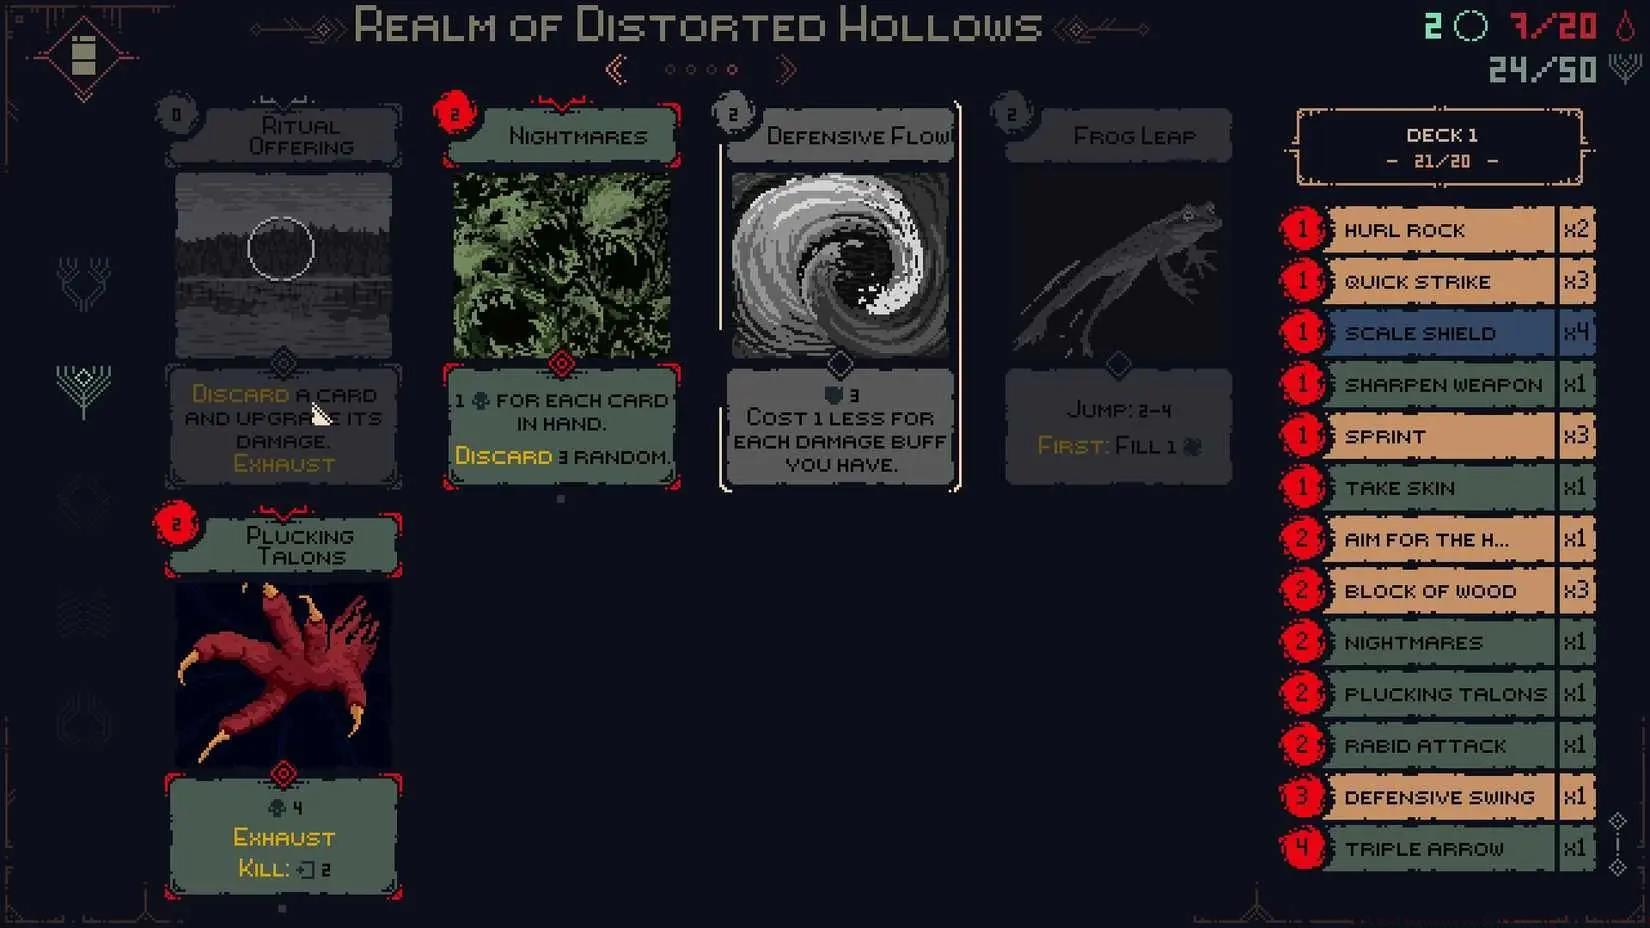
New players face a critical decision: invest Death Howls in new cards or permanent Teardrop upgrades? The optimal approach depends on your current progression stage and playstyle preferences.
Crafting Priority: Initially focus on versatile low-cost cards that enhance your core strategy. Defensive Swing provides excellent value for one mana, offering both damage and positioning benefits. Avoid expensive four-five mana cards early when mana efficiency matters most.
Teardrop Strategy: Permanent upgrades become increasingly valuable as you progress deeper into realms. Consider allocating 30-40% of your Death Howls to Teardrops once you have a functional deck core. Health and mana upgrades provide consistent value across all encounters.
Essential Early Cards:
• Defensive Swing (1 mana) – Reliable damage with positioning flexibility
• Aim for the Heart (2 mana) – Essential ranged option
• Spirit Dash (1 mana) – Mobility and minor damage
• Guard Stance (2 mana) – Defensive utility against tough enemies
Synergy Example: Combine Spirit Dash for positioning with Defensive Swing for adjacent attacks. This two-card combo costs only two mana while providing movement and substantial damage, perfect for early game efficiency.
Mastering Death Howl requires understanding both your capabilities and enemy behaviors. Advanced tactics separate surviving players from those who conquer the spirit realm.
Shamanic Totems provide temporary battlefield advantages when activated. These environmental objects can heal, boost damage, or provide protective barriers. Always prioritize totem control in complex encounters – their benefits often outweigh minor positional advantages.
Critical Enemy Abilities:
• Gloomcroak Tongue Pull – Maintain 2+ square distance or prepare immediate counterattack
• Dreadfin Projectiles – Close distance rapidly or use line-of-sight blocking
• Wraith Phase Shift – Time attacks between their teleportation cycles
• Bonecrushier Slam – Recognize telegraph animations and move diagonally through adjacent squares
Advanced Positioning: Use the environment to limit enemy attack angles. Corner positions reduce incoming directions, while pillar placement can block ranged assaults. Remember that your rook-style movement allows quick repositioning along straight lines when needed.
What Sets Death Howl Apart: Unlike traditional deckbuilders, Death Howl integrates tactical movement as a core resource. This spatial element combined with the soulslike progression system creates a unique hybrid experience that demands both strategic planning and real-time positioning awareness.

Common Beginner Mistakes:
• Wasting mana on unnecessary movement
• Ignoring enemy attack telegraphs
• Over-investing in expensive cards early
• Resting at Groves without maximizing Death Howl collection
• Underestimating environmental advantages
Action Checklist
- Practice mana-efficient movement (2-3 squares per turn maximum)
- Master Defensive Swing + Spirit Dash combo against early enemies
- Farm Death Howls efficiently by clearing areas before Grove rests
- Allocate 60% Death Howls to cards, 40% to Teardrops in early game
- Study enemy attack patterns and develop counter strategies
No reproduction without permission:Tsp Game Club » Death Howl Beginners Guide: Mastering the Spirit World Master Death Howl's brutal deckbuilding combat with essential positioning tactics, resource management, and progression strategies