Master Armageddon’s mechanics in Dragon Quest HD-2D Remake with strategic counters and turn-by-turn battle tactics
Understanding Armageddon’s Threat Level
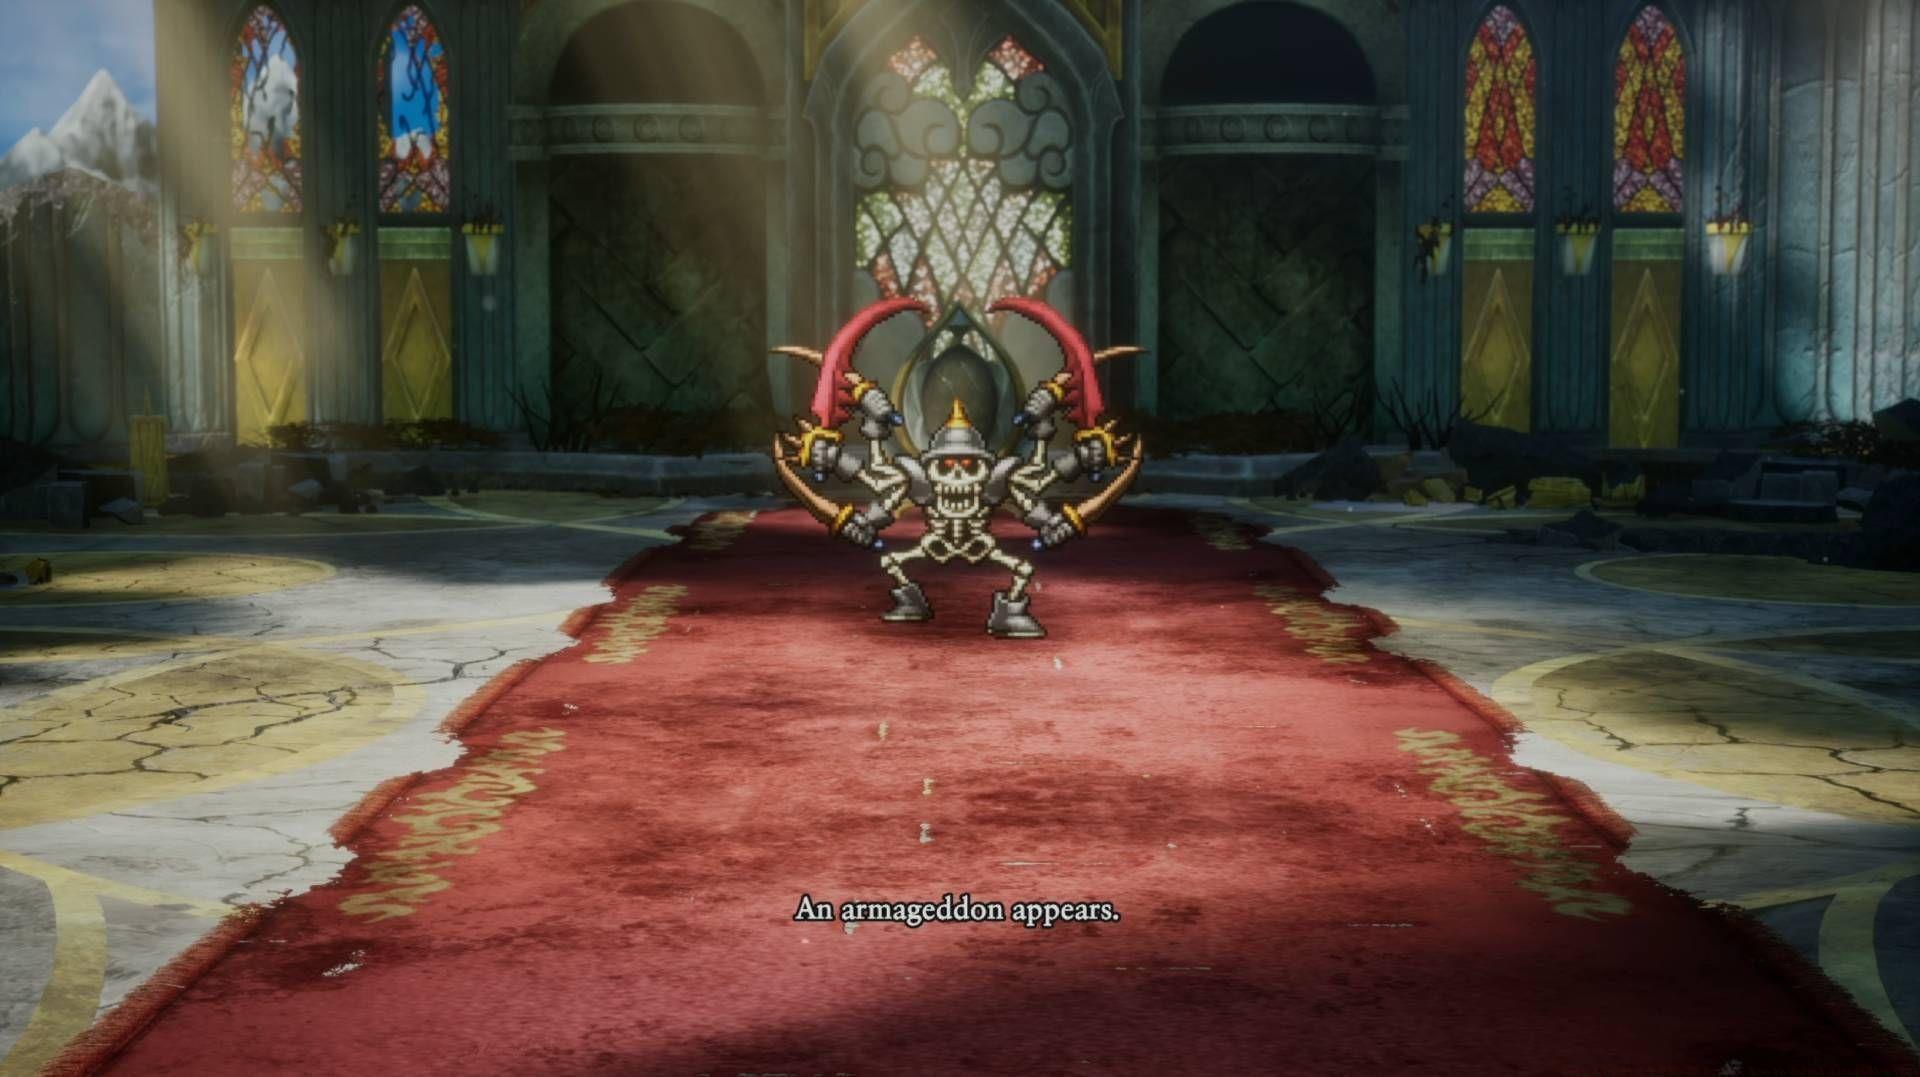
As you approach the conclusion of DQ1’s Shrine of Rain within Dragon Quest 1 & 2 HD-2D Remake, Armageddon emerges as your next significant obstacle. This multi-limbed skeletal adversary will immediately resonate with veteran Dragon Quest enthusiasts through its distinctive design. Fortunately, similar to your previous encounter with Goregoyle, this confrontation emphasizes close-quarters combat. While several tactics from earlier battles remain applicable, Armageddon presents a substantially more demanding challenge than its aerial predecessor.
For those seeking puzzle solutions, explore our latest NYT Mini Crossword Answers, LA Times Crossword Answers, and Atlantic Crossword Answers sections.
Armageddon’s Complete Move Set Analysis
- Thick Fog: Completely disables spellcasting capabilities for all combatants
- Slices Once, Then Twice: Executes consecutive strikes dealing 30-60 damage per hit
- Prepares to Deflect Enemy Attacks: Activates Cop Out technique, deflecting physical assaults
- Standard melee assault: Inflicts approximately 30-50 damage with paralysis potential
- Helm Splitter: Connects for 20-30 damage while simultaneously reducing target’s Defenses
- Low-health Sword Dance: Unleashes 4-5 rapid strikes at roughly 30+ damage each when critically wounded
Understanding Armageddon’s ability rotation is crucial for survival. The Thick Fog ability creates windows where magical counterplay becomes impossible, forcing you to rely on physical defenses. His double-attack pattern represents one of his most dangerous offensive tools, while Cop Out completely alters the risk-reward calculation of your offensive choices. The paralysis effect on standard attacks adds RNG elements that can quickly turn battles, making defensive preparations essential.
Advanced Combat Strategies and Timing
During Fog intervals when spellcasting becomes unavailable, Armageddon adopts hyper-aggressive tactics, frequently employing his devastating double-strike combination. This creates the perfect scenario for deploying Cop Out, as the deflection ability typically negates incoming damage during these high-pressure sequences.
Strategic observation reveals that immediately following Fog dissipation, Armageddon commonly activates Cop Out on himself. This behavioral pattern opens strategic windows for healing, applying buffs, or casting Sandstorm to significantly reduce his accuracy. These transition periods represent your primary opportunities for setup and recovery.
The paralysis effect attached to Armageddon’s standard attacks introduces additional complexity to the encounter. This mechanic strongly incentivizes maintaining Wild Side/Duplicate active continuously, while employing techniques like Miracle Slash to simultaneously restore health while dealing damage. Your core offensive options should revolve around Undead Undoer or Kasizz when conditions permit their use.
Common Pitfalls and How to Avoid Them
The most treacherous aspect of this confrontation, beyond Armageddon’s inherent durability, involves the self-defeat mechanism enabled by Cop Out. As the boss’s health diminishes, his tendency to activate Cop Out increases dramatically, creating dangerous retaliation scenarios.
Interestingly, Cop Out can occasionally backfire on Armageddon himself, resulting in self-paralysis. However, it more frequently reflects the majority, if not all, strikes from abilities like Sword Dance. As the battle progresses into its later stages, you should increasingly deploy Cop Out during any turn not dedicated to healing or defensive enhancements.
Armageddon’s exceptional damage output in Dragon Quest 1 & 2 HD-2D Remake makes allowing him to defeat himself through reflected damage far safer than aggressive push strategies. Once he reaches Yellow Health thresholds, intensifying your Cop Out frequency represents the most reliable path to victory. Exercise strategic patience and leverage his aggressive nature against him—he rarely wastes actions on non-offensive maneuvers beyond Cop Out activation.
Optimal Skill Rotation and Equipment
This enhanced edition of Dragon Quest 1 & 2 HD-2D Remake beautifully unites the franchise’s inaugural two titles within a single package. The stunning HD-2D visual presentation complements numerous quality-of-life improvements and system upgrades, mirroring enhancements seen in the DQ3 Remake. Discover comprehensive details about this release through our extensive review coverage.
For optimal performance against Armageddon, prioritize equipment that boosts agility and magic resistance. The paralysis effect makes status protection accessories invaluable, while damage mitigation gear helps survive his burst combinations. Remember that spellcasting windows are limited, so maximize their impact when available through proper timing and mana conservation.
No reproduction without permission:Tsp Game Club » Dragon Quest 1 & 2 HD-2D Remake: How to defeat Armageddon (DQ1) Master Armageddon's mechanics in Dragon Quest HD-2D Remake with strategic counters and turn-by-turn battle tactics