TL;DR
- Defeat Moss Grotto boss and navigate through Bone Bottom to find Shakra in The Marrow
- Purchase area maps first, then Quill for automatic map filling – avoid wasting beads on non-essentials
- Farm Rosary Beads efficiently by targeting specific enemy types and utilizing respawn mechanics
- Master advanced techniques like bench placement optimization and environmental pattern recognition
- Combine map tools strategically to reveal Pharloom’s deepest secrets and hidden pathways
Navigating Pharloom’s intricate pathways without proper guidance can quickly become frustrating. This comprehensive guide reveals precise merchant locations, essential tool acquisition methods, and optimal currency farming approaches to illuminate every concealed area efficiently.
Exploring the vast kingdom of Pharloom in Hollow Knight: Silksong presents significant challenges initially, featuring complex networks of molten chambers, unstable platforms, and adversary-packed passageways. Playing as Hornet, your journey begins completely unmapped, transforming early navigation into a methodical but straightforward process. The crucial strategy for discovering hidden content involves activating and enhancing your cartographic tools promptly—enabling precise bench localization, strategic position marking, and real-time tracking. This manual details merchant discovery techniques, critical item procurement, and optimal bead collection methods. Implementing these approaches converts disorientation into methodical progression, identifying alternate routes and boss encounters proactively. Prepare to master Pharloom’s geography systematically.
Your cartographic journey initiates immediately following your victory over the introductory boss encounter in Moss Grotto and subsequent traversal through the haunting settlement of Bone Bottom. Progress forward into The Marrow, Pharloom’s subsequent territory. Ascend through an enormous chamber filled with dangerous lava obstacles, then navigate leftward and scale a towering vertical passage containing regenerating platforms that disintegrate upon contact.
Continue leftward persistently until auditory cues—melodic humming—indicate proximity. You’ll observe insect remnants and gleaming metallic circles as directional indicators. This location introduces Shakra, the combat-trained cartography vendor. She serves as your primary source for maps and enhancements, though all transactions require Rosary Beads currency.
Always acquire the regional map upon entering new territories—it instantly discloses fundamental layouts, providing substantial advantage in identifying routes easily overlooked during initial exploration.
How to Unlock the Map in Silksong
After purchasing any map, consult it during exploration by holding LB or L1, or examine it thoroughly at rest benches for comprehensive details. Remember, unavailable maps remain completely empty, so obtain them promptly when accessing unfamiliar regions.
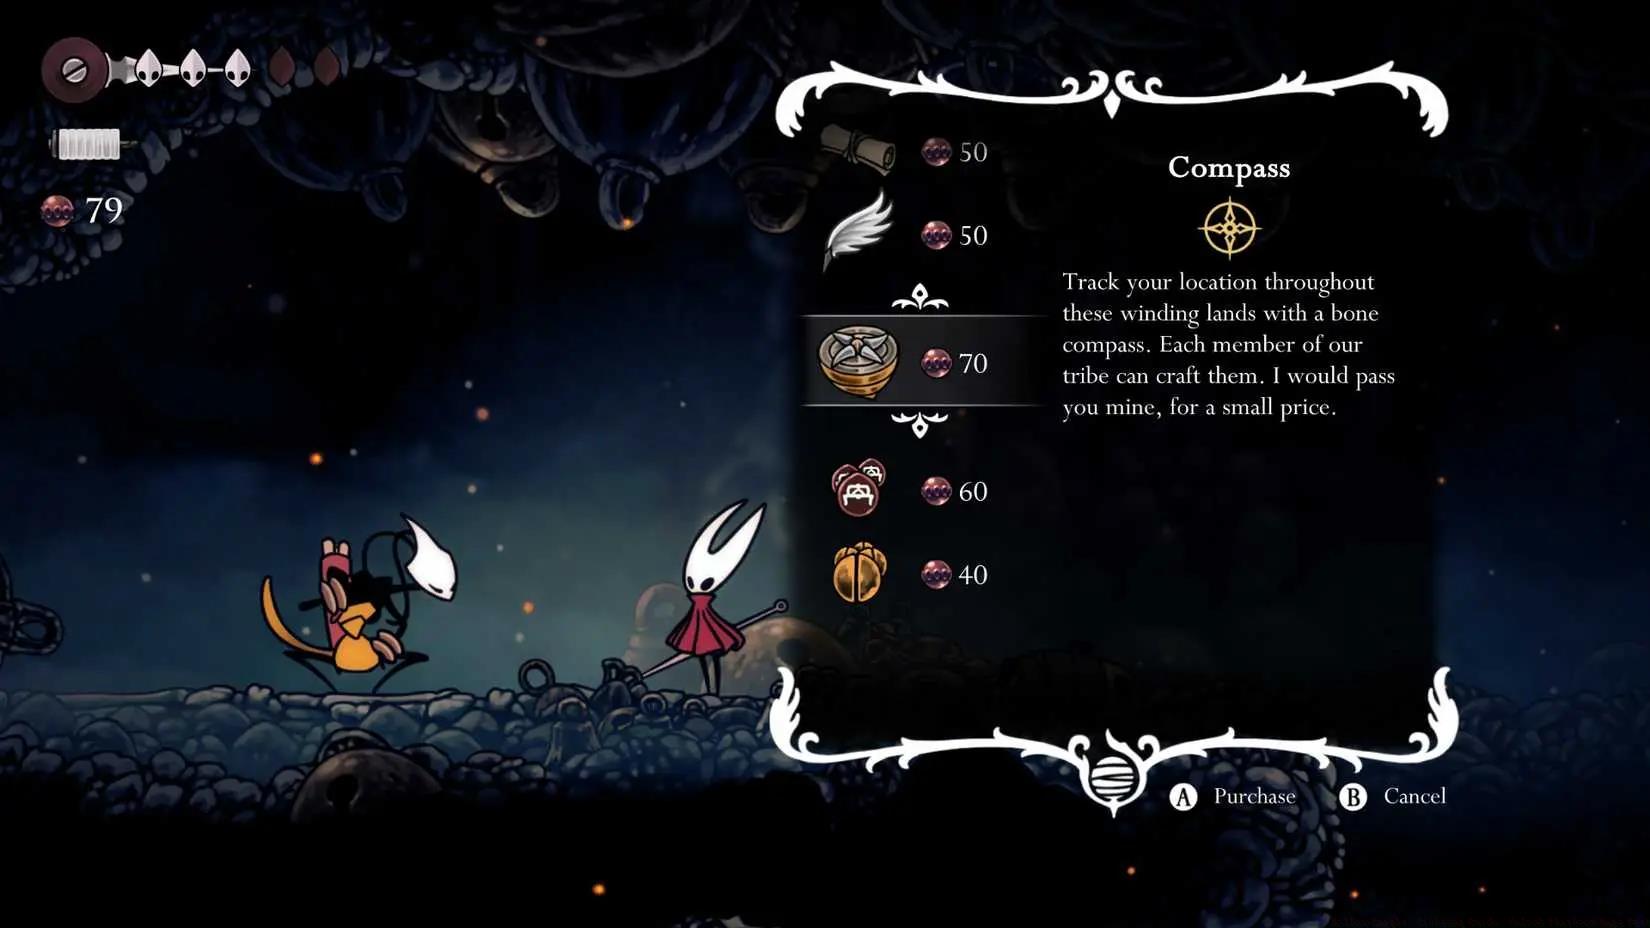
Shakra maintains an inventory of implements that transform your map from simple illustration to dynamic strategic asset. She materializes in multiple locations throughout Pharloom, refreshing her available items according to your advancement. Below are her primary offerings during early gameplay, with costs denominated in Rosary Beads:
Acquire the Quill immediately following your initial map purchase to enable automatic cartographic expansion. Without this tool, you’ll access only fundamental layouts, missing opportunities to complete those convoluted passageways. As you discover additional territories, Shakra incorporates maps for locations such as Deep Docks or Greymoor—consistently inspect her inventory whenever you encounter her.
Despite Quill ownership, you cannot develop maps not yet acquired. Reserve beads for regional maps before investing in decorative pins or markers.

Critical Purchase Sequence: Experienced players recommend this acquisition order: Current Region Map → Quill → Marker Set → Advanced Pins. This progression ensures fundamental navigation capabilities before customization options. Many newcomers mistakenly purchase decorative items first, severely hampering their exploration efficiency.
Tool Synergy Benefits: Combining the Quill with specific markers creates powerful navigation advantages. Strategic pin placement at resource locations, challenging enemy encounters, or potential secret areas transforms your map into a personalized tactical display. This approach significantly reduces backtracking and optimizes exploration routes.
Inventory Update Patterns: Shakra’s available items evolve based on story progression and specific achievements. Defeating certain bosses or accessing hidden areas often unlocks specialized mapping tools. Regularly revisiting her locations throughout your journey reveals new cartographic options that enhance late-game exploration.
Rosary Beads serve as Pharloom’s primary currency for cartographic acquisitions. Efficient farming requires understanding enemy respawn mechanics, optimal routing, and drop rate optimization. Below are proven strategies for maximizing your bead collection efficiency.

Early Game Farming Routes: The Marrow offers excellent initial farming opportunities. Focus on enemies with higher drop rates, particularly the armored beetles near vertical shafts. These adversaries respawn quickly and provide consistent bead yields. A circular route starting from the central bench through the lava chamber and back typically yields 15-20 beads per 5-minute cycle.
Intermediate Farming Techniques: As you progress, target specific enemy types with enhanced drop probabilities. Flying adversaries in Greymoor often drop multiple beads simultaneously, while subterranean creatures in Deep Docks provide rare bead clusters. Mastering combat patterns against these enemies significantly increases hourly yields.
Advanced Optimization Strategies: Endgame players should combine bead farming with other objectives. While searching for collectibles or completing side quests, prioritize routes through high-yield enemy zones. This multitasking approach minimizes dedicated farming time while maintaining steady currency accumulation for expensive late-game map enhancements.
Common Farming Mistakes: Avoid wasting time on low-yield enemies or inefficient routes. Many players farm in areas with lengthy enemy respawn timers or difficult combat scenarios that don’t justify the bead returns. Always assess the beads-per-minute efficiency of your chosen farming location.
Beyond basic cartography, mastering Pharloom’s intricacies requires sophisticated techniques that leverage your mapping tools to their fullest potential. These advanced strategies separate novice explorers from true cartography experts.

Speed Mapping Methodology: Professional players develop efficient mapping routines upon entering new areas. Immediately locate Shakra, purchase the regional map, then systematically explore perimeter routes while the Quill automatically fills details. This approach minimizes uncovered territory and reveals connection points to adjacent zones quickly.
Secret Area Identification: Your enhanced map reveals subtle clues about hidden chambers and concealed passages. Incomplete wall outlines, unusual spacing between documented areas, or inconsistent geometry often indicate breakable walls or hidden entrances. Mark these locations immediately for later investigation when you acquire necessary abilities.
Bench Placement Strategy: Strategic bench selection dramatically impacts mapping efficiency. Position yourself near unexplored territory boundaries or multiple pathway intersections. This reduces travel time during comprehensive mapping sessions and provides safe locations for frequent map consultation.
Environmental Pattern Recognition: Pharloom’s architecture follows discernible patterns. Lava chambers typically connect through upper pathways, while crystalline areas often contain submerged tunnels. Recognizing these environmental signatures helps predict unexplored territory layouts before they appear on your map.
Endgame Cartography Completion: Achieving 100% map completion requires meticulous attention to subtle details. The final percentages often come from barely visible chambers, well-concealed passages, or areas accessible only with late-game abilities. Cross-reference your map with achievement tracking to identify missing sections efficiently.
Action Checklist
- Defeat Moss Grotto boss and reach The Marrow to find Shakra
- Purchase current region map first, then acquire Quill for automatic filling
- Farm 30-40 Rosary Beads using early game routes in The Marrow
- Implement speed mapping technique when entering new zones
- Master advanced pattern recognition for secret area discovery
No reproduction without permission:Tsp Game Club » Hollow Knight: Silksong Guide: Unlock Pharloom Maps Fast Master Pharloom's maze-like world with expert map unlocking, expansion, and currency farming strategies for confident exploration