Complete guide to ARC Raiders’ First Foothold quest with expert strategies and reward optimization
Quest Overview and Strategic Foundation
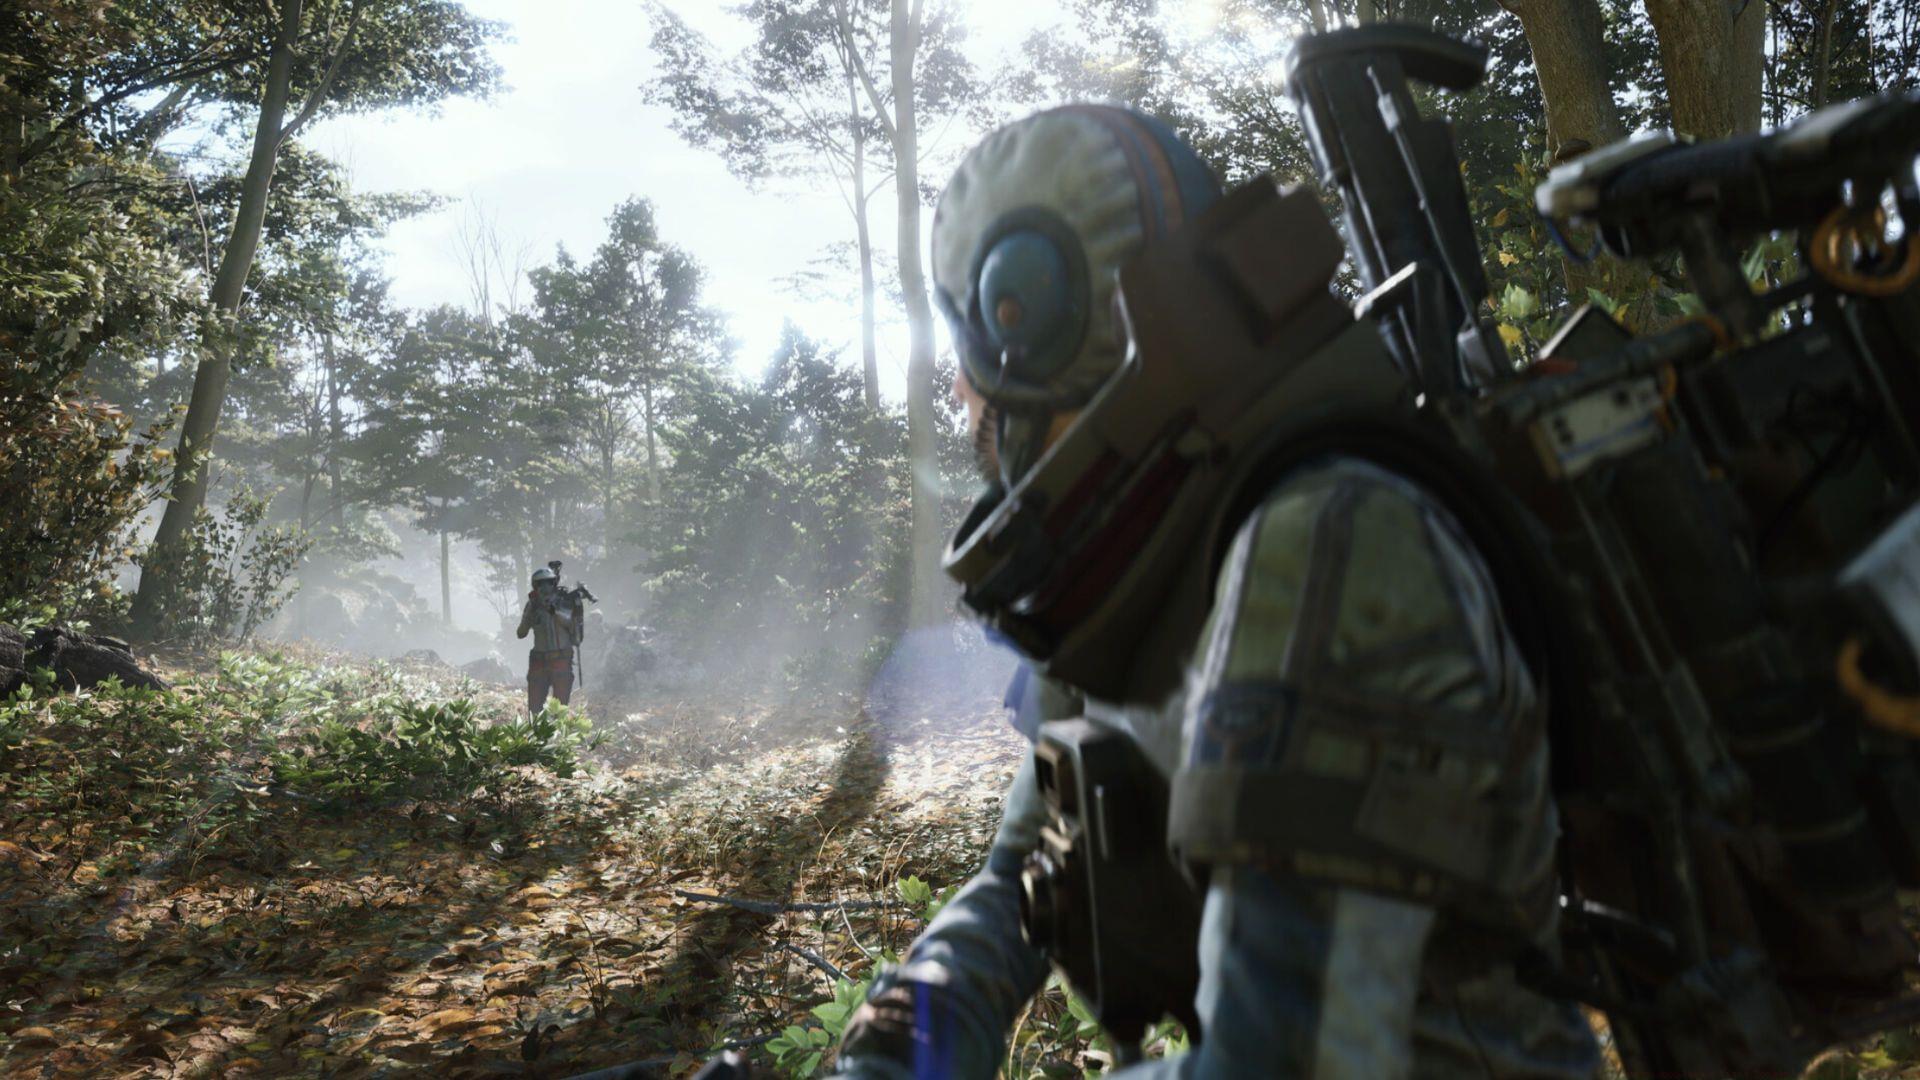
The First Foothold mission represents your initial substantial assignment within ARC Raiders, functioning as an essential orientation to the Blue Gate environment. This carefully designed introduction familiarizes players with critical exploration mechanics and multi-objective completion across distinct geographical zones. You’ll acquire this assignment from Apollo, the primary mechanical specialist and trading contact stationed at Speranza. The operation demands visiting four precisely designated map coordinates, each requiring execution of specialized tasks that teach fundamental survival skills.
Pro Tip: Before initiating this mission, ensure your inventory contains adequate medical supplies and basic ammunition. The dispersed nature of objectives means you’ll cover significant ground, potentially encountering hostile forces between locations. Consider completing weapon upgrades at Workshop Stations beforehand to increase survivability during unexpected engagements.
Objective 1: Structural Stabilization Protocol
Approach the initial objective location and thoroughly inspect the support beams positioned underneath the primary platform structure. You’ll identify the “Stabilize Deck” interaction prompt, which when activated accomplishes your first mission requirement. This mechanical adjustment reinforces the structural integrity of the platform, establishing your initial foothold in the region.
Critical Security Protocol: Methodically clear the immediate vicinity of all potential threats before engaging with the stabilization mechanism. The interaction sequence requires approximately 4-5 seconds of uninterrupted focus, during which your character remains completely vulnerable to enemy attacks. Position yourself with your back against a solid structure when possible to minimize exposure angles.
Common Mistake: Many players rush the interaction without proper area clearance, resulting in interrupted sequences and health depletion. Advanced players recommend deploying proximity alerts or sound traps in surrounding areas to provide early warning systems during the vulnerable interaction period.
Objective 2: Communications System Activation
Navigate southwest from Olive Grove until you encounter a modest hillside encampment. Your target is a distinctive yellow communications terminal resting atop a weathered metallic table. This equipment stands out conspicuously against the environment due to its vibrant coloration and distinctive industrial design.
The terminal interface becomes accessible as you approach, displaying a subtle yellow interaction indicator. Activate the device to power up the communications array, thereby fulfilling your second operational requirement. This restoration establishes critical communication capabilities within the region.
Environmental Awareness: While this area typically maintains lower threat density, remain vigilant for roaming patrols that might approach from adjacent sectors. The activation process completes rapidly, but distracted players have reported ambushes from wandering Raider groups. Consider using elevated vantage points to survey the area before descending to the terminal location.
Read more: Will ARC Raiders Server Slam progress carry over to launch?
Objective 3: Satellite Array Restoration
Your third operational requirement directs you north of the Data Vault complex, where the skeletal remains of an ancient church dominate the landscape. Mission parameters specify ascending to the rooftop to repair the damaged satellite transmission equipment.
Utilize the stacked containers or construction scaffolding located along the western perimeter of the structure to achieve roof access. Once elevated, locate the malfunctioning satellite dish and initiate the recalibration sequence. This rotational adjustment completes your third objective, restoring regional surveillance capabilities.
Threat Assessment: This location presents significant security challenges due to its expansive sightlines and minimal cover. Both hostile Raider factions and automated ARC patrols frequently traverse this sector. Advanced players recommend completing this objective during reduced activity periods or utilizing distraction devices to draw attention away from your position.
Optimization Technique: Experienced operators often combine this objective with nearby resource collection routes, maximizing efficiency while minimizing redundant travel through high-risk territory.
Objective 4: Structural Reinforcement Finalization
Proceed toward Trapper’s Glade, a densely wooded sector occupying the western map region. Here you’ll discover a dilapidated structure marked by dispersed traffic control cones, indicating previous occupation.
Ascend to the roof assembly and identify the compromised section requiring reinforcement. Engage the “Nail Down Roof Plates” interaction to secure the structural components, thereby concluding your final mission requirement.
Operational Timing: While this location generally maintains lower hostile presence, complete the interaction promptly to mitigate risk from potential wandering patrols. The securing process requires approximately 3-4 seconds, during which auditory cues may attract nearby attention.
Extraction Strategy: Although mission completion doesn’t mandate extraction, prudent operators utilize nearby extraction points to secure any additional resources collected during the operation. This ensures all acquired materials, including mission rewards and incidental loot, remain in your permanent inventory.
Reward Analysis and Tactical Applications
Successful mission completion yields the following strategic resources:
These explosive devices transfer directly to your inventory upon reporting to Apollo, bypassing standard extraction requirements. This immediate access provides significant tactical advantages for subsequent operations.
Tactical Applications: The Snap Blast Grenade excels at area denial and crowd control, particularly effective against clustered enemy formations. The Heavy Fuze Grenade delivers substantial structural damage and armored opponent penetration, making it ideal for breaching operations and heavy unit engagements.
Inventory Management: Consider reserving these premium explosives for high-value encounters rather than routine engagements. Their immediate availability following mission completion allows for strategic planning of subsequent high-risk operations where explosive support provides decisive advantages.
Also read: All Blue Gate tunnels in ARC Raiders and how to access them
For more articles on Arc Raiders, follow Sportskeeda:
No reproduction without permission:Tsp Game Club » How to complete A First Foothold quest in Arc Raiders Complete guide to ARC Raiders' First Foothold quest with expert strategies and reward optimization