Master the Industrial Espionage quest with expert tips, common pitfalls, and advanced strategies for ARC Raiders players
Understanding the Industrial Espionage Quest
Among ARC Raiders’ various side missions, the Industrial Espionage assignment stands out as one of the most accessible for newcomers. Despite straightforward objectives, many players encounter navigation challenges and procedural oversights that complicate completion. The mission’s deceptive simplicity often leads to missed steps, particularly concerning weapon handling protocols.
For those seeking additional gaming challenges beyond ARC Raiders, consider exploring puzzle alternatives like the NYT Mini Crossword, LA Times Crossword, or Atlantic Crossword for mental stimulation.
This covert operation requires fulfilling two primary mission parameters:
Understanding these objectives in context reveals the mission’s strategic value – you’re essentially planting tracking technology on rival equipment while appearing to supply them with weaponry, creating intelligence opportunities for future operations.
Essential Pre-Quest Preparation
Mission success begins with proper equipment preparation. Before initiating your infiltration operation, access your personal storage and transfer the Burletta into your active equipment slots. This specific firearm serves as the exclusive tool authorized for this assignment, and attempting substitution with alternative weapons will result in mission failure.
Advanced Preparation Strategy: Seasoned operatives recommend configuring your loadout to include supplementary tactical gear despite the mission’s specific weapon requirement. While only the Burletta interacts with the cache, bringing additional defensive equipment can safeguard against unexpected enemy encounters during infiltration and extraction phases.
Common Preparation Error: Many novice agents overlook the inventory transfer step, arriving at the objective location only to discover they cannot complete the primary task. Develop a pre-mission checklist that includes weapon verification to avoid this critical mistake.
Step-by-Step Location Guide
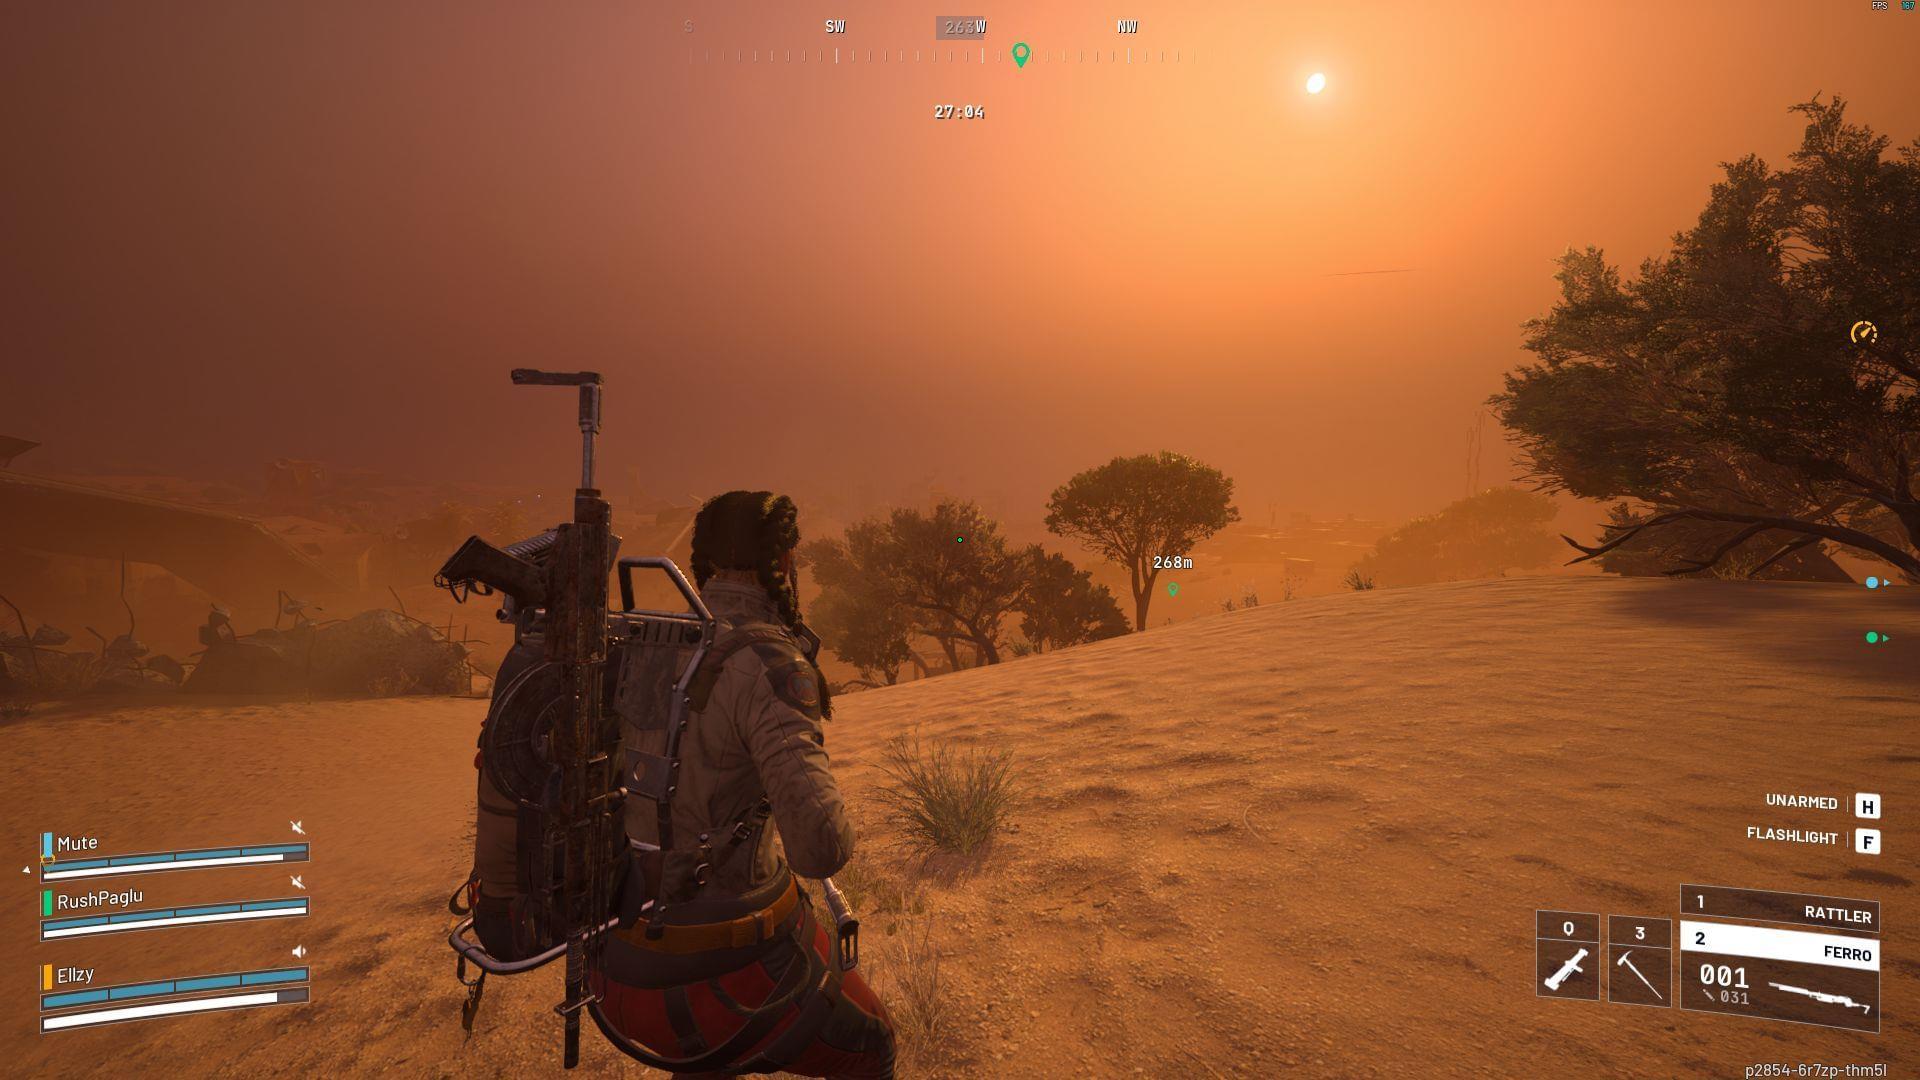
Initiate your mission deployment and navigate toward the northeastern perimeter sectors within Buried City’s outer districts. Your target destination centers around a distinctive green-colored Gas Station wreckage site. As you approach the vicinity, your tactical display will automatically update with precise positional data, simplifying final approach navigation.
Landmark Identification: The dilapidated service station stands out with its vibrant green coloration and substantial structural damage. Surrounding terrain features include scattered debris fields and destroyed infrastructure that help confirm you’ve reached the correct area.
Conduct thorough reconnaissance of the Gas Station premises, focusing attention on sectors containing partially submerged vehicles and abandoned seating furniture. Behind these objects, you’ll locate the target container. Proximity detection systems activate distinctive white luminescent indicators when you’re within interaction range of the cache.
Navigation Enhancement: Utilize elevated positions around the perimeter to scan the area before approaching. This tactical advantage helps identify potential threats and confirms the safest approach vector to your objective.
Execution and Completion Strategy
Upon locating the target container, initiate interaction protocol by pressing the E key to deposit the Burletta weapon within the storage unit. The transfer process requires several seconds for completion – maintain position until the operation concludes successfully.
Following weapon deposition, engage with the container a second time to install the surveillance device on the enemy cache. This sequential two-step interaction represents the most frequently missed aspect of the mission, with many players assuming the initial weapon deposit concludes the assignment.
Execution Timing: Complete both interactions consecutively without delay between steps. Lingering too long between actions increases vulnerability to patrol detection. Mission accomplishment notification appears immediately after successful bug deployment.
Extraction Protocol: While not explicitly required, experienced players recommend having an exit strategy prepared before engaging with the cache. The location’s exposure makes rapid departure advisable following mission completion.
Advanced Tips and Common Mistakes
Efficiency Optimization: High-level players complete this mission in under five minutes by mastering approach routes and minimizing unnecessary exploration. Memorize the cache’s exact position relative to prominent landmarks to reduce search time significantly.
Critical Errors to Avoid: The most prevalent failure points include neglecting to equip the Burletta pre-mission, confusing similar-looking containers, and performing only one interaction instead of the required two-step process. Double-check each step against your objectives list to prevent these oversights.
Strategic Considerations: While categorized as an easy mission, Industrial Espionage provides valuable intelligence gathering experience that prepares players for more complex covert operations later in the game. Mastering these fundamentals establishes crucial skills for advanced gameplay.
Here’s how to complete other Arc Raider quests:
For players seeking additional challenges, ARC Raiders offers numerous other missions with varying complexity levels. Each assignment builds upon core gameplay mechanics while introducing unique objectives that test different aspects of your tactical capabilities.
No reproduction without permission:Tsp Game Club » How to complete Industrial Espionage quest in Arc Raiders Master the Industrial Espionage quest with expert tips, common pitfalls, and advanced strategies for ARC Raiders players