Master the Ancient Sanctuary Mime boss fight with strategic parrying, Overcharge management, and revival tactics
Understanding the Ancient Sanctuary Mime
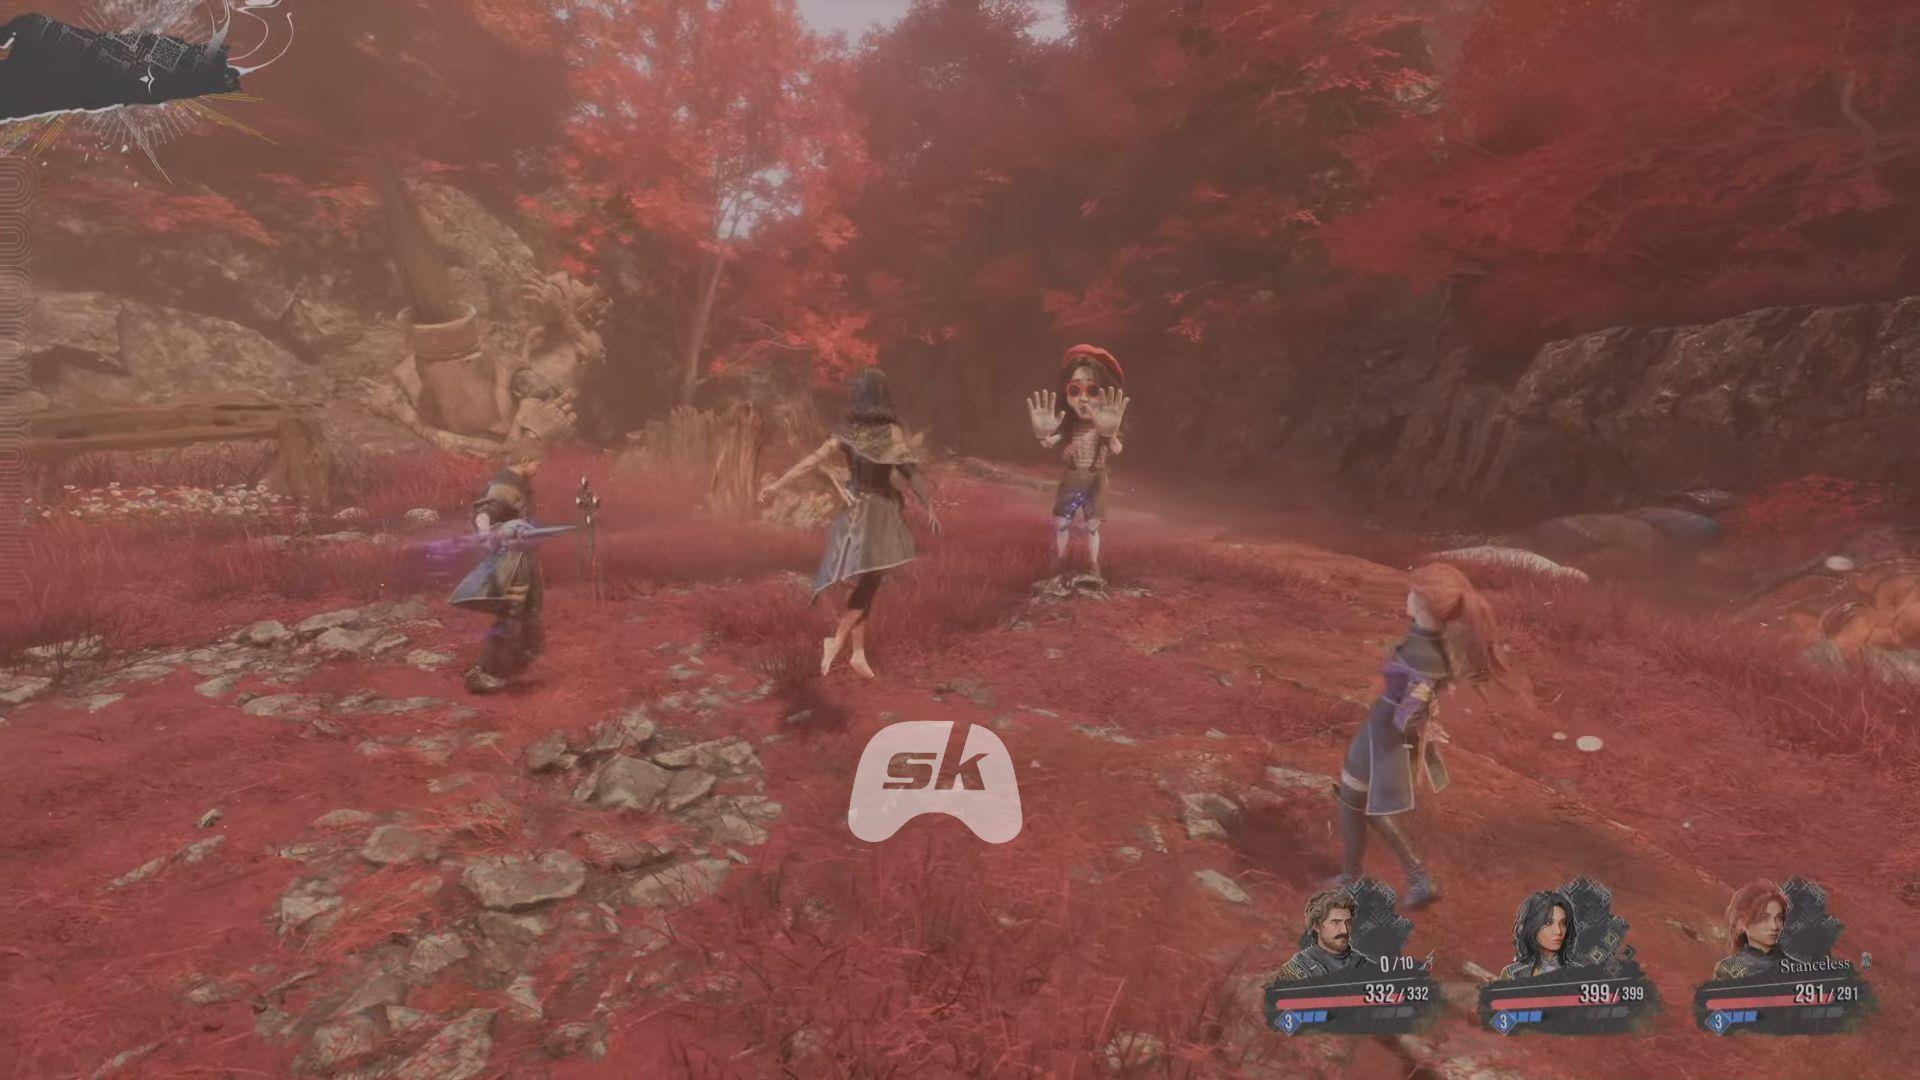
Ancient Sanctuary Mime presents one of the most challenging mid-story encounters in Clair Obscur: Expedition 33, located within the Ancient Sanctuary zone. This deceptively silent opponent employs sophisticated timing mechanics, invisible strike patterns, and devastating combination attacks that can quickly overwhelm unprepared teams. Understanding her attack patterns and defensive capabilities is essential for survival.
Before engaging this formidable foe, several critical preparation steps will significantly improve your chances of success. Proper character positioning, item preparation, and ability selection can mean the difference between victory and repeated failure.
Phase 1: Shield Management and Defense
As combat initiates, the Ancient Sanctuary Mime immediately conjures a defensive invisible barrier that must be systematically dismantled. She initiates rapid Hand-to-Hand combos characterized by unpredictable timing rather than flashy animations. The crucial defensive mechanic here involves precision parrying rather than haphazard evasion. Mistiming a parry by even a fraction of a second exposes your entire team to her devastating Invisible Hammer technique within the Strange Combo sequence.
The Invisible Hammer maneuver (part of her Strange Combo) possesses sufficient power to eliminate party members in a single strike if defensive negligence occurs. Maintaining constant guard awareness is non-negotiable throughout this phase.
Initiate your offensive rotation with Gustave’s Marking Shot. While this ability doesn’t instantly dismantle her protective barrier, it progressively erodes the shield and provides valuable tracking capabilities once the defense drops. More importantly, this ability efficiently builds Gustave’s Overcharge meter through successful parries, precise dodges, and consistent damage application during the initial combat phase.
Pro Tip: Practice the parry timing against her basic combos first – the visual cues are subtle but consistent. Successful parries not only prevent damage but accelerate your Overcharge buildup significantly.
Phase 2: Offensive Windows and Recovery
When her Shield finally fractures, this creates your primary damage opportunity window. Without her protective barrier, her health pool becomes vulnerable to sustained assault. This phase transition activates Gustave’s Overcharge as your pivotal combat resource. At maximum capacity (10/10), deploying this ability unleashes a tremendous lightning explosion that dramatically reduces her remaining health points.
Expect at least one party member to fall victim to her Strange combo during the encounter. Maintain composure when this occurs. Regardless of whether you’re controlling Sciel or Lune, immediately utilize a Small Revive Tint. This item resurrects fallen comrades efficiently and maintains combat momentum.
Regarding sustain management, Lune’s Healing Light serves as your primary recovery option. This straightforward, reliable healing ability ensures party survival through her flurry attack sequences. Rotate this spell frequently, particularly when two or more team members decline below the 50% health threshold.
Advanced Technique: Time your Healing Light casts immediately after her combo animations begin – this ensures your team is topped up before the next damage sequence arrives.
Advanced Strategies and Common Pitfalls
Once her protective barrier dissipates and you establish rhythm between Overcharge discharges, Immolation, and supplementary attacks, her defensive capabilities rapidly deteriorate. However, her combination attacks maintain their relentless pace throughout this phase, requiring continued defensive vigilance. Parry mechanics remain paramount – she continues executing the Strange Combo until her health bar is completely depleted.
Common Mistake: Many players become overconfident after breaking her shield and abandon defensive postures. Remember that her damage output remains lethal until the final moment of defeat.
Upon successfully defeating the Mime permanently, you’ll acquire valuable rewards that enhance your continued expedition. The loot table includes rare crafting materials, experience bonuses, and potentially unique equipment pieces.
Read also: Clair Obscur: Expedition 33 Review – The best RPG you will play this year
Check out: 5 reasons to be excited for Clair Obscur: Expedition 33
No reproduction without permission:Tsp Game Club » How to defeat Ancient Sanctuary Mime in Clair Obscur: Expedition 33 Master the Ancient Sanctuary Mime boss fight with strategic parrying, Overcharge management, and revival tactics