Complete guide to collecting all four Grand Photos in Deltarune Chapter 3 with advanced strategies and S-rank tips
Understanding Grand Photos and Their Importance
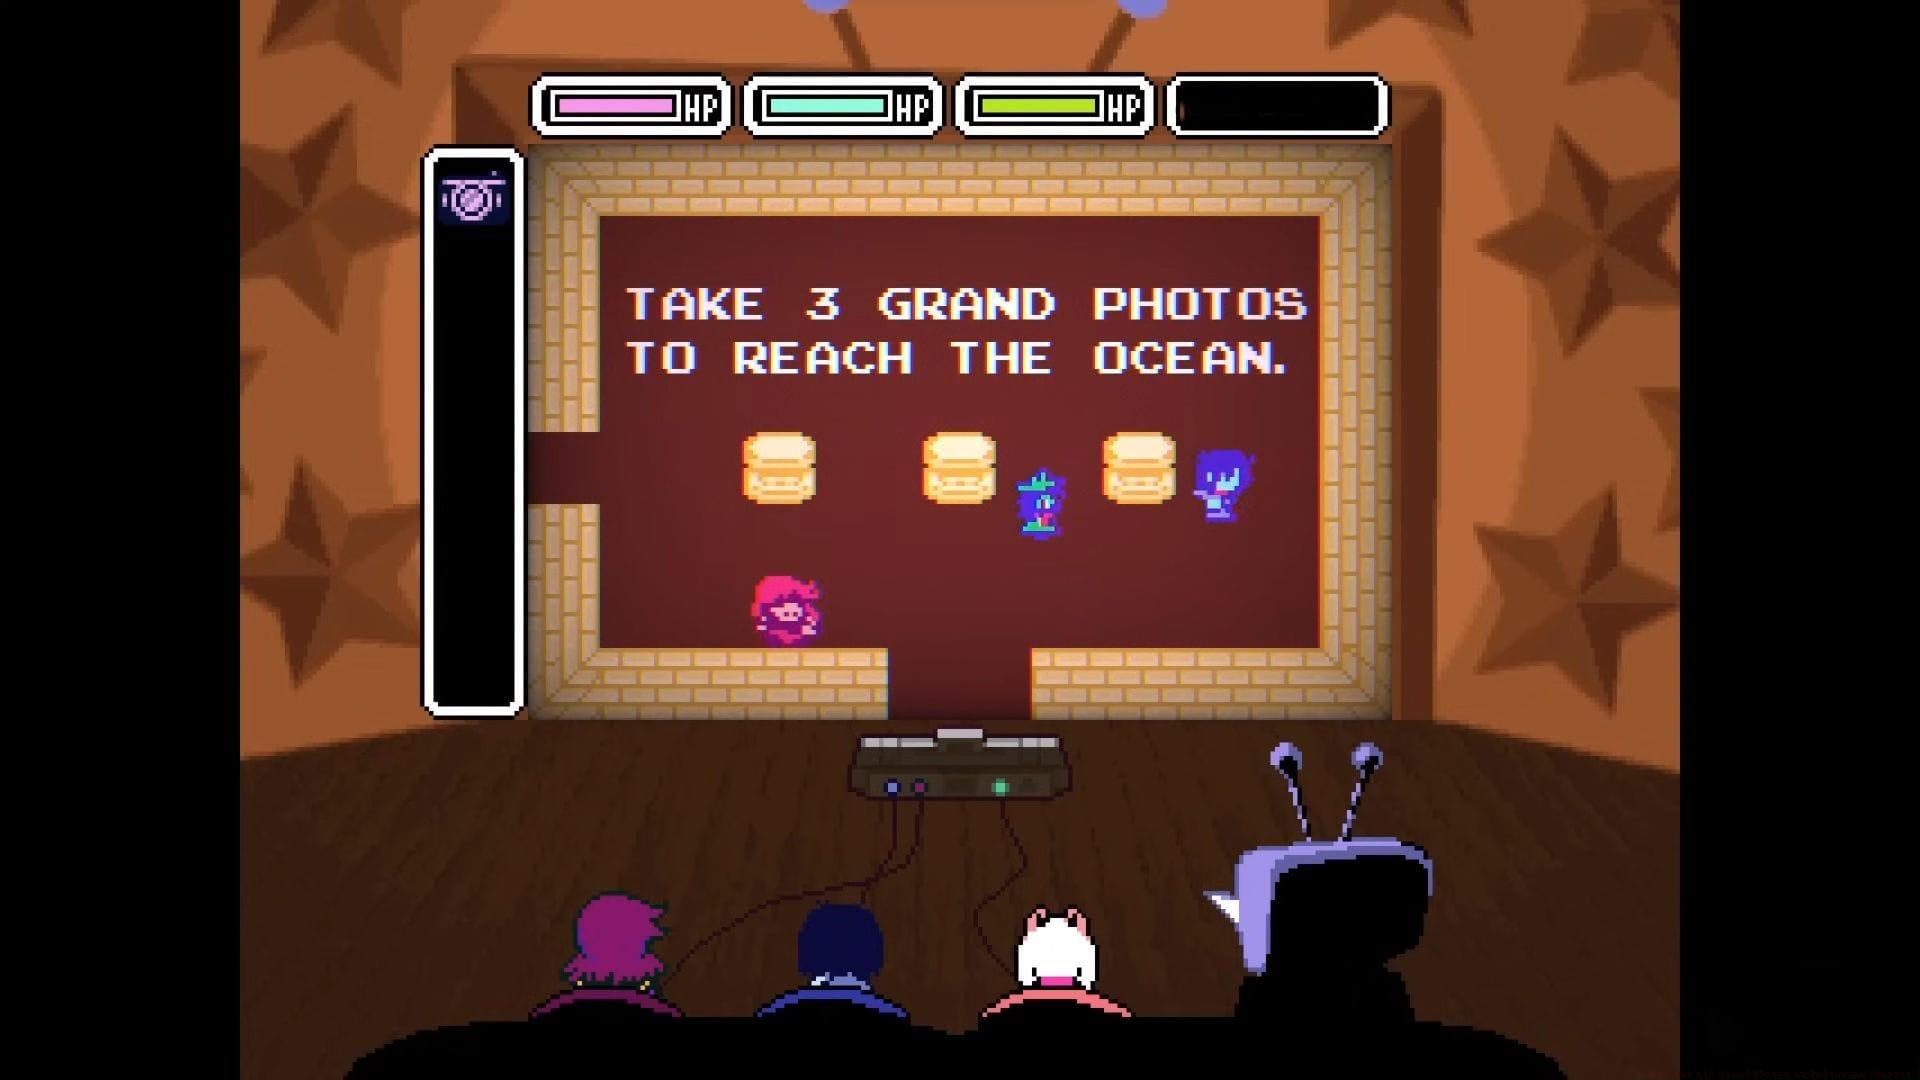
When pursuing the Grand Photos in Deltarune Chapter 3, you’ll find yourself immersed in the bizarre TV Time show segment where reality becomes increasingly distorted. These photographic objectives represent more than simple collectibles—they function as mandatory targets during the program’s second board sequence. Although the game progression only demands three photographs, dedicated collectors will discover a fourth hidden option. Players targeting superior rankings or seeking access to the exclusive Green Room area must secure every available image for completionist goals.
Also read — How to get B.Shot Bowtie in Deltarune
Photo 1: The Lancer Vendor Strategy
This initial photographic challenge involves a multi-step sequence beginning with directional navigation. Commence by moving downward then rightward from your spawn location until encountering a questionable merchant offering Lancer at an exorbitant 999-point price. Resist the urge to dismiss this encounter—instead, frame your shot to include both Lancer and the inflated price tag within the composition. This strategic photograph miraculously reduces the purchase cost to a mere 9 points, enabling affordable acquisition of your new companion.
Pro Tip: Position your camera angle carefully to ensure both character and price indicator are clearly visible—misaligned shots may not trigger the price reduction mechanic. Many players mistakenly capture Lancer alone, wasting valuable points.
Photo 2: Green Geyser Discovery
After securing Lancer as your companion, retrace your steps to the initial starting area and select the rightward exit path. With Lancer accompanying your journey, he’ll automatically excavate the terrain, unveiling a vibrant green geyser eruption. This distinctive environmental feature serves as your photographic target—ensure your composition captures the full geyser spectacle to claim the second Grand Photo.
Navigation Note: Failure to properly backtrack to the exact starting location may prevent Lancer’s excavation trigger. The geyser only appears after correct sequence completion—rushing through areas often causes players to miss this critical interaction.
Photo 3: Golden Flower Capture
For this botanical photographic opportunity, navigate rightward from the central hub area and board the raft transport heading toward the lower dock territory. Exercise patience during this segment—Susie will independently resolve the initial bridge puzzle before your turn arrives. Upon completing your designated puzzle section, advance northeastward along the freshly accessible route where you’ll discover a distinctive golden flower exhibiting clean bisection. This floral specimen constitutes your third Grand Photo target among the four available options.
Timing Strategy: Advanced players can optimize their route by anticipating Susie’s puzzle-solving duration—position yourself near the raft during her animation to minimize waiting time. The golden flower remains permanently accessible once revealed.
Photo 4: Red Antlion Encounter
Following your golden flower photography session, continue upward progression before veering leftward to encounter a relatively simple bridge manipulation puzzle. The essential technique involves positioning two separate bridges above sand tiles to construct a passageway descending into subterranean chambers. After gaining underground access, activate the conspicuous button mechanism—this triggers Susie’s explosive intervention, clearing debris to reveal a concealed chamber inhabited by antlion creatures.
Exercise observational patience until the distinctive Red Antlion emerges from hiding—its unique coloration makes identification straightforward. Capture this rare creature emergence to secure the fourth and final Grand Photo collection.
Expert Insight: The Red Antlion surfaces in predictable patterns—observing movement cycles for 20-30 seconds typically reveals its emergence timing. Impatient photography often results in missed opportunities.
Advanced Collection Strategies
Seasoned Deltarune players should prioritize complete Grand Photo collection despite the three-photograph minimum requirement. The additional image contributes significantly toward S-rank evaluation metrics and unlocks exclusive Green Room content unavailable through minimal completion. Optimize your collection route by photographing targets sequentially while minimizing backtracking—the Lancer vendor should be your initial stop, followed by the green geyser, then golden flower, concluding with the Red Antlion.
Common Pitfalls: Many players fail to properly frame the Lancer price tag photograph, incorrectly assume all photos are mandatory for progression, or rush the Red Antlion emergence sequence. Methodical approach and careful camera positioning prevent these frequent errors.
This comprehensive methodology ensures efficient acquisition of all four Grand Photos in Deltarune Chapter 3 while maximizing your ranking potential.
No reproduction without permission:Tsp Game Club » How to get all Grand Photos in Deltarune Chapter 3 Complete guide to collecting all four Grand Photos in Deltarune Chapter 3 with advanced strategies and S-rank tips