TL;DR
- Copper chests require 8 copper ingots and a regular chest, unlocked via copper golem interaction
- These specialized containers enable automated item sorting when paired with copper golems
- Strategic placement maximizes storage efficiency and reduces manual organization time
- Advanced setups can create fully automated storage systems for complex bases
- Proper copper oxidation management ensures long-term functionality
The copper chest represents one of Minecraft’s most innovative storage solutions, blending traditional container functionality with advanced automation capabilities. Unlike standard chests, these specialized containers require specific components and unlocking conditions before becoming accessible to players.
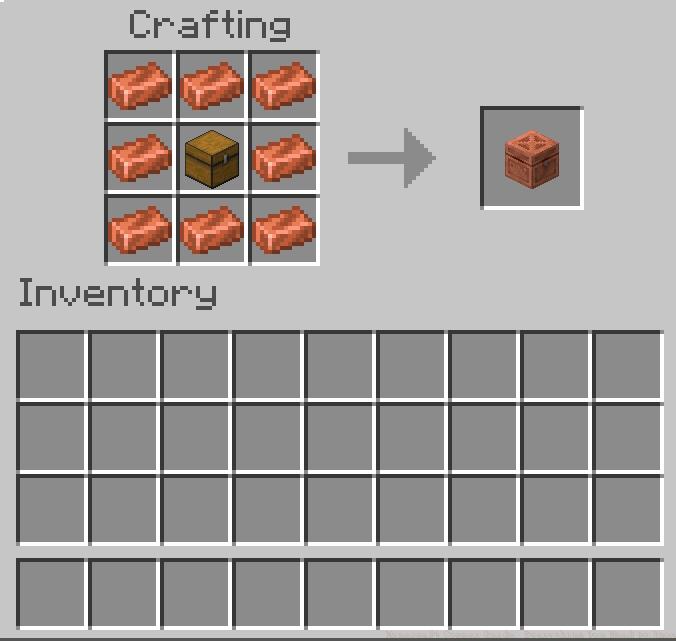
To construct a copper chest, you’ll need to gather these core components:
Pro tip: Stockpile extra copper ingots during mining expeditions, as you’ll need substantial quantities for both chest construction and copper golem creation. Consider establishing an automated smelting system using hoppers and multiple furnaces to streamline ingot production.
Before attempting construction, understand that copper chest recipes remain locked until specific conditions are met. This gating mechanism ensures players experience the full copper golem introduction sequence before accessing advanced storage automation.
The unlocking process follows this sequence:
Once unlocked, execute the crafting process with precision:
Common mistake: Players often misplace the chest in corner slots rather than the central position, resulting in failed crafting attempts. Always verify component placement matches the recipe pattern exactly.
Time estimate: From copper gathering to final construction, expect to spend approximately 15-20 minutes if starting from scratch, though this decreases significantly with prepared materials.
Copper chests transcend basic storage functionality by integrating seamlessly with copper golem automation systems. These specialized containers serve as command centers that golems use to organize and categorize your inventory systematically.
The primary advantage emerges when copper golems interact with these containers:
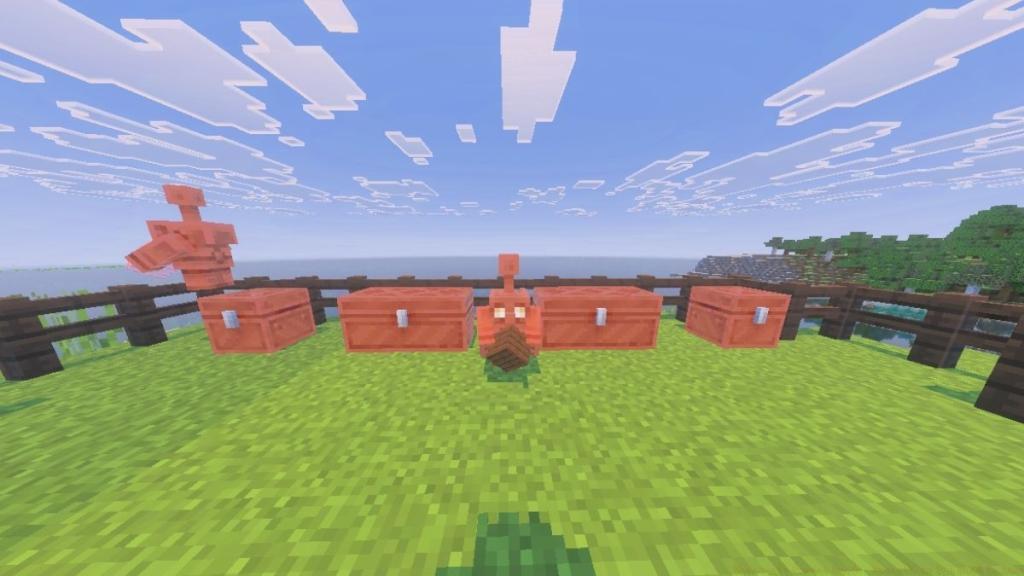
For advanced optimization, position copper chests in strategic locations where golems have access to multiple storage units. Create dedicated sorting rooms with copper chests serving as primary distribution hubs, while standard chests act as category-specific storage.
Expert strategy: Establish a main storage facility with copper chests at the center, surrounded by regular chests designated for specific item types. This creates an efficient radial sorting system that minimizes player intervention. Like mastering complex class combinations in tactical games, optimizing your copper chest placement requires understanding spatial relationships and golem pathfinding behavior.
Oxidation consideration: Remember that copper blocks weather over time, potentially affecting aesthetics. Apply honeycomb periodically if you wish to maintain the original copper appearance.
Action Checklist
- Gather 8 copper ingots through mining and smelting operations
- Craft a standard chest using wooden planks in your crafting table
- Construct and spawn a copper golem to unlock the copper chest recipe
- Execute the copper chest recipe with precise component placement
- Design an optimized storage layout with copper chests as sorting hubs
No reproduction without permission:Tsp Game Club » How to Make a Copper Chest in Minecraft Master copper chest crafting, unlock automation secrets, and optimize storage with copper golems in Minecraft