Master the Deforester Husk puzzle with advanced strategies, timing techniques, and optimal loot collection methods
Understanding the Deforester Husk Puzzle
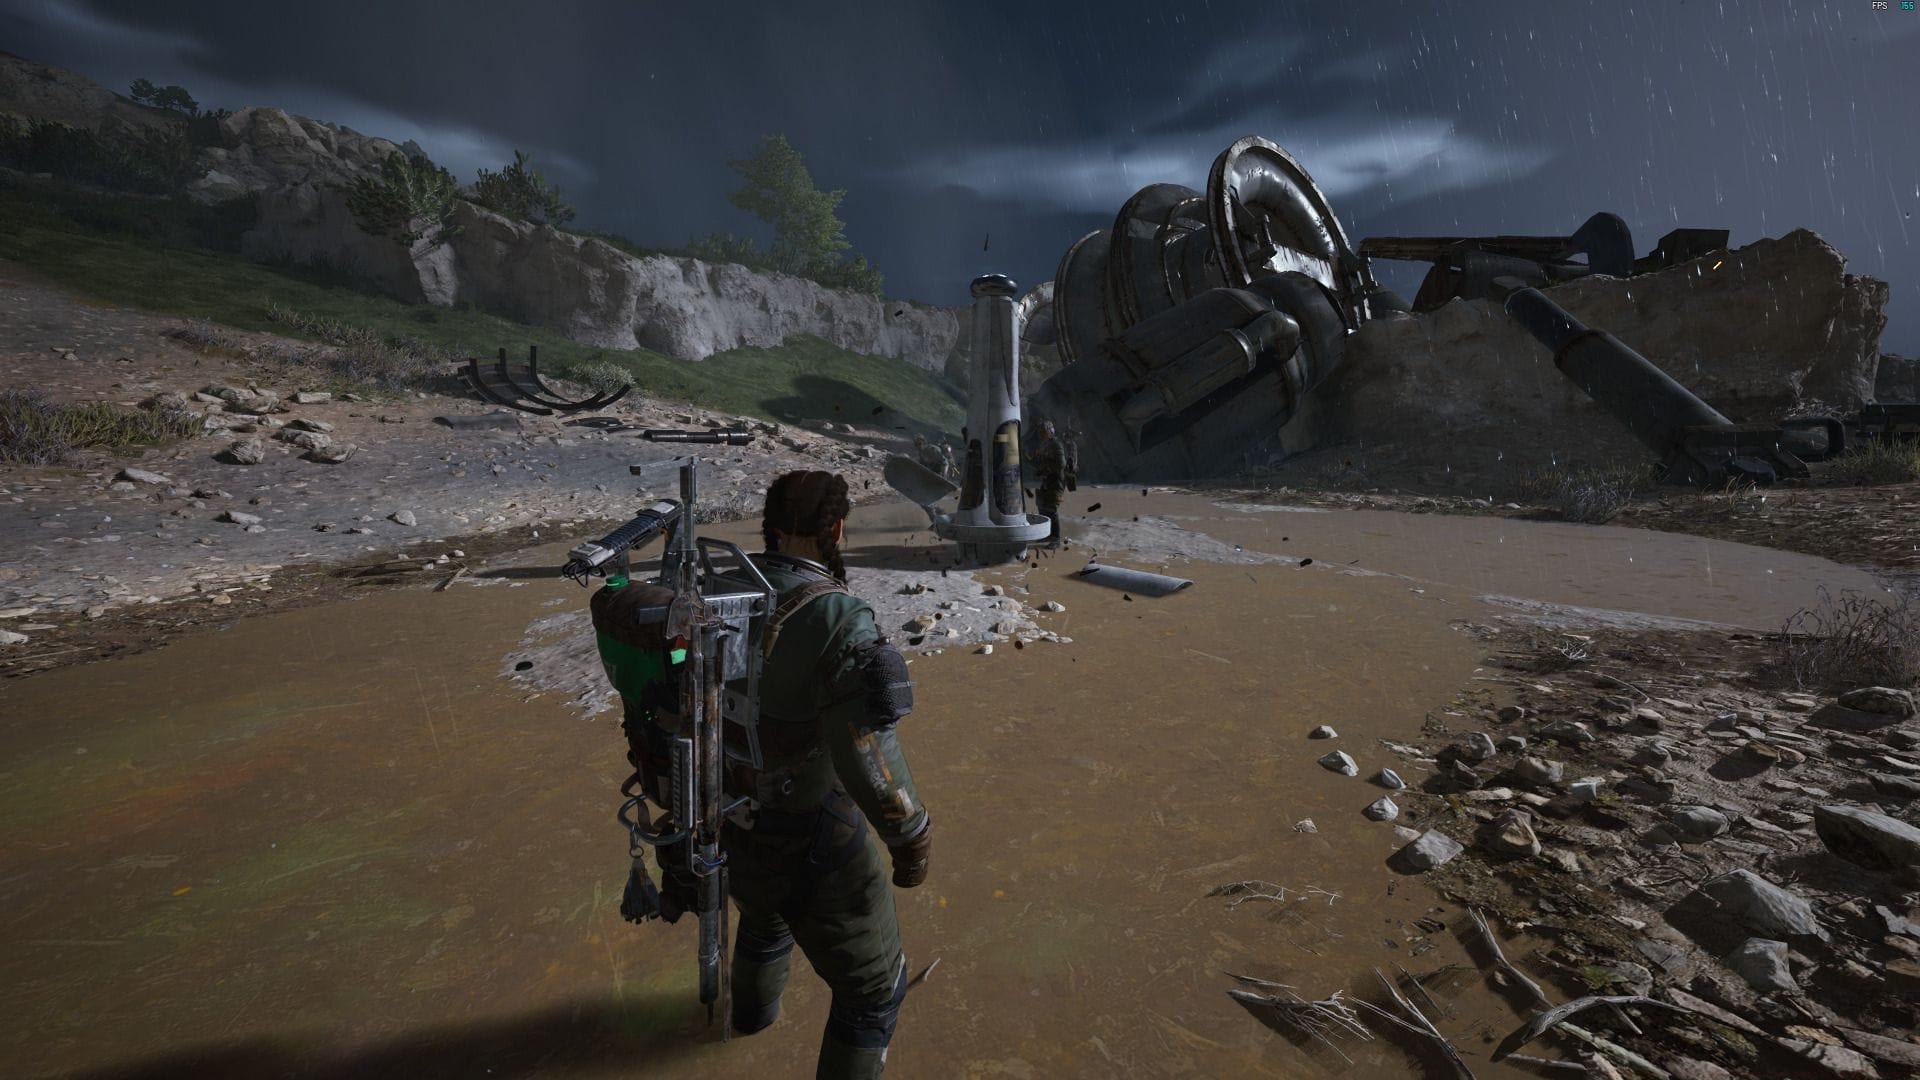
The Deforester Husk puzzle represents one of the most rewarding environmental challenges within ARC Raiders’ Blue Gate map region. Unlike many locked puzzles requiring specific keys, this encounter demands strategic resource management and precise timing rather than rare access items. The core requirement revolves around ARC Powercells, abundant energy sources commonly scavenged from defeated ARC robotic units throughout the game world.
Strategic preparation begins before even approaching the location. Experienced raiders recommend carrying at least three ARC Powercells despite the puzzle only requiring two, providing insurance against accidental damage or failed attempts. These power sources can be efficiently farmed from downed ARC scout units or stockpiled from previous expedition successes.
Step-by-Step Puzzle Solution
Navigation to the Deforester Husk wreckage marks the beginning of this intricate puzzle sequence. Upon arrival, identify the sparking control panel at the structure’s entrance, which serves as your initial interaction point. Activating this interface consumes your first ARC Powercell and initiates the puzzle’s primary security mechanism.
Immediately following activation, a sophisticated flame emission system engages, producing rhythmic bursts of fire across the primary pathway. This trap operates on a predictable cycle with approximately 3-second intervals between flame activations. Observation reveals the pattern: 2 seconds of safety followed by 1 second of dangerous flame exposure.
Advanced navigation technique: Instead of simply timing jumps between flame cycles, utilize the sidestep maneuver by moving diagonally through safer zones. This reduces exposure time and potential miscalculation damage.
Beyond the initial flame barrier awaits the secondary control panel, distinguished by visible electrical arcing. This terminal requires your second ARC Powercell and, when activated, reprograms the flame trap to a more complex pattern. The new sequence alternates between high and low intensity bursts, demanding more precise movement timing.
Successful navigation through the modified flame pattern reveals the vertical ascent point. Scan the wreckage’s upper structure to identify climbable surfaces leading to the final platform. The loot container rests on this elevated level, protected by one final flame barrier requiring exact jump timing.
Advanced Strategies and Optimization
Mastering the Deforester Husk puzzle extends beyond basic completion to efficiency optimization. Elite raiders have developed techniques to complete the entire sequence without taking any flame damage. The key lies in understanding that flame traps have audible activation cues approximately 0.5 seconds before visual effects appear.
Health preservation strategy: If you do take damage, avoid using medkits immediately. The puzzle’s final stage may inflict additional damage, so conserve healing resources until completely clear of all flame hazards. Armor with flame resistance modifiers provides significant damage reduction here.
Escape route planning becomes crucial post-completion. The triggered alarm attracts nearby ARC units within 60-90 seconds. Pre-identify exit paths before starting the puzzle, favoring routes with cover and elevation changes to break line of sight with pursuing units.
Loot prioritization: The container typically contains 2-4 green-tier items and 1-2 blue-tier rewards. Immediately assess item value and weight, discarding lower-value components if inventory space is limited. Weapons and armor modifications generally provide the highest value-to-weight ratios.
Common Mistakes and Pro Tips
Several recurring errors plague inexperienced raiders attempting the Deforester Husk challenge. The most common involves improper flame timing – players often rush through traps during what appears to be safe periods, missing the subtle visual cues indicating imminent activation.
Resource miscalculation represents another frequent failure point. Arriving with exactly two ARC Powercells leaves no room for error. If you mis-time a jump and take significant damage, you may need to abort and return later, wasting valuable expedition time.
Environmental awareness neglect proves costly during the escape phase. The alarm triggers immediately after first panel activation, not upon loot collection. Many players focus solely on puzzle completion, forgetting that hostile units are already converging on their position.
Pro tip: Complete this puzzle during quieter server periods when fewer ARC patrols roam the Blue Gate area. The reduced enemy density provides more flexible escape options and decreases the likelihood of encountering reinforced patrols during your withdrawal.
Also read: How to find First Wave Husks in ARC Raiders
Successful Deforester Husk completion typically rewards raiders with multiple green and blue-tier equipment pieces. Execute swift looting procedures and implement your pre-planned escape route immediately upon securing the rewards, as the activated alarm substantially increases local threat levels.
This comprehensive guide covers all essential aspects of conquering the Deforester Husk environmental puzzle in ARC Raiders. For continuing your advancement, follow Sportskeeda’s ongoing coverage of ARC Raiders strategies and updates.
Also, check out the following articles of Sportskeeda:
No reproduction without permission:Tsp Game Club » How to solve the Deforester Husk puzzle in ARC Raiders? Master the Deforester Husk puzzle with advanced strategies, timing techniques, and optimal loot collection methods