Complete walkthrough for Silent Witnesses quest with expert stealth strategies and efficiency tips
Quest Overview and Preparation
Silent Witnesses represents the third primary mission within the Mysteria Ecclesiae DLC for Kingdom Come Deliverance 2. As the Sedletz monastery enters complete quarantine lockdown, your objective shifts to uncovering the mysterious illness plaguing the community. This investigation begins immediately following your completion of the Anamnesis quest, creating a seamless narrative progression.
While technically classified as optional content, completing this mission provides critical narrative context and reveals essential backstory elements about the monastery’s current crisis. The additional intelligence gathered significantly enhances your understanding of subsequent events.
Essential Preparation Steps: Before embarking on this investigation, ensure you’re properly equipped. Exit the infirmary and navigate toward the northern camp location marked on your map. Prior to departure, thoroughly search the infirmary’s rear cabinet to acquire Schnapps – this consumable becomes vital during later interactions.
Pro Tip: Seasoned players recommend saving your game before initiating this quest sequence. The stealth mechanics and dialogue choices can significantly impact your reputation and available options throughout the DLC storyline.
Infiltration and Investigation
Stealth Approach Tactics: As you approach the camp perimeter, you’ll encounter vigilant guards blocking your path. Employ distraction techniques by tossing stones to create noise diversion. This simple yet effective method allows you to circumvent the guard’s attention and access restricted areas undetected.
Strategic Dialogue with Loyza: Upon reaching the camp, locate and engage workman Loyza in conversation. Your dialogue selections dramatically influence mission outcomes:
- Scratch my back… – The standard approach requiring Schnapps exchange
- Alternative Options: If your character possesses advanced Coercion or Intimidation skills, you may attempt “Spit out everything you know” or “I’m coming down with something.” However, these aggressive approaches carry reputation penalties with the monastery community.
- Barter Approach: Select “Look what I’ve got” and provide Loyza with two Schnapps bottles to secure his cooperation
Once Loyza becomes cooperative, exhaust all dialogue trees to extract comprehensive intelligence regarding the church architecture and crypt access points.
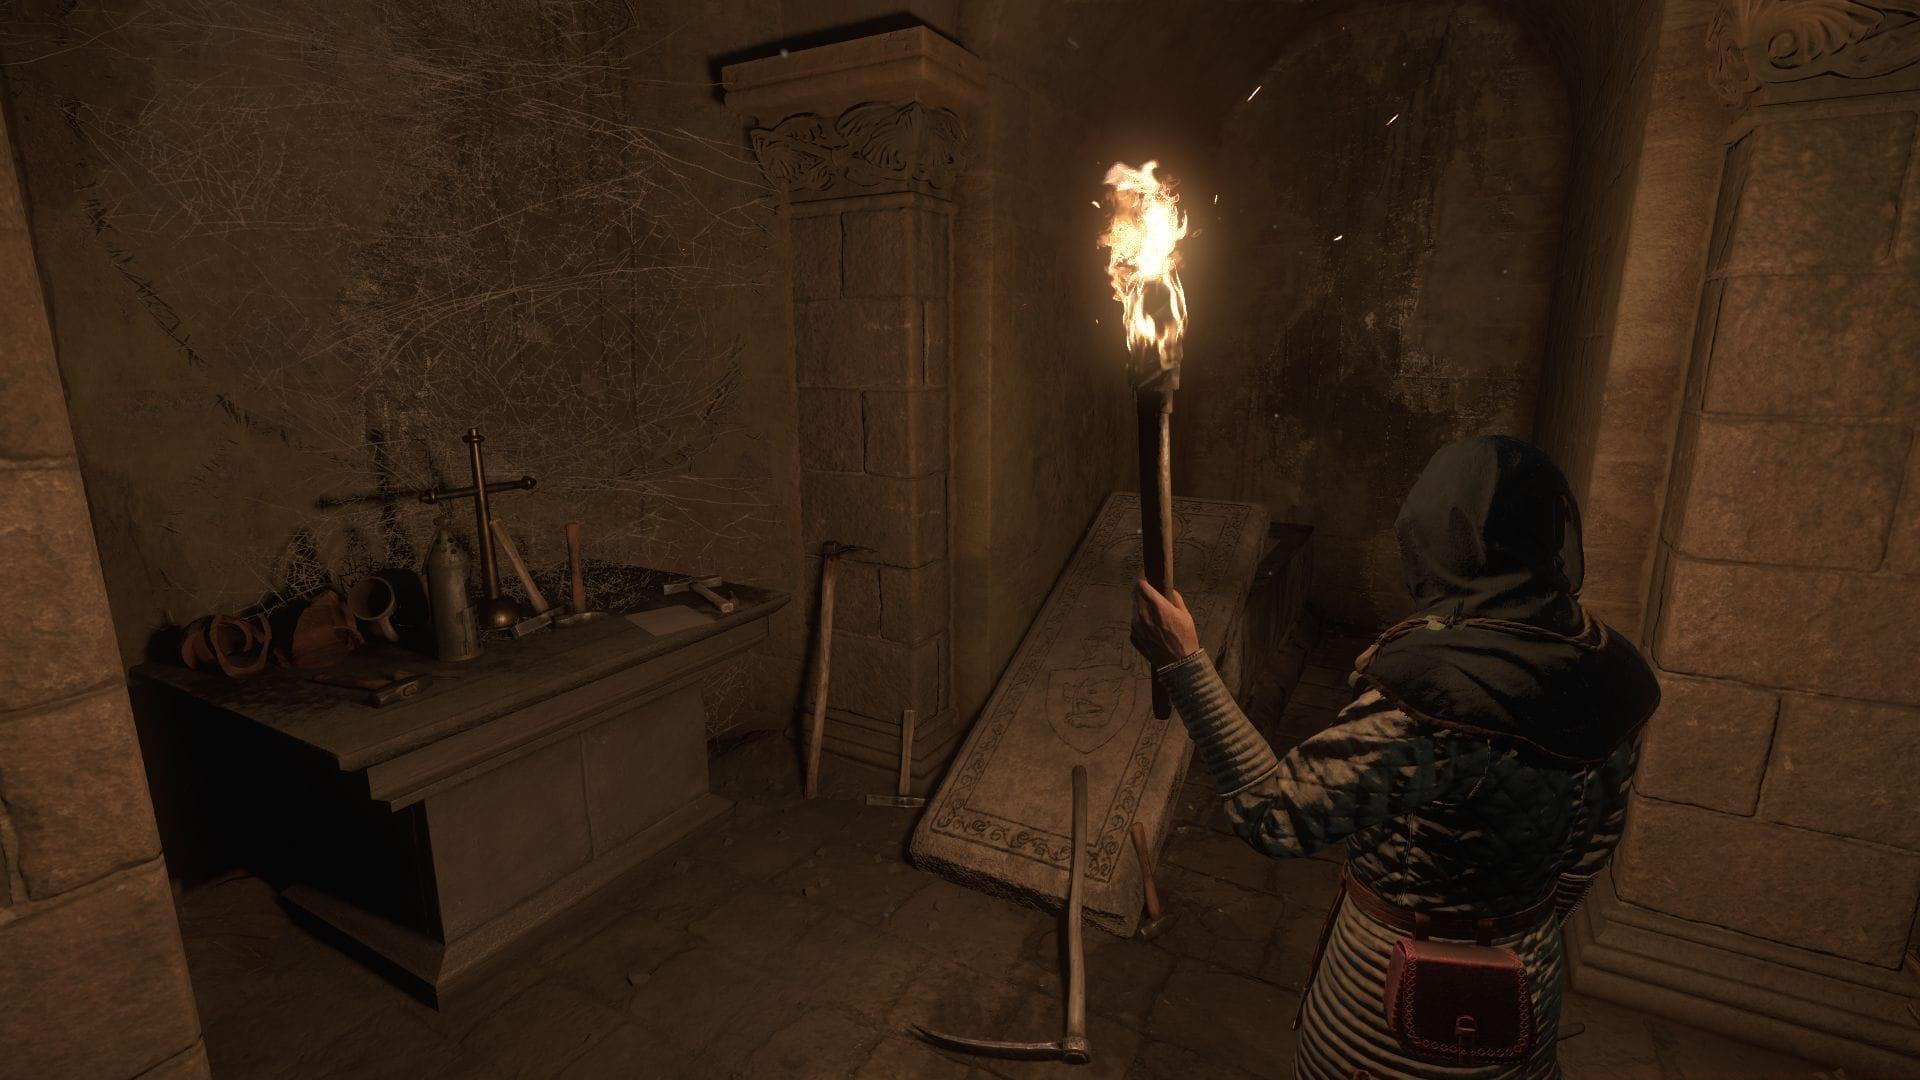
Navigation to the Crypt: From the workers’ camp exterior, locate the secured chest near the church wall. Utilize your lockpicking expertise to access the container and retrieve the golden crucifix – this item proves essential for progression. Proceed southeast to discover a ladder providing church access. Ascend carefully and navigate leftward until you overhear clandestine conversations between workers.
Advanced Stealth Technique: After one conversant departs, employ another stone distraction to divert the remaining worker’s attention. This creates a crucial window to access the collapsed floor section and descend into the crypt level below.
Crypt Exploration and Escape Options
Crypt Investigation Objectives: The underground crypt presents multiple investigative priorities and valuable discoveries:
- Conduct thorough environmental investigation of the crypt layout and features
- Retrieve the filthy parchment document from its resting place
- Discover the hidden hunting sword concealed behind a tomb structure
Critical Health Precaution: Before entering contaminated areas, ensure you’ve equipped the plague mask obtained through the Prevention secondary task. This essential gear provides protection against the sickness permeating the crypt environment.
Escape Route Analysis: Upon completing your investigation, evaluate your extraction options based on your character’s capabilities and preferred playstyle:
- Stealth Escape: Methodically dismantle the weakened wall section to discover an alternative path toward the crypt entrance. This approach enables silent ascent via ladder while completely avoiding worker confrontation.
- Combat Escape: Utilize lockpicks to bypass the main door mechanism. This direct method necessitates engaging three hostile workers in combat. The previously acquired hunting sword provides a capable weapon for this confrontation.
Tactical Recommendation: Stealth-focused characters should prioritize the wall demolition method, while combat-oriented builds may prefer the direct approach for additional experience and potential loot opportunities.
Return and Investigation
Return Journey Strategies: After exiting the crypt, ascend the ladder to church level and navigate through the western doorway. You now face the challenge of returning to the infirmary undetected.
Advanced Navigation Options:
- Stealth Approach: Carefully maneuver past patrol routes using environmental cover and distraction techniques
- Fast Travel Alternative: Intentionally get apprehended by a guard and select “Take me away” dialogue option for instant transportation to the infirmary
Evidence Collection Phase: Upon reaching the infirmary, proceed to the rear chamber and initiate conversation with Albich. During this exchange, select these specific dialogue branches:
- “What are you talking about?”
- “Who could’ve done it?”
Environmental Investigation: Meticulously examine the scattered objects in the room’s southeastern quadrant and conduct detailed inspection of the door locking mechanism. These examinations provide crucial contextual evidence.
Witness Interviews: Systematically question both Denes and Benedict within the infirmary premises. Inquire if Denes observed any unauthorized room entries, and ask Benedict about any unusual occurrences he might have witnessed.
Quest Conclusion: Return to Albich in your private quarters and deliver your comprehensive investigative findings. This debriefing concludes the Silent Witnesses mission and initiates the subsequent To Dust You Shan’t Return quest within the Mysteria Ecclesiae narrative arc.
Advanced Strategies and Pro Tips
Optimization Techniques for Experienced Players:
- Inventory Management: Always carry multiple lockpicks and stones for distraction. The golden crucifix and hunting sword provide both narrative progression and combat utility.
- Skill Preparation: Develop lockpicking and stealth abilities before attempting this quest. Level 8-10 in these skills significantly reduces difficulty.
- Timing Considerations: Execute crypt exploration during nighttime hours when worker activity decreases, enhancing stealth opportunities.
Common Player Mistakes to Avoid:
- Neglecting to acquire the plague mask before crypt entry, resulting in sickness debuffs
- Using aggressive dialogue options with Loyza without sufficient reputation buffer
- Attempting combat escape without adequate weapon proficiency or armor
- Failing to thoroughly investigate all crypt evidence, missing crucial narrative elements
Efficiency Strategies: Speedrunners can optimize this quest by utilizing the intentional capture method for fast travel and selecting the most direct dialogue options. However, completionists should exhaust all investigative opportunities for full narrative immersion.
Roleplaying Considerations: Align your approach with your character’s moral alignment – pious characters might avoid deception, while pragmatic players may prioritize efficiency over reputation.
No reproduction without permission:Tsp Game Club » Kingdom Come Deliverance 2 Mysteria Ecclesiae walkthrough: How to complete the Silent Witnesses quest Complete walkthrough for Silent Witnesses quest with expert stealth strategies and efficiency tips