TL;DR
- S-tier characters like Pitling and Iron Fool provide consistent performance regardless of RNG
- Master character-specific mechanics such as XP acceleration and positioning requirements
- Plan fusion synergies early based on starting ball types and ability interactions
- Avoid common mistakes like mismatching playstyles or ignoring character limitations
- Use strategic unlocking order to maximize early-game progression efficiency
Discover which Ball x Pit characters dominate runs and which require specific builds to excel in this comprehensive strategic ranking guide.
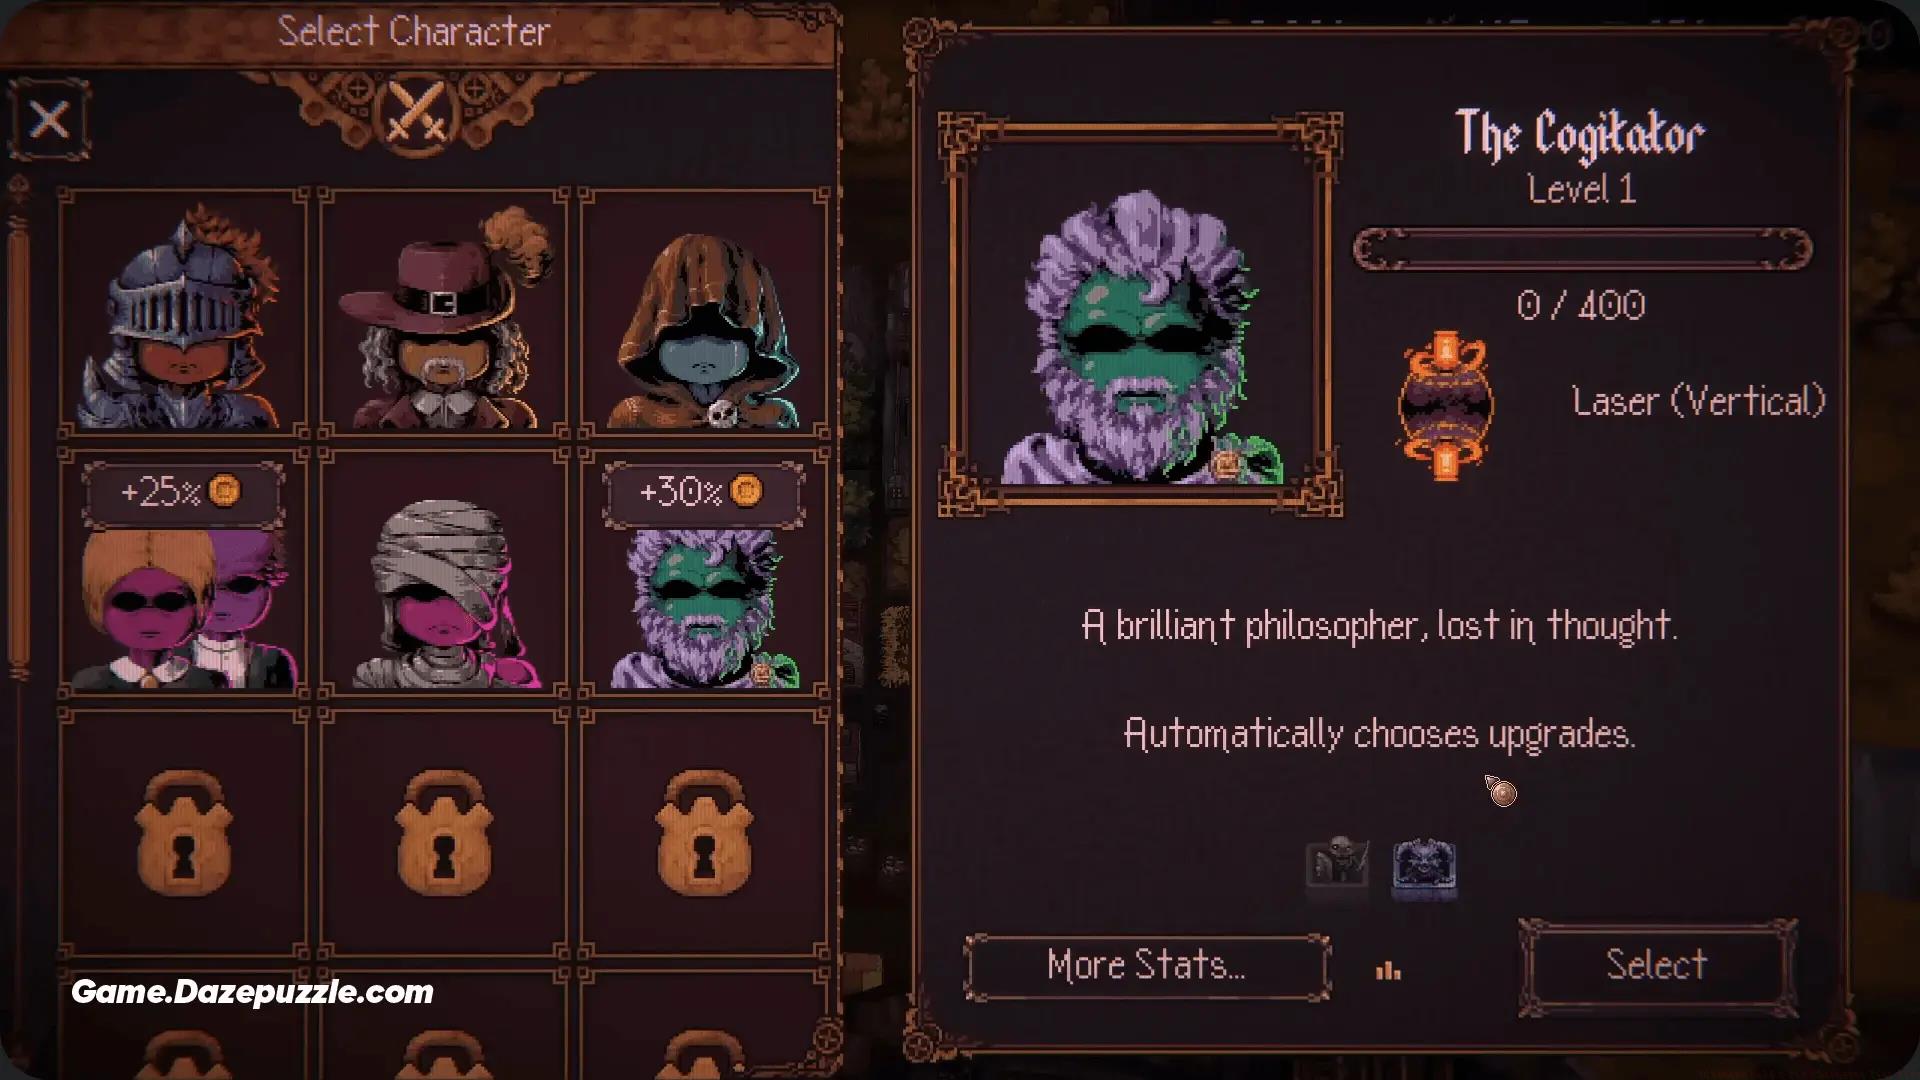
Strategic character selection in Ball x Pit fundamentally transforms your gameplay experience, turning early wave struggles into endgame dominance. With 15 distinct heroes featuring unique abilities and specialized starting balls, mastering their individual strengths becomes essential for achieving consistent victory. This expert analysis evaluates every character’s potential, from unstoppable S-tier dominators to experimental picks that reward dedicated player mastery.
Ultimate Ball x Pit Character Tier List
Understanding character tiers requires analyzing multiple factors including starting ball synergy, scaling potential, skill floor/ceiling, and fusion compatibility. Many players underestimate how character choice impacts early game economy and late-game viability.
These elite characters deliver exceptional performance regardless of RNG outcomes or build direction choices. They’re ideal for both newcomers learning core mechanics and veterans pursuing deep run optimization.
The Pitling distinguishes itself through accelerated XP accumulation and early fusion accessibility. This character streamlines progression curves, enabling you to achieve powerful combinations faster than any alternative hero. The Bleed starting ball ensures consistent damage over time, making early waves manageable while building toward optimal fusion synergies. Advanced players can leverage the XP bonus to reach critical power spikes 2-3 waves earlier than standard characters.
Iron Fool excels with exceptional defensive capabilities and reliable damage output, specializing in surviving extended engagements. Its Burn starting ball creates persistent area denial, while the character’s inherent durability permits risk-taking that other heroes cannot afford. Proper positioning with Iron Fool allows you to control choke points and protect valuable fusion setups during critical wave transitions.
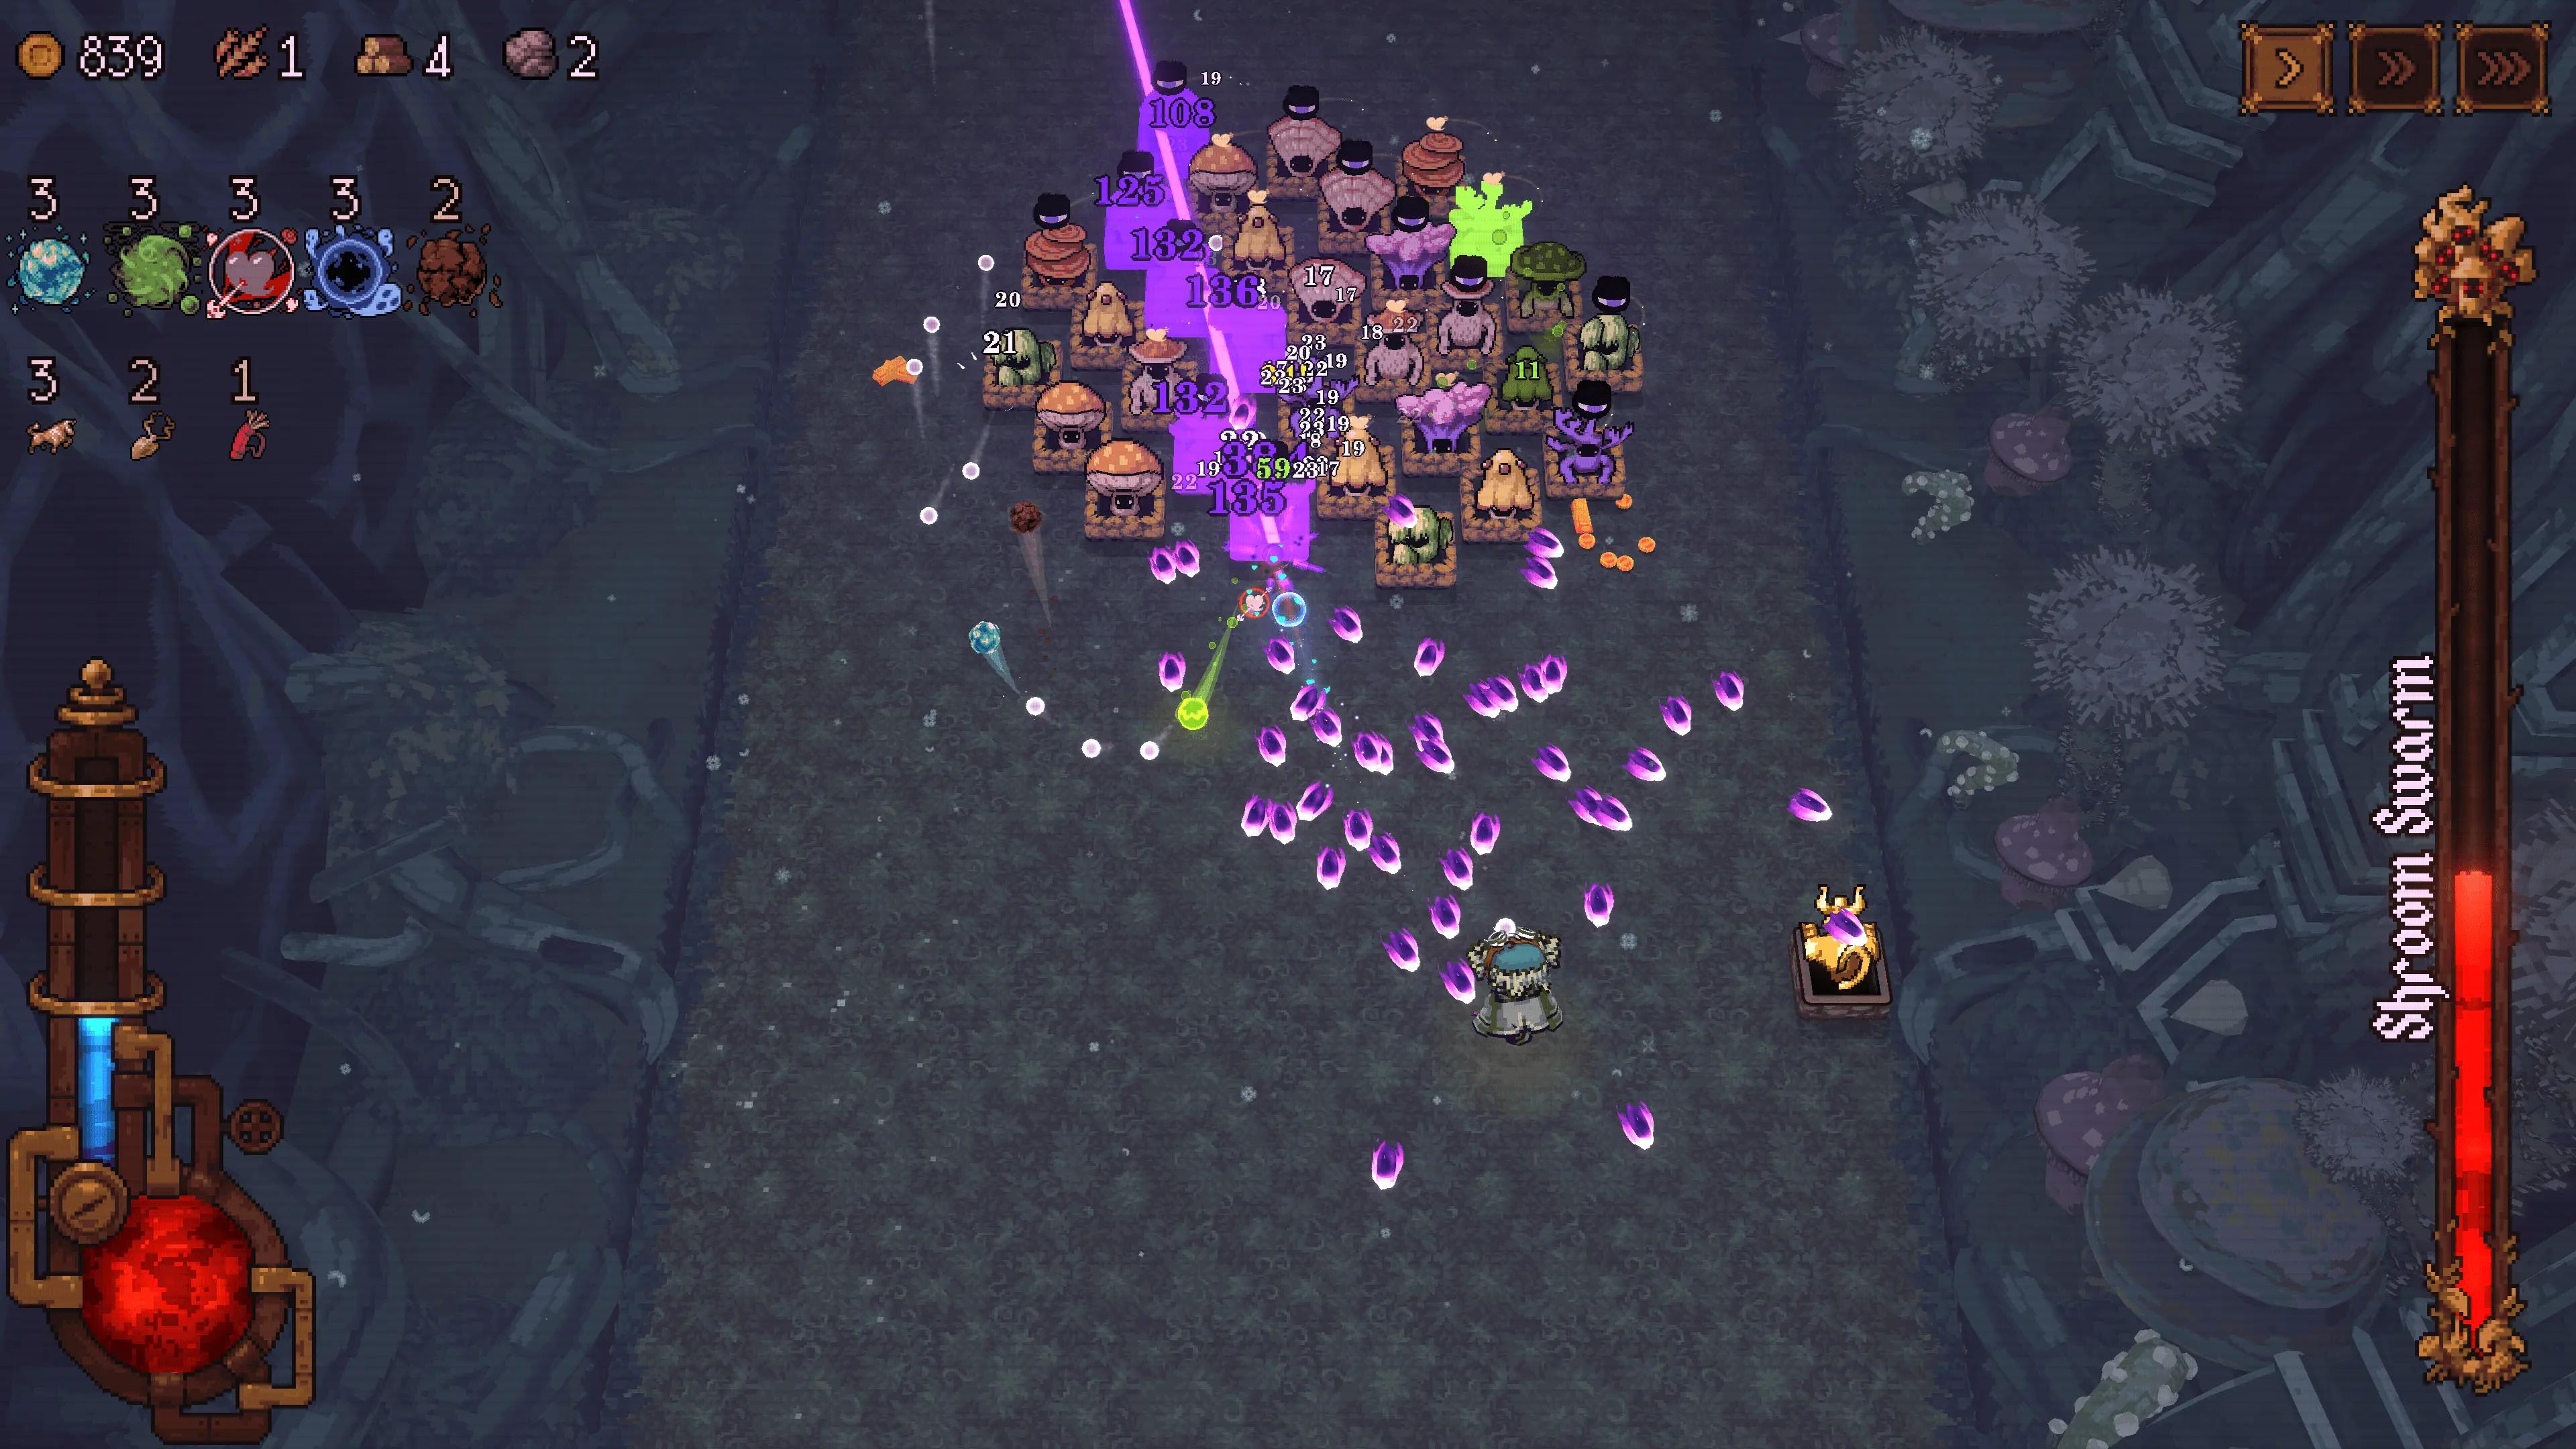
Lantern Knight provides steady fire damage that scales exceptionally well with most fusion builds. New players appreciate its forgiving playstyle, while experienced runners value its consistent power progression and superior crowd control options. The character’s area coverage makes it particularly effective against swarm-type enemies that overwhelm less prepared builds.
Itchy Finger rewards aggressive tactical positioning with rapid-fire capabilities and uninterrupted movement. Maintaining full movement speed while attacking enables a distinctive hit-and-run methodology that generates massive DPS when properly executed. Mastering this character’s mobility allows players to exploit enemy patterns that would punish more stationary approaches.
These heroes perform exceptionally with proper build planning and strategic execution. They offer elevated skill ceilings and rewarding gameplay for players investing time in mechanical mastery.
The Shade operates from rear positions with a 10% base critical chance, creating opportunities for devastating burst damage sequences. The Dark starting ball’s execution potential against weakened enemies makes this character excel in builds focused on piercing or critical damage amplification. However, The Shade requires precise positioning knowledge and understanding of enemy aggression patterns to maximize its potential without taking excessive damage.
Common mistakes with A-tier characters include attempting to force standard builds rather than leveraging their specialized strengths. The Shade particularly suffers when players ignore its positional requirements and try to frontline like S-tier tanks. Successful Shade play involves predictive positioning and understanding exactly when to commit to aggressive plays versus maintaining safe distance.
Strategic character unlocking prioritizes heroes that provide the greatest impact on your current progression stage. Beginners should focus on obtaining at least one S-tier character before diversifying their roster, as this provides a reliable foundation for learning game mechanics. Intermediate players benefit from unlocking specialists that complement their preferred playstyle while filling strategic gaps in their available options.
Resource allocation for character unlocks requires careful planning, as the investment needed varies significantly between heroes. Some characters become available through achievement completion, while others require specific in-game accomplishments or resource accumulation. Planning your unlock path around upcoming content updates and meta shifts ensures your roster remains relevant through game evolution.
For players transitioning from other tactical games like BF6 Class Selection Guide, understanding Ball x Pit’s character progression system requires adjusting expectations about unlock pacing and specialization requirements.
Fusion synergy planning begins with analyzing your character’s starting ball and how it interacts with available fusion combinations. Some characters naturally align with specific fusion paths, while others offer flexibility across multiple build directions. Understanding these interactions before committing to a character ensures you’re not fighting against inherent limitations during critical decision points.
Advanced fusion strategy involves planning multiple fusion paths simultaneously, accounting for RNG variance while maintaining viable alternatives. Characters with flexible starting balls typically adapt better to unfavorable fusion offerings, while specialized starters may require specific combinations to reach their full potential. This consideration becomes particularly important when attempting challenge runs or pushing personal best records.
Just as strategic planning enhances performance in games like Battlefield 6 Complete Guide, understanding Ball x Pit’s fusion systems requires both theoretical knowledge and practical adaptation to in-game circumstances.
Final character selection should balance personal playstyle preference with objective strength assessment. While tier lists provide valuable guidance, the best character for any individual player matches their natural instincts and mechanical strengths. Players who excel at precise positioning might prefer mobile characters despite their technical requirements, while those with strong strategic planning may favor scaling heroes.
Meta considerations include current patch balances, popular fusion combinations, and emerging strategies from the competitive community. However, blindly following meta picks without understanding their underlying strengths often leads to disappointing results. The most successful players develop deep expertise with 2-3 characters across different tiers rather than superficially rotating through every S-tier option.
For comprehensive gameplay improvement, complement your character knowledge with weapon mastery as detailed in our BF6 Weapons Unlock Guide, as many principles around specialization and adaptation transfer between game systems.
Action Checklist
- Master one S-tier character’s mechanics and fusion synergies
- Practice advanced positioning with mobile characters like Itchy Finger
- Plan character unlock order based on your progression stage and playstyle
- Analyze failed runs to identify character limitations and adaptation needs
- Experiment with off-meta characters to discover personal synergies
No reproduction without permission:Tsp Game Club » Ultimate Ball x Pit Character Tier List Master Ball x Pit character selection with expert tier rankings and strategic fusion optimization tips