TL;DR
- Ball evolution requires two Level 3 special balls and unlocks devastating new abilities
- Strategic timing balances immediate power needs with long-term multi-evolution goals
- Character selection directly impacts available evolution paths and fusion opportunities
- Passive item combinations provide game-changing resource and combat advantages
- Base building and gem optimization accelerate evolution progression significantly
Transform your Ball x Pit gameplay by mastering the intricate evolution system that turns basic projectiles into devastating arsenals. This comprehensive guide reveals the mechanics behind creating powerful evolved balls that can dominate any run.
The evolution process begins with strategic gem collection from defeated enemies, which fuels your ball leveling progression. Each special ball must reach Level 3 before becoming eligible for fusion, requiring careful resource allocation and patience. The game’s fusion system automatically detects compatible Level 3 pairs and presents evolution opportunities at critical moments.
When you achieve the crucial Level 3 milestone on two compatible balls, the interface displays clear fusion prompts. These evolved creations typically inherit the strongest attributes from both parent balls while introducing unique mechanics that can revolutionize your combat approach. Understanding this progression system is essential for planning successful evolution chains.
tip
Prioritize upgrading balls with multiple evolution pathways first to maintain strategic flexibility when fusion opportunities emerge during intense combat scenarios.
This definitive reference covers every standard evolution combination available, detailing the unique properties and damage patterns of each resulting ball. Mastering these combinations forms the foundation of advanced Ball x Pit strategy.
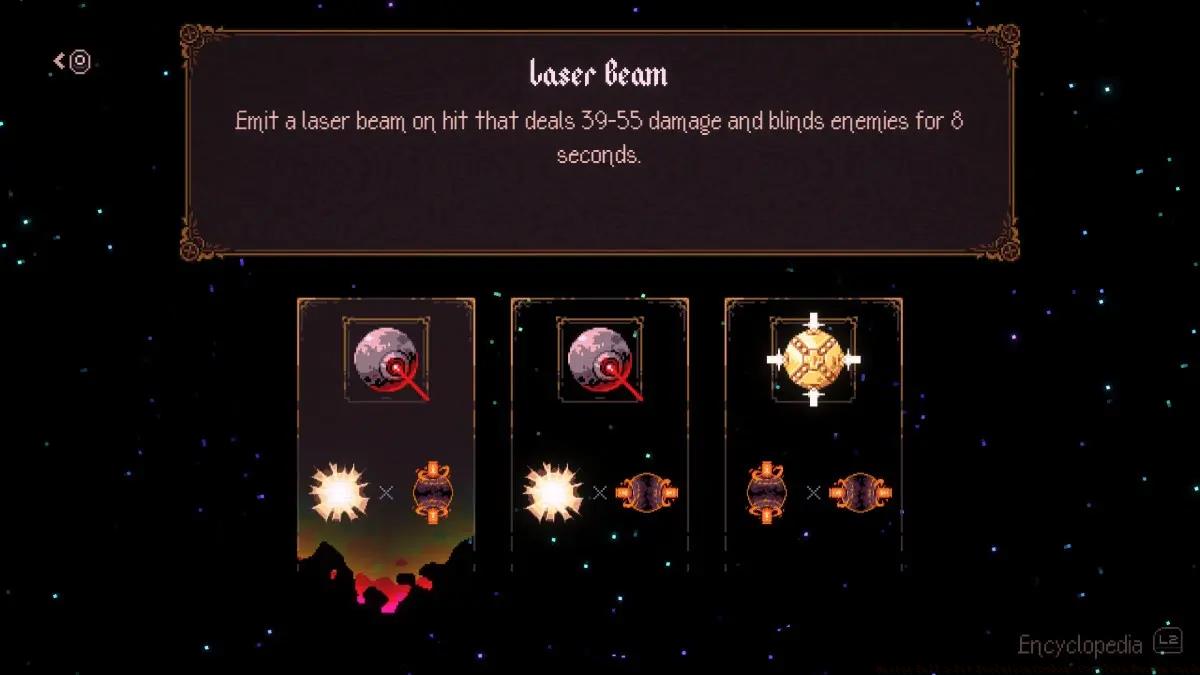
Power-Tier Evolutions You Need
The Bomb evolution excels as an elite crowd control solution, created when Burn combines with Iron to deliver explosive damage between 150-300 points that annihilates clustered enemies. This makes it particularly effective against dense enemy waves where area damage maximizes value.
For comprehensive battlefield control, the Blizzard evolution freezes all enemies within its effective radius. Achieved by fusing Freeze with either Lightning or Wind, this controller evolution provides crucial crowd management during high-intensity encounters.
The Holy Lazer represents the apex of precision targeting, formed by combining both laser variants to create a devastating beam weapon. This evolution deals 24-36 damage simultaneously to every enemy aligned in its row and column, making it exceptionally powerful against organized enemy formations.
Multi-evolutions represent the pinnacle of Ball x Pit’s progression system, requiring you to evolve already-evolved balls into ultimate forms. These transformations deliver massive power spikes but demand substantial resource investments and strategic planning.
important
Multi-evolutions are directly linked to specific achievement unlocks, making them essential objectives for completion-focused players pursuing 100% game mastery.
Nuclear Devastation Path
Initiate the nuclear pathway by creating a standard Bomb evolution (Burn + Iron), then advance it by fusing with Poison to create the Nuclear Bomb. This represents one of the game’s most destructive forces, capable of clearing entire screen sections with its massive area damage and lingering poison effects.
Cosmic Power Route
Forge a Sun evolution (Burn + Light) as your foundation, then combine it with Dark energy to unleash the Black Hole. This reality-altering evolution consumes everything within its gravitational pull, creating persistent damage zones that continuously weaken approaching enemies.

Ultimate Challenge Evolutions
The Satan evolution demands meticulous preparation, requiring creation of both Incubus (Charm + Dark) and Succubus (Charm + Vampire) before fusing these demonic entities together. This complex process yields one of the game’s most powerful control evolutions.
Nosferatu stands as the legendary evolution achievement, demanding three separate evolved balls: Vampire Lord, Mosquito King, and Spider Queen. The resource commitment is enormous, but the resulting transformation completely revolutionizes your run capabilities with unparalleled power.
Different characters possess unique advantages with specific evolution paths based on their starting ball selections and inherent abilities. Understanding these synergies dramatically improves your evolution efficiency and success rates.
The Warrior character excels with straightforward damage evolutions like Bomb or Hemorrhage, complementing their aggressive playstyle. The Itchy Finger naturally synergizes with Burn-based fusions due to their starting fire damage capabilities, creating powerful early-game evolution opportunities.
The Cogitator possesses unique advantages with laser evolutions, making the Holy Lazer combination more accessible and powerful. Meanwhile, The Spendthrift can leverage multiple ball types simultaneously, creating diverse evolution opportunities within single runs that other characters cannot match.
warning
Characters like The Radical feature automatic upgrade systems that can disrupt precise evolution timing. Develop contingency plans to accommodate these mechanical differences.
For players seeking comprehensive character strategies, our Class Guide provides detailed analysis of optimal evolution pairings for each character type, including advanced synergy combinations.
Beyond ball evolutions, passive item combinations provide crucial support capabilities that enhance your overall run performance. These fusions often create game-changing advantages that complement your evolved ball arsenal.
The Baby Rattle combined with War Horn creates the Cornucopia, a transformative passive that significantly boosts resource generation throughout your run. This acceleration enables faster ball leveling and more frequent evolution opportunities.
The Soul Reaver emerges from fusing Everflowing Goblet and Vampiric Sword, providing sustained healing mechanics that dramatically improve survivability during extended combat encounters. This combination is particularly valuable for characters with lower inherent durability.
For dedicated weapon collectors, combining all four elemental daggers (Diamond, Emerald, Ruby, Sapphire) forges the mighty Deadeye’s Cross. This ultimate weapon fusion delivers unparalleled damage output and unique combat properties that can carry entire runs.

Successful evolution mastery requires balancing immediate power requirements against long-term fusion objectives. Early evolutions provide crucial strength spikes but may limit access to advanced multi-evolutions later in your run.
Evaluate current wave difficulty when deciding whether to evolve immediately or conserve resources for specific combinations. Sometimes maintaining Level 3 balls for planned fusions delivers greater value than immediate power increases, particularly when approaching key multi-evolution thresholds.
Common mistakes include evolving too early and locking yourself out of superior combinations, or hoarding resources too long and struggling with insufficient immediate power. The optimal approach involves mapping your evolution path based on available balls and current run requirements.

Pro Tip: Track which balls appear frequently in your runs. Focus evolution paths around consistently available combinations rather than rare, perfect setups.
For comprehensive resource management strategies applicable across different game modes, explore our Complete Guide which covers advanced optimization techniques.
Optimize your base construction to systematically support evolution objectives. Character houses unlock new starting ball types, dramatically expanding your fusion possibilities from the beginning of each run. Prioritize upgrading buildings that enhance gem drop rates to accelerate the leveling process.
Experiment with dual-character mode once unlocked, pairing characters with complementary ball types to create more evolution opportunities within single runs. This advanced technique enables complex evolution chains that would be impossible with single-character approaches.
The foundation of evolution mastery combines mechanical understanding with precise strategic timing. This complete reference equips you to transform basic ball-bouncing runs into orchestrated symphonies of evolved destruction that dominate the pit.
For players seeking to maximize their damage output with evolved balls, our Weapons Unlock guide provides additional insights into damage optimization and weapon synergy strategies.
Action Checklist
- Identify your character’s optimal evolution paths based on starting balls
- Focus gem collection on balls with multiple evolution possibilities first
- Plan multi-evolution chains before committing to early evolutions
- Upgrade base buildings that improve gem drop rates and ball variety
- Experiment with dual-character mode for enhanced evolution opportunities
No reproduction without permission:Tsp Game Club » Master Ball x Pit Evolution Combos: Complete Fusion Guide Master Ball x Pit evolution mechanics with advanced strategies, character-specific paths, and efficiency optimization techniques