TL;DR
- Master weapon-specific heavy attacks: Greatsword summons minions, Dual Blades trigger Berserk Mode with life leech
- Utilize Tab-swapping for combo chains – essential for advanced damage rotations and build synergy
- Perfect parrying timing creates critical openings while dodging preserves stamina for emergency escapes
- Blocking reduces chip damage but fails against heavy attacks – never rely on it exclusively
- Learn boss attack patterns through observation and capitalize on brief vulnerability windows
Transform your martial arts journey in Where Winds Meet by mastering sophisticated combat mechanics that demand precision over button mashing. You’ll encounter adversaries requiring exact timing, tactical positioning, and complete command of three essential defensive systems. Whether confronting narrative bosses on Extreme difficulty or gearing up for competitive PvP battles, grasping these combat essentials will convert frustrating defeats into seamless, cinematic triumphs.
Your offensive arsenal centers on Light Attacks (Left Click) and Heavy Attacks (configurable keybinding, standard R). However, weapon performance differs dramatically across types:
Every weapon includes two principal skills assigned to Q and additional keybinds, frequently featuring multi-phase implementations needing consecutive commands.
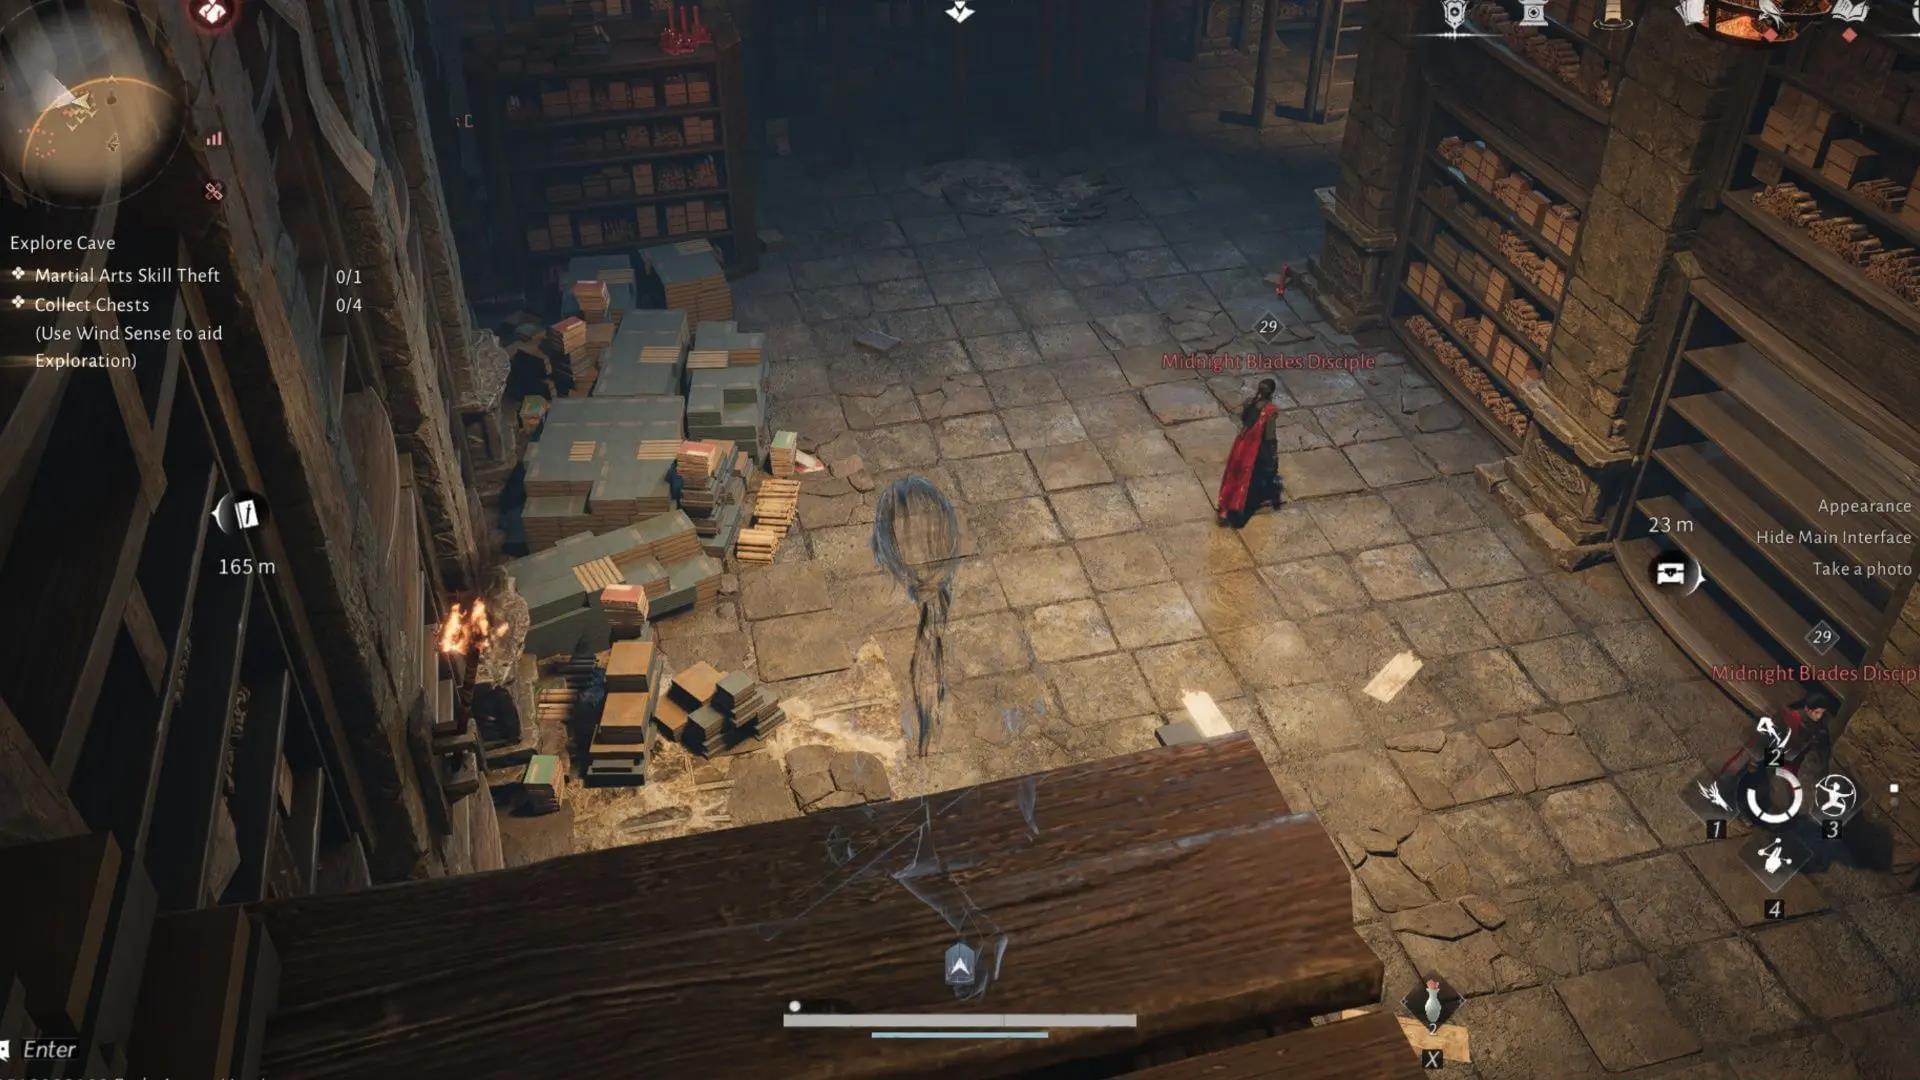
Where Winds Meet Combat Guide: Advanced Martial Arts & Defensive Mastery
Avoid manual inventory cycling by pressing Tab to execute an assault while concurrently changing weapons. This method facilitates destructive combination sequences and proves vital for elite gameplay. Acquire proficiency early, as weapon coordination establishes the basis for potent character configurations.
Elemental damage mitigation that diminishes incoming harm without eradicating it entirely. While beneficial for minor damage, blocking independently cannot protect you against substantial dangers. Understanding when to block versus when to employ other defensive options separates novice players from masters.
Parrying represents the highest skill defensive maneuver, requiring frame-perfect timing just before impact. Successful parries not only negate all damage but create extended vulnerability windows for counter-attacks. Practice against training dummies to internalize enemy attack animations – the visual cues are more reliable than reaction timing alone.
Dodging provides complete invincibility frames during the evasion animation, making it essential for avoiding unblockable attacks and area-of-effect abilities. However, each dodge consumes stamina, so mismanagement leaves you exhausted and vulnerable. Advanced technique: dodge toward enemies through attacks rather than away – this positions you perfectly for punishment.
Blocking serves as your baseline defense, reducing damage from frontal attacks while conserving stamina. Critical limitation: blocking cannot prevent stagger from heavy attacks or completely mitigate elemental damage types. Use blocking against rapid, low-damage attacks while preserving stamina for emergency dodges.

Common Defensive Mistakes:
Weapon switching via Tab transcends simple equipment changes – it enables sophisticated combo chains that dramatically increase damage output. The most effective combinations pair weapons with complementary functions: use Greatsword for crowd control followed by Dual Blades for single-target decimation.
Stamina Management Principles: Treat stamina as your most precious resource. Never exhaust it completely – always maintain at least one dodge’s worth for emergency situations. The most common fatal error among intermediate players is committing to an attack sequence without stamina reserves for defensive responses.
Positioning Tactics: Superior positioning often outweighs raw mechanical skill. Maintain medium distance to read enemy telegraphs while remaining close enough to capitalize on openings. Against groups, use terrain to funnel enemies into favorable engagements rather than facing multiple attackers simultaneously.
Advanced Combo Example: Initiate with Greatsword charged heavy to summon minions > Switch to Dual Blades via Tab to activate Berserk Mode > Execute light attack chain while minions distract > Use Bow for safe damage during enemy retaliation windows > Repeat sequence.

Customizing your control scheme dramatically impacts combat effectiveness. Rebind keys to prioritize accessibility of essential functions – many players benefit from moving dodge to a side mouse button for quicker reaction times. Ensure your most frequently used weapons and abilities reside on easily reachable keys without requiring hand repositioning.
UI Optimization: Minimize HUD clutter while retaining critical information. Display stamina and health bars prominently, but consider hiding less essential elements during combat to maximize screen visibility. Enable enemy health bars to identify when targets approach execution thresholds.
Camera Settings: Increase field of view to 90-100 for better situational awareness, particularly in group encounters. Adjust camera distance to provide optimal character visibility without obscuring enemy telegraphs. Disable camera auto-follow during combat to maintain control over your perspective.
Audio Cues: Many boss attacks feature distinct audio warnings before visual indicators. Use quality headphones and familiarize yourself with these sound cues for earlier reaction opportunities. Some attacks are actually easier to dodge based on audio timing rather than visual signals.

Your weapon evolution path should align with your developing playstyle rather than simply pursuing the highest statistical upgrades. Early game weapons like the basic Sword and Shield provide balanced offense and defense for learning mechanics. Mid-game introduces specialized options like the Spear for range control or Dual Daggers for rapid strikes.
Stat Synergy: Match your weapon choices with appropriate attribute investments. Strength enhances heavy weapon effectiveness, while Dexterity improves light weapons and bows. Don’t spread points too thinly – specialize in one or two complementary attributes for maximum impact.
Transition Timing: Change weapons when you consistently encounter limitations with your current setup, not just when something new becomes available. Master your current weapon’s intricacies before moving to more complex options. Many players progress faster by achieving proficiency with simple weapons rather than struggling with advanced ones prematurely.
End-Game Specializations: Late-game content demands highly optimized loadouts. The Greatsword excels against groups but struggles with highly mobile single targets. Dual Blades provide incredible sustained damage but require precise stamina management. Bows offer safety but extended encounter durations.
Your equipment selection should create synergistic combinations rather than simply equipping the highest rarity items. Certain armor sets provide bonuses specifically enhancing particular weapon types or playstyles. The Assassin set dramatically improves Dual Blade effectiveness, while the Juggernaut set complements Greatsword usage.
Stat Prioritization: Balance offensive and defensive attributes based on content difficulty. Early game favors damage output, while end-game demands sufficient survivability. Never sacrifice all defensive stats for minimal damage increases – being alive with moderate damage outperforms high damage with frequent deaths.
Situation-Specific Loadouts: Maintain multiple equipment sets for different encounter types. Create a mobility-focused set for exploration, a durability-oriented set for boss battles, and a damage-maximizing set for clearing standard enemies. The time invested in loadout management pays dividends in combat effectiveness.
Enhancement Strategy: Upgrade your primary weapon first, then focus on armor pieces providing your most valuable stats. Enhancement materials become scarce at higher levels, so commit to a build path rather than diversifying upgrades across multiple weapon types simultaneously.
Boss battles in Where Winds Meet follow predictable patterns that become readable through observation and repetition. Each boss features distinct attack sequences with specific tells – the key to victory lies in recognizing these patterns rather than relying on reaction speed alone.
Pattern Recognition: Spend initial encounters purely observing boss behavior without aggressive engagement. Note visual and audio cues preceding major attacks, counting the timing between sequences. Most bosses operate on fixed patterns with minor variations rather than completely random behavior.
Phase Transition Management: Bosses typically change behavior at specific health thresholds, often gaining new abilities or altering existing patterns. Prepare for these transitions by conserving resources when approaching threshold points – commonly 75%, 50%, and 25% health.
Execution Windows: Every boss attack creates brief vulnerability periods following completion. Learn which attacks create the longest openings for maximum damage deployment. Some attacks can be deliberately triggered to create predictable punishment opportunities.
Advanced Boss Strategy: Against the Stone Guardian, dodge through his sweeping attacks rather than away to access his vulnerable back. For the Twin Blades Assassins, separate them using terrain and eliminate one quickly rather than damaging both equally. The Celestial Dragon requires perfect parrying of specific attacks to create extended stun windows.
Action Checklist
- Practice weapon switching combos for 15 minutes daily using Tab key
- Master parrying timing against training dummies, focusing on visual cues
- Create specialized loadouts for different content types (bosses, exploration, groups)
- Study boss attack patterns through observation runs without attacking
- Optimize control scheme and UI settings for combat efficiency
No reproduction without permission:Tsp Game Club » Where Winds Meet Combat Guide: Mastering Martial Arts & Stances Master Where Winds Meet combat with expert defensive techniques, weapon synergies, and boss strategies for martial arts dominance