Complete guide to completing Dream of a Rusted Sword Part I with strategies, tips, and optimal pathing
Quest Overview and Starting Location
The Dream of a Rusted Sword represents a multi-stage side adventure in Wuthering Waves that unfolds within the Sanguis Plateus region. This narrative-driven mission introduces players to Bezos, an NPC seeking assistance to locate a veteran hunter and confront a dangerous Corrosaurus that has cleverly evaded detection by local gladiators. What makes this quest particularly engaging is the blend of tactical combat against various Tacet Discords and cerebral Attribute Sample puzzles that test your pattern recognition skills.
Pro Tip: Before initiating this quest, ensure your primary characters are at least level 35 and have their signature weapons upgraded to handle the combat challenges efficiently.
Navigation begins by following quest markers to Rustblood Pass where your first objective involves clearing the area of hostile Tacet Discords. These enemies typically appear in groups of 3-4, so having area-of-effect abilities ready will significantly speed up these encounters. After defeating them, engage in conversation with nearby non-player characters to gather additional context about the region’s lore.
Also read: Wuthering Waves Augusta ascension materials
Combat Encounters and Enemy Strategies
After your discussions with the initial NPCs, proceed eastward toward the Wandering Gladiators’ encampment to locate Gren. This character provides critical information about the Corrosaurus’s movements and behavioral patterns.
Reconnect with Aeollus and continue tracking the quest markers until you discover the distinctive Kerasaur footprints. These impressions serve as interaction points that activate the first Attribute Sample challenge. The puzzle mechanics require you to drag and connect all tiles sharing identical Attributes, which typically involves identifying color patterns or symbolic relationships. Successful completion rewards you with a supply chest containing valuable resources.
Combat Strategy: When facing Dark Tide enemies later in the quest, prioritize eliminating ranged attackers first as they can disrupt your puzzle-solving attempts with constant harassment.
Continue following navigation indicators to reach subsequent campsites where you’ll encounter Dark Tide adversaries. Defeat all hostile units before utilizing the bench to trigger an essential story cutscene. Progress to the next designated area, eliminate another wave of enemies, then examine the distinctive claw marks etched into the stone surfaces.
Puzzle Solutions and Challenges
The second Attribute Sample puzzle presents increased complexity compared to the initial challenge. Again, you must drag and link all samples sharing matching Attributes to solve the conundrum. Completion grants another Standard Supply Chest with potentially enhanced rewards.
Puzzle Optimization: For efficient puzzle solving, start from the corners and work inward, as this method reduces the likelihood of creating isolated tiles that cannot be connected later in the process.
Also read: All Wuthering Waves Pipe Maintenance puzzle locations and solutions
Upon claiming the chest rewards, persist in tracking the traces until arriving at another campsite location. Approach the campfire to witness spectral illusions that reveal background narrative elements, then converse again with Aeolus to advance the storyline.
Common Mistake: Many players rush through the illusion sequences, missing crucial lore details that enhance understanding of subsequent quest developments. Take time to absorb these story elements.
Story Progression and Cutscenes
Now advance to the subsequent quest destination to confront the Kerasaur with Aeolus providing combat support. This boss enemy employs predictable attack patterns but hits substantially hard, requiring careful dodging and timed counterattacks.
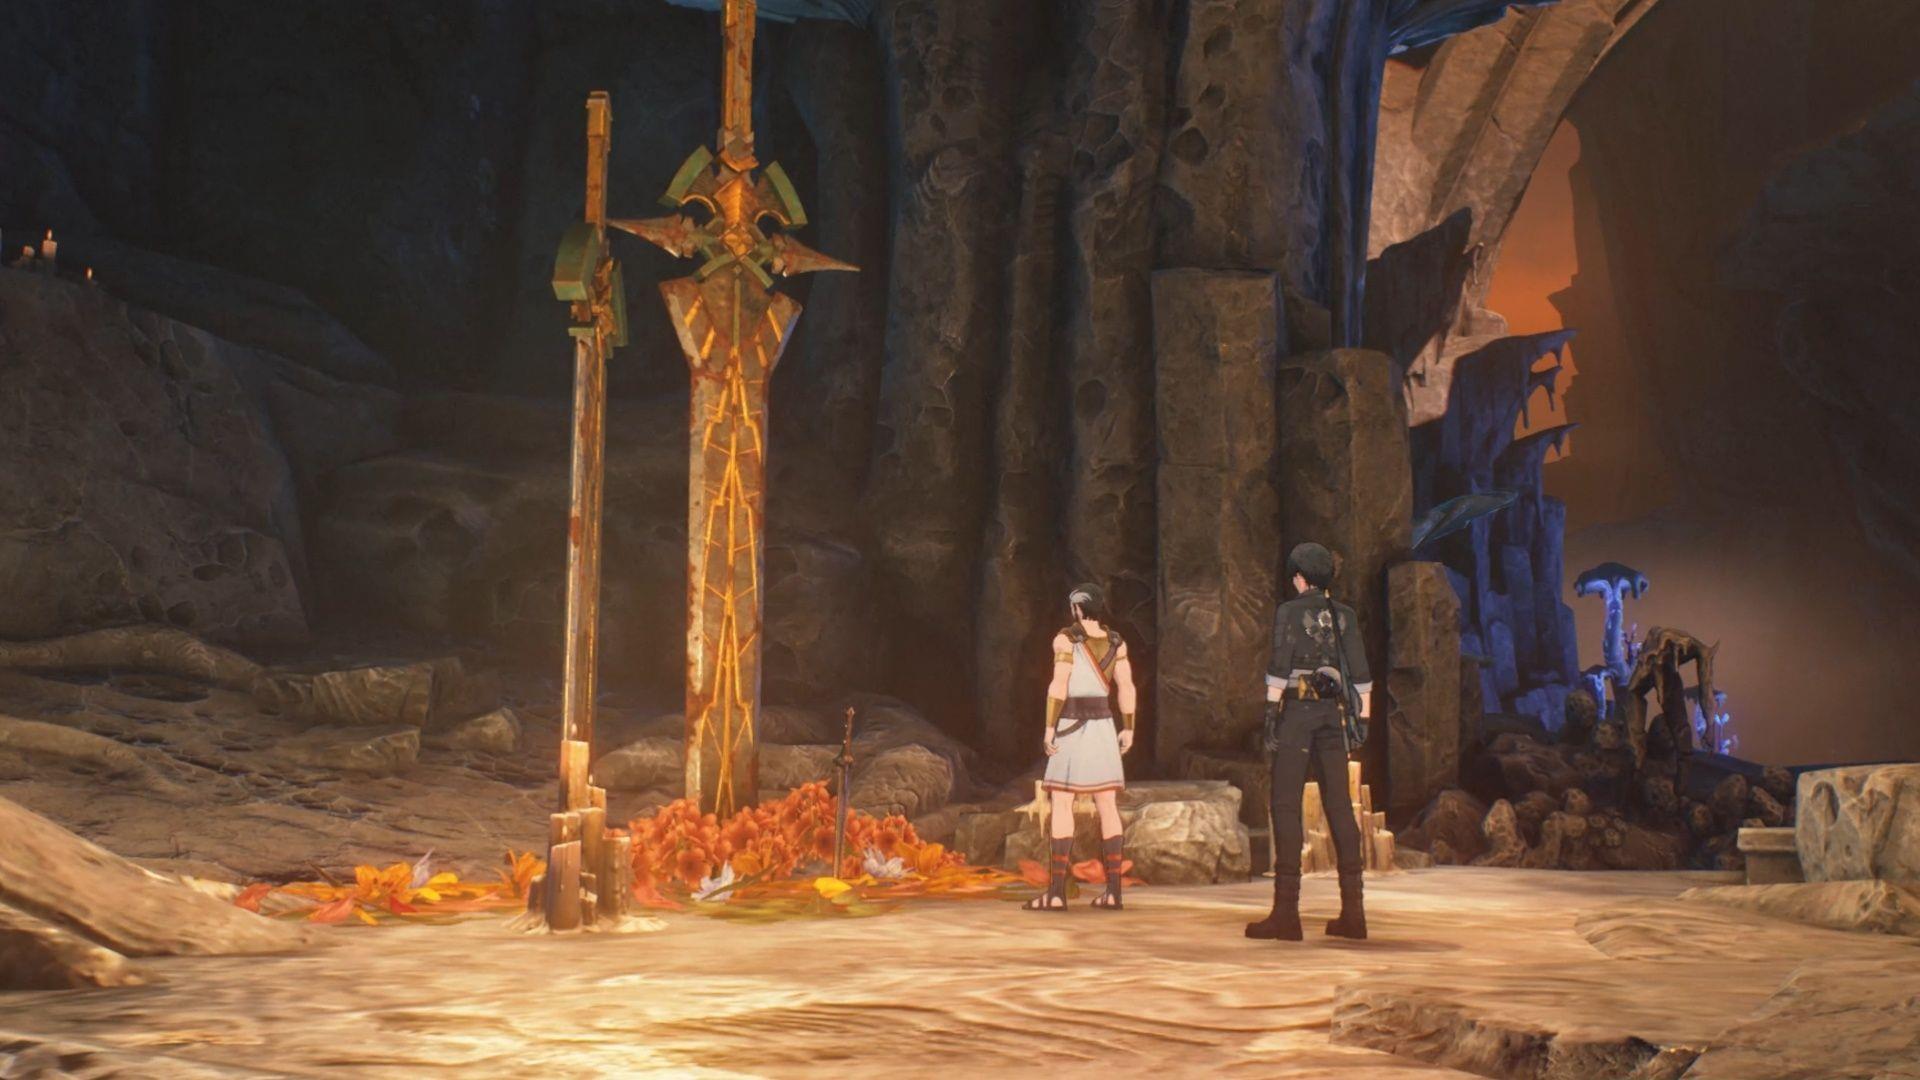
Journey to the ancient battlefield site and inspect the Sword Tomb to activate another narrative cutscene that reveals historical context about the region’s conflicts.
Also read: All Melody Orchestration puzzle locations and solutions in Wuthering Waves
Boss Tactics: The Kerasaur typically telegraphs its heavy attacks with distinctive audio cues and animation sequences. Learning these signals allows you to avoid damage while positioning for counterattacks during its recovery animations.
Rewards and Advanced Tips
Ultimately, return to the primary campsite and comprehensively debrief Bezos on all events that transpired during your investigation. This conversation concludes the Dream of a Rusted Sword Part I questline in Wuthering Waves.
As completion rewards, you receive 30 Astrites alongside various character enhancement materials. The supply chests collected during puzzle segments provide additional resources that substantially increase the overall value of this side quest.
Reward Optimization: Ensure you collect all supply chests during the quest, as their combined value often exceeds the primary completion rewards, making this one of the more lucrative side activities available.
Advanced Strategy: Experienced players can complete this quest in approximately 25-30 minutes by optimizing route efficiency between objectives and utilizing character swapping to quickly defeat enemy groups.
Follow Sportskeeda for more Wuthering Waves updates and guides.
No reproduction without permission:Tsp Game Club » Wuthering Waves Dream of a Rusted Sword Part I quest guide Complete guide to completing Dream of a Rusted Sword Part I with strategies, tips, and optimal pathing