Complete guide to finding all three Moments Scattered to the Wind locations and earning the She Remembers the Flames trophy
Understanding Moments Scattered to the Wind
Moments Scattered to the Wind represents a specialized environmental storytelling system within Wuthering Waves, specifically concentrated in the Sanguis Plateus territory of Rinascita. These interactive memory nodes allow players to witness fragmented recollections featuring the priestess Lillibet and her historical engagements with regional gladiators. The region contains precisely three distinct memory vantage points, each revealing unique narrative segments about her relationships with combatants. Activating these memory sequences consistently rewards explorers with Standard Supply Chests containing useful progression materials.
Successfully viewing any complete memory sequence guarantees the acquisition of a Standard Supply Chest, making these locations valuable for resource accumulation beyond their narrative significance.
Location 1: First Memory Spot
The initial memory location serves as an introduction to this exploration mechanic. Positioned in the northwestern sector of Sanguis Plateus, this spot typically features Lillibet interacting with newly arrived gladiators. The memory focuses on her welcoming rituals and initial assessments of combatants’ potential. Players should approach the glowing interaction point and activate the memory sequence to begin the viewing experience.
This first encounter establishes the foundational relationship dynamics between Lillibet and the gladiatorial community, providing crucial context for subsequent memories. The Standard Supply Chest received here often contains basic upgrade materials and currency, making it an excellent starting point for players beginning their Sanguis Plateus exploration.
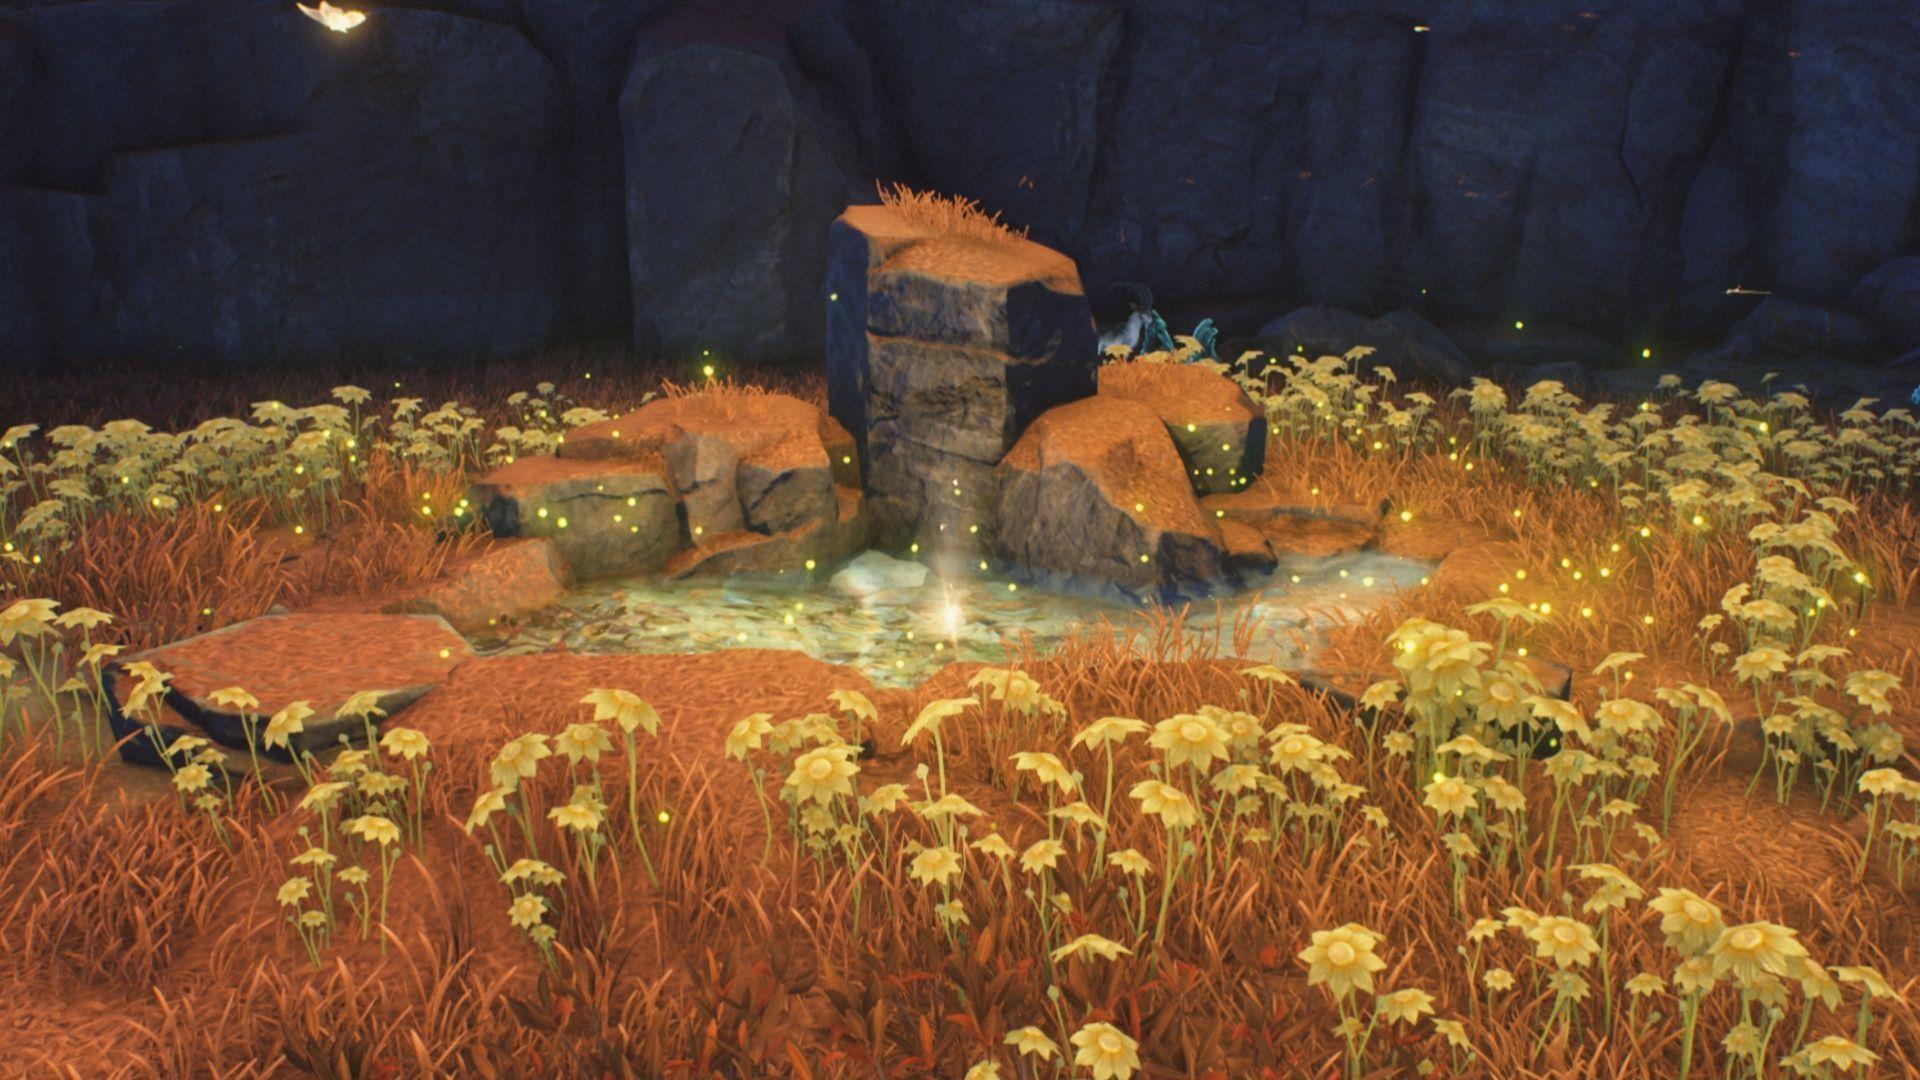
Location 2: The Wastelands Approach
Navigate to the Resonance Beacon positioned directly south of The Wastelands area for efficient access to the second memory location. From this teleportation point, utilize your gliding capabilities to ascend to the mountain plateau immediately above the beacon. The memory interface manifests as an interactive pool of light that players must approach and examine to initiate Lillibet’s recollection.
This particular memory sequence features an NPC named Dudley seeking romantic guidance from the priestess. He anxiously inquires about his prospects in love, creating a more personal narrative dimension compared to the first memory. Completing this emotional interaction rewards another Standard Supply Chest, often containing enhanced materials suitable for mid-game character development.
Pro Tip: Ensure your energy reserves are sufficient before attempting the glide ascent, as falling short requires tedious repositioning. Consider using movement-enhancing resonators or consumables for optimal navigation efficiency.
Location 3: Mushroom Rock Finale
The concluding Moments Scattered to the Wind installation occupies space above an unusually shaped mushroom-formed rock formation south of the Asphodel Barrens. This distinctive geological feature makes the location relatively easy to identify from a distance. The memory depicts Lillibet mediating a heated discussion among multiple gladiators debating heroic succession rights.
This final memory provides narrative closure to the sequence, revealing tensions within the gladiatorial community that Lillibet must navigate. As with previous locations, full memory completion grants a Standard Supply Chest with potentially upgraded contents. More significantly, activating all three memory points triggers the special achievement recognition.
Navigation Advice: The mushroom rock’s elevated position requires careful platforming. Approach from the southern cliffs for the most straightforward ascent path, avoiding the more treacherous northern approaches.
Advanced Tips & Common Mistakes
Efficient Route Planning: Complete these memories during broader Sanguis Plateus exploration to minimize backtracking. The optimal sequence begins with Location 1, proceeds to Location 3, then concludes with Location 2 based on geographical proximity to fast travel points.
Avoiding Common Pitfalls: Many players mistakenly attempt to access Location 2 without sufficient glide stamina, resulting in repeated failed attempts. Ensure your stamina is upgraded or use temporary enhancements. Another frequent error involves overlooking the mushroom rock’s specific formation – look for the distinctive cap-like top rather than general rock formations.
Reward Optimization: Standard Supply Chests from these locations scale with world level, so consider delaying collection until after increasing your adventure rank for improved rewards. The She Remembers the Flames trophy provides permanent account progression benefits beyond cosmetic value.
Completion Verification: If the achievement doesn’t trigger after visiting all three locations, ensure you fully completed each memory sequence rather than interrupting them prematurely. The game requires the entire cinematic to play for credit.
No reproduction without permission:Tsp Game Club » Wuthering Waves Moments Scattered to the Wind locations Complete guide to finding all three Moments Scattered to the Wind locations and earning the She Remembers the Flames trophy