Comprehensive guide to Yidhari’s leaked abilities, combat mechanics, and optimization strategies for Zenless Zone Zero
Character Overview and Core Mechanics
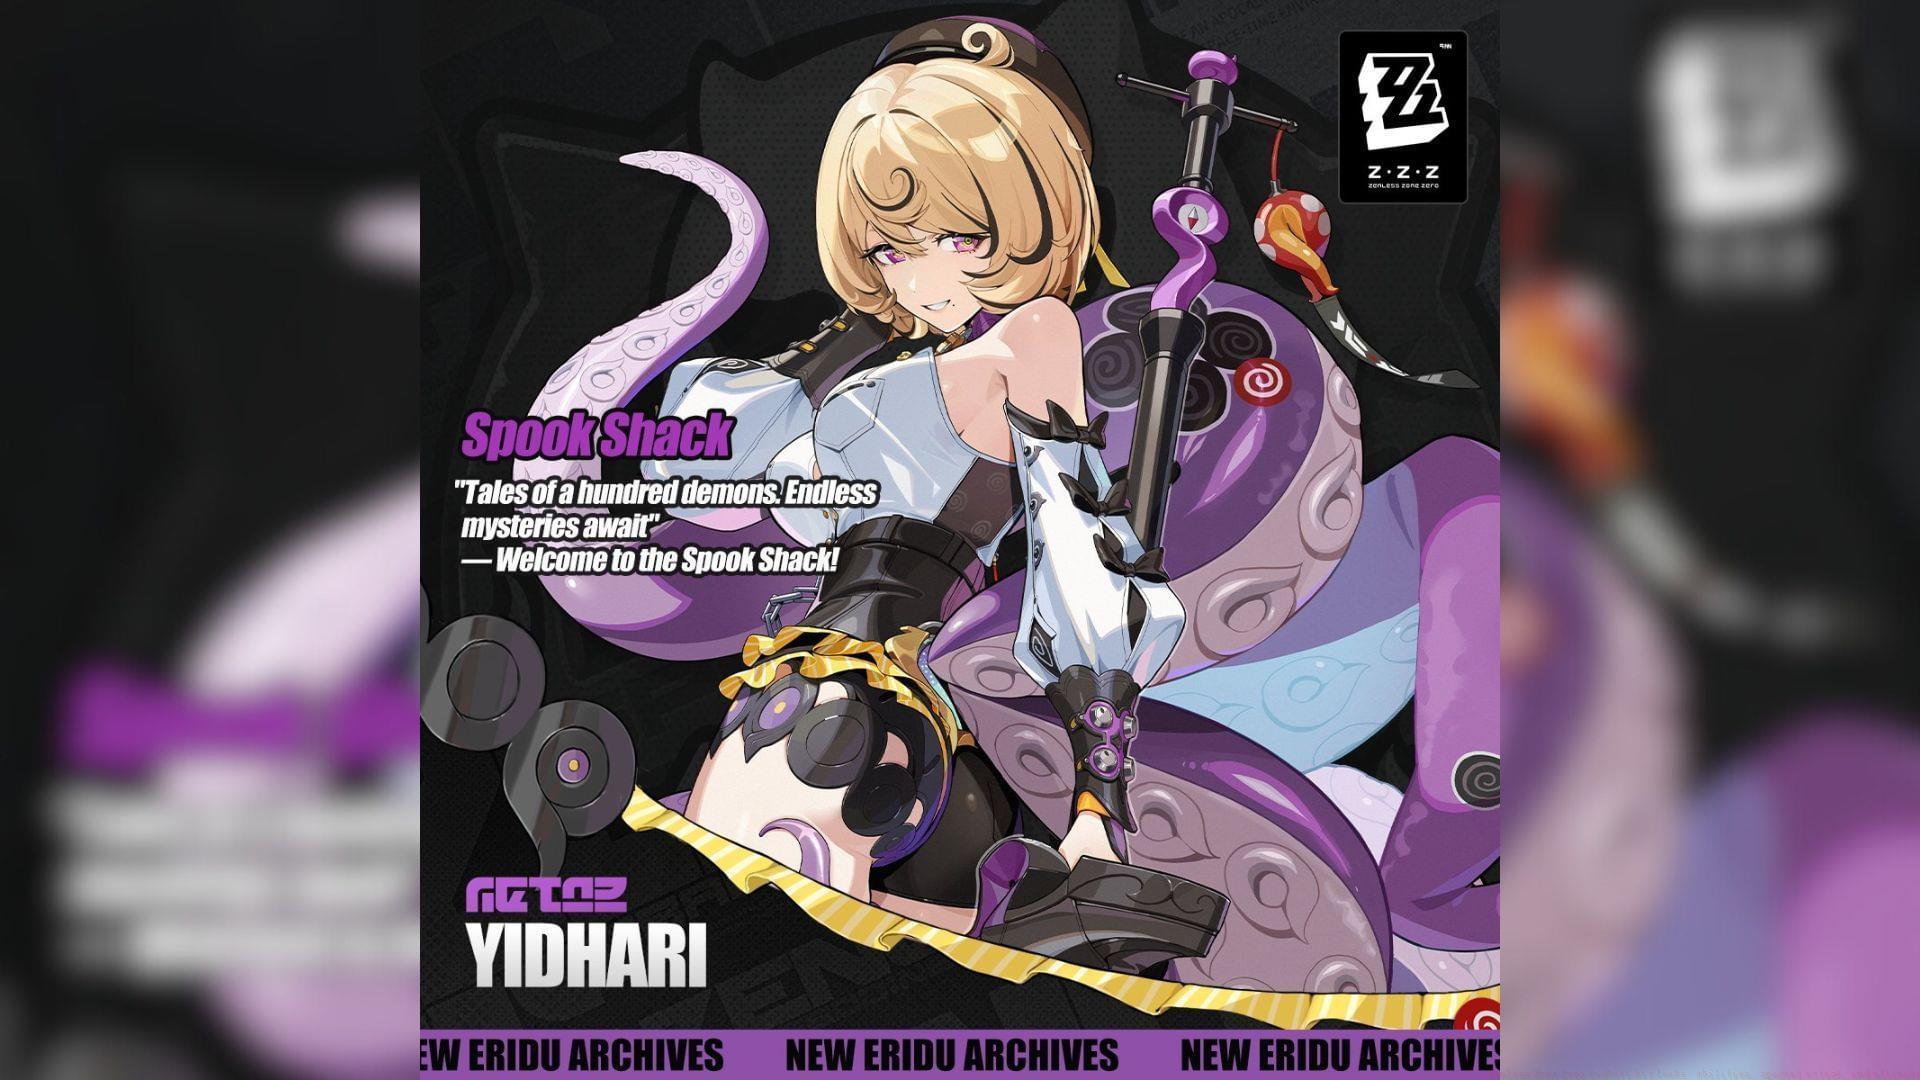
Yidhari emerges as a formidable S-Rank agent within Zenless Zone Zero’s closed beta, specializing in the Rupture attribute with Ice elemental alignment. According to credible leaks sourced from Hakush.in, her combat design centers around a high-risk, high-reward playstyle where she sacrifices personal durability for explosive area-of-effect damage potential.
As an Ice roster Rupture expert, Yidhari’s effectiveness hinges on meticulous health point management. She consistently expends HP to fuel her most powerful abilities, creating a dynamic combat rhythm where players must balance offensive pressure with survival considerations. This risk-reward mechanic distinguishes her from more straightforward damage dealers in the Zenless Zone Zero roster.
Her core combat loop involves building Decibel ratings through successful ability usage, which then empowers her ultimate capabilities. The Ether Veil state serves as her primary damage amplification window, transforming her elemental attacks into defense-ignoring Sheer DMG that scales with both her maximum HP and current health deficit.
Ability Breakdown and Combat Flow
Yidhari’s basic attack sequence consists of three consecutive forward strikes that establish her fundamental combat rhythm. The charged attack variant introduces a strategic depth element – holding the ability button initiates a power accumulation phase where Yidhari sacrifices health to prepare a devastating hammer strike. Proper timing becomes crucial as releasing the button at the optimal moment unleashes maximum impact.
Specialized recovery mechanics activate when Yidhari enters stagger states during her charging animation or spinning attacks. Successfully executing a basic attack within this recovery window triggers a download slam finisher, creating combo opportunities while partially restoring expended health. This mechanic rewards precise timing and situational awareness.
Her Special Attack arsenal includes both standard and EX variations. The base version launches enemies skyward while dealing damage, while the enhanced EX Special Attack delivers two consecutive uppercuts followed by an Ice Mist area denial effect that recovers missing HP. Advanced players can chain these attacks during spinning sweeps to immediately achieve maximum charge level, enabling rapid follow-up combinations.
Combo execution represents Yidhari’s technical ceiling. Pressing Special Attacks, Dodge, or Basic Attack inputs during spinning sweeps propels targets forward while granting instant maximum charge. This enables quick upward slashes transitioning into downward smashes, creating fluid attack strings that maximize damage windows.
Passive Abilities and Synergies
Yidhari’s core passive ability generates additional Sheer Force scaling directly from her maximum HP pool. This transforms all her elemental damage output into Sheer DMG, a specialized damage type that completely bypasses enemy defense calculations. The passive further amplifies her offensive capabilities when operating at low health thresholds, creating natural synergy with her HP expenditure mechanics.
A sophisticated self-sustain system activates automatically when Yidhari’s health drops below designated danger zones. This gradual health regeneration prevents accidental elimination while maintaining her low-HP damage bonuses, requiring players to carefully monitor health percentages during extended engagements.
Team composition optimization unlocks Yidhari’s full potential through her additional ability. Pairing her with Stun-focused squad members grants critical damage bonuses when her HP falls below 50%, creating powerful synergy opportunities. The Ether Veil state further enhances this by buffing both Basic Attacks and EX Special Skills, applying bonus damage multipliers against all affected enemies.
Strategic stat prioritization should focus on HP stacking to amplify her Sheer Force scaling while maintaining sufficient critical rate to capitalize on her low-health bonuses. Defense and resistance stats become secondary considerations due to her defense-ignoring damage conversion.
Mindscape Cinema Upgrades
Yidhari’s Mindscape Cinema progression system introduces four signature passive enhancements that dramatically expand her combat capabilities beyond base functionality. These upgrades, designated M1 through M6 with intermediate filler levels, provide specialized power spikes that redefine her optimal play patterns.
The M1 enhancement significantly reduces EX Special Attack energy consumption while enabling special follow-up attacks. Each successive EX Special Attack within a combo chain increases both HP regeneration and shield recovery rates, with the culminating attack completely ignoring opponent defenses. This creates powerful sustained combat potential.
M2 focuses on critical damage optimization, granting substantial CRIT DMG bonuses after launching enemies with spinning sweeps. The passive simultaneously accelerates Adrenaline regeneration, enabling more frequent ultimate ability usage during critical damage windows.
M4 enhances Yidhari’s resource generation and durability during her peak performance state. While under Ether Veil’s effects, she gains increased Decibel accumulation rates alongside a maximum HP percentage boost, amplifying both her damage scaling and survivability simultaneously.
The M6 upgrade introduces Tenacity mechanics when consuming Decibels before activating Ether Veil. Tenacity not only boosts Sheer DMG output but provides a single-use fatal blow resistance, creating crucial insurance against miscalculations during high-risk low-health engagements.
Advanced Strategies and Common Pitfalls
Optimal ability rotation begins with building Decibel levels through basic attack chains before transitioning into charged attacks during enemy vulnerability windows. The most effective pattern involves: Basic Attack x3 → Charged Attack → EX Special Attack → Spinning Sweep → Special Attack follow-up. This sequence maximizes damage while maintaining health equilibrium.
HP management represents the most challenging aspect of Yidhari’s gameplay. Avoid using charged attacks when below 30% HP unless immediately followed by EX Special Attack recovery. Position carefully during spinning attacks to minimize incoming damage, and always maintain awareness of health thresholds for passive activation.
Common beginner mistakes include over-committing to charged attacks without recovery options, neglecting team synergy benefits, and misjudging Ether Veil activation timing. Advanced players should focus on animation canceling during recovery frames and pre-positioning for area attacks during ultimate ability wind-up.
Against aggressive enemy compositions, utilize her Tenacity mechanic from M6 upgrades to absorb burst damage during setup phases. Pair with shielding supports to mitigate health expenditure risks while maintaining low-HP damage bonuses. Against single targets, prioritize quick charge attacks instead of full rotations to maintain pressure.
Follow Sportskeeda’s Zenless Zone Zero hub for more information and updates.
No reproduction without permission:Tsp Game Club » Zenless Zone Zero Yidhari kit leaks: Abilities, special attack, and ultimate Comprehensive guide to Yidhari's leaked abilities, combat mechanics, and optimization strategies for Zenless Zone Zero