Master Baldur’s Gate 3’s 12 new subclasses with strategic builds, combat tips, and optimization guides
Introduction to Patch 8 Subclasses
Baldur’s Gate 3’s latest major update delivers twelve entirely fresh subclasses, providing specialized options for every core character class. These additions introduce innovative mechanics that substantially alter combat approaches, role-playing opportunities, and party dynamics. Beyond mere statistical upgrades, each subclass brings distinctive visual effects, contextual dialogue options, and strategic depth that can redefine your entire playthrough experience.
The strategic implications of these subclasses extend beyond individual character builds. Many introduce mechanics that interact uniquely with Baldur’s Gate 3’s environmental systems, vertical combat spaces, and consumable items. Understanding how to leverage these interactions can dramatically increase your combat effectiveness and open up tactical possibilities previously unavailable in earlier patches.
Bard: College of Glamour
The College of Glamour transforms bards into master manipulators of battlefield morale and enemy behavior. At third level, Mantle of Inspiration provides temporary hit points to allies while applying charm effects to foes who attack your protected companions. This creates protective auras that discourage enemy aggression against key party members.
When you reach sixth level, Mantle of Majesty enables unlimited Command spell usage against charmed targets without consuming spell slots. This perpetual crowd control capability allows you to dictate enemy actions throughout extended encounters. Strategic positioning becomes crucial—place your bard where their aura affects maximum allies while remaining just outside immediate danger zones.
Pro Tip: Combine Mantle of Inspiration with area control spells like Hypnotic Pattern to create layered defensive zones. The charm effect from Mantle of Inspiration doesn’t require concentration, allowing you to maintain other powerful control spells simultaneously.
Common Mistake: Positioning your glamour bard too aggressively in frontline combat. Despite their control capabilities, they remain relatively fragile and should be protected behind tanks or terrain obstacles.
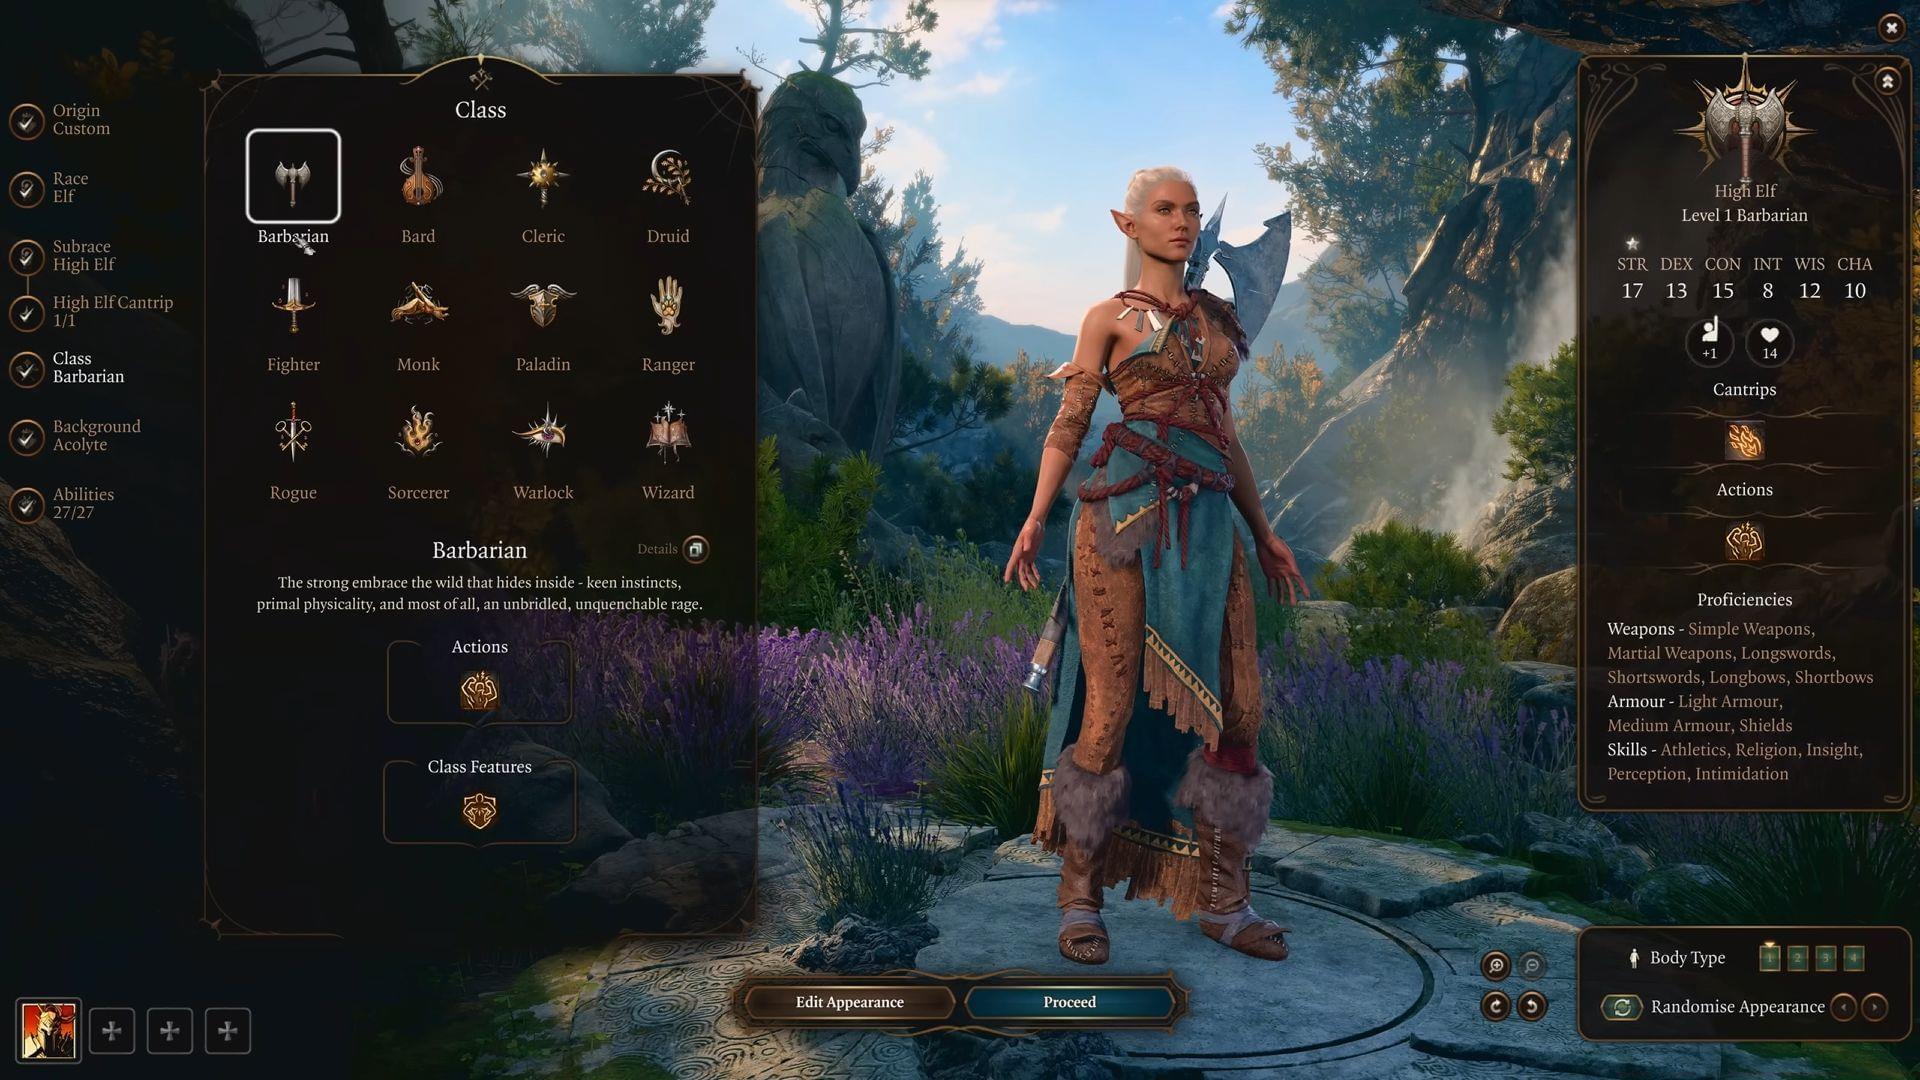
Barbarian: Path of Giants
Path of Giants revolutionizes barbarian gameplay by incorporating size-based mechanics into the rage system. Activating Giant’s Rage enlarges your character, enhancing throwing damage and enabling environmental manipulation previously limited to specific spells or items. This size increase also affects reach and intimidation factors in social interactions.
The enhanced throwing capability transforms ordinary items into deadly projectiles. Vertical combat environments become playgrounds for giant barbarians, who can hurl enemies off cliffs, into environmental hazards, or against other foes. The increased size also provides tactical advantages in chokepoints, where your enlarged character can block passageways more effectively.
Advanced Tactic: Combine throwing mechanics with carried items like oil barrels or alchemist’s fire for improvised area damage. The enhanced throw distance allows you to initiate combat from unexpected angles.
Optimization Note: Giant’s Rage synergizes exceptionally well with the Tavern Brawler feat, which further amplifies throw damage and attack rolls with improvised weapons.
Cleric: Death Domain
Death Domain clerics specialize in necrotic damage and macabre battlefield manipulation through corpse utilization. Their signature homebrewed ability enables explosive detonation of fallen enemies and allies alike, creating area denial zones and punishing enemy positioning. This transforms every fallen combatant into a potential tactical resource.
Toll the Dead gains scaling damage bonuses against injured targets, making death clerics excellent finishers who can efficiently eliminate wounded foes. The subclass encourages strategic corpse placement—deliberately eliminating enemies in clustered groups to set up chain reaction explosions.
Strategic Application: Use animate dead spells to create disposable minions, then detonate them amid enemy formations when their combat usefulness expires. This two-stage utilization maximizes value from summoned creatures.
Party Synergy: Combine with spellcasters who can create difficult terrain or control enemy movement to herd foes into optimal positions for corpse detonations.
Druid: Circle of Stars
The Circle of Stars introduces constellation-based transformations that replace traditional wild shape options with celestial forms. Each Starry Form provides specialized combat roles: Archer for radiant damage dealing, Chalice for area healing, and Dragon for defensive spellcasting support. This versatility allows single-character role adaptation as battle conditions evolve.
Archer form provides reliable bonus action attacks that don’t consume spell slots, making it ideal for extended encounters where resource conservation matters. Chalice form enhances healing output while maintaining offensive capability, and Dragon form significantly improves concentration maintenance for crucial battlefield control spells.
Form Selection Guide: Use Archer against undead and darkness-sensitive enemies, Chalice when your party is taking sustained damage, and Dragon when maintaining critical spells like Spike Growth or Call Lightning.
Common Pitfall: Neglecting the free action economy provided by Archer form attacks. Many players forget they can cast spells and still make Archer form attacks in the same turn.
Fighter: Arcane Archer
Arcane Archer fighters enhance traditional ranged combat with magical arrow effects that provide crowd control and battlefield manipulation. Their specialized arrows can inflict psychic damage, temporarily banish foes to the Feywild, or blind enemies failed Wisdom saves. This magical augmentation addresses the fighter’s traditional weakness against enemy spellcasters and controllers.
The banishing arrow provides particularly valuable utility against powerful single targets, effectively removing key enemies from combat for crucial rounds. This can interrupt spellcasting, break concentration, or isolate dangerous foes while you deal with their allies.
Tactical Priority: Target enemy spellcasters and controllers with banishing arrows to disrupt their action economy. The temporary removal of these high-value targets often proves more valuable than raw damage output.
Positioning Advice: Maintain elevated positions when possible to maximize arrow effectiveness and maintain line of sight while minimizing enemy melee access to your archer.
Monk: Way of the Drunken Master
Way of the Drunken Master introduces alcohol-based ki regeneration and disorienting combat techniques. Consuming alcoholic beverages from inventory or the environment restores ki points, creating unique resource management dynamics that encourage environmental interaction and consumable utilization.
Intoxicating Strike applies drunkenness to enemies, granting you buffs when striking affected targets, while Sobering Realization delivers combined physical and psychic damage by abruptly ending these intoxication effects. This create-and-exploit cycle rewards tactical sequencing and timing.
Resource Management: Always carry multiple types of alcoholic beverages to ensure ki regeneration availability. Different alcohol types provide varying restoration amounts, with expensive drinks typically restoring more ki.
Environmental Awareness: Note tavern and settlement locations where alcohol is readily available for restocking between major encounters. Plan routes that pass through these resupply points.
Paladin: Oath of the Crown
Oath of the Crown paladins excel as defensive anchors and aggro managers through abilities like Righteous Clarity and Divine Allegiance. These tools allow deliberate drawing of enemy attacks and damage absorption for allies, creating controlled combat flow that protects more vulnerable party members.
This subclass transforms paladins from mere damage dealers into genuine battlefield commanders who control engagement parameters. The damage redirection capabilities allow strategic positioning where the paladin becomes the unavoidable target while allies operate from safe positions.
Aggro Management: Use Divine Allegiance selectively to protect key concentration spellcasters or heavily wounded allies. The temporary hit point buffer can prevent concentration breaks or unconsciousness at critical moments.
Positioning Strategy: Place your crown paladin at tactical chokepoints where enemies must engage them to reach your backline, maximizing their defensive utility.
Ranger: Swarmkeeper
Swarmkeeper rangers summon insect swarms that provide diverse damage types and battlefield control effects. The available swarms—jellyfish for lightning damage, moths for psychic damage and blinding, and bees for piercing damage with knockback—offer situational adaptability against different enemy types and environments.
The incorporated teleportation capability for short distances enhances ranger mobility, allowing rapid repositioning without sacrificing action economy. This addresses the ranger’s traditional vulnerability to being pinned in melee combat.
Swarm Selection Guide: Use jellyfish against armored foes vulnerable to lightning, moths against spellcasters and perception-reliant enemies, and bees for environmental kills near cliffs or hazards.
Mobility Tactic: Employ swarm teleportation to escape melee engagement without provoking opportunity attacks, then continue ranged assaults from safer positions.
Rogue: Swashbuckler
Swashbuckler rogues deliver a pirate-inspired combat style emphasizing mobility, disarming techniques, and opportunistic strikes. Sand tossing provides blinding effects, Disarm removes enemy weapons, and Fancy Footwork enables melee engagement without triggering opportunity attacks.
This subclass repositions rogues from stealth-dependent assassins to agile duelists who excel in dynamic melee combat. The ability to engage and disengage freely allows hit-and-run tactics that gradually whittle down tougher opponents.
Combat Rhythm: Master the engage-strike-disengage cycle using Fancy Footwork. This minimizes damage taken while maintaining consistent offensive pressure.
Disarm Priority: Focus disarming attempts on enemies wielding powerful magical weapons or those particularly dependent on their equipment for combat effectiveness.
Sorcerer: Shadow Magic
Shadow Magic sorcerers gain dark-themed abilities including Superior Darkvision, Shadow Walk teleportation between darkened areas, and the relentless Hound of Ill Omen summon. Strength of the Grave provides a survival mechanism that can prevent unconsciousness once per long rest.
This subclass offers exceptional survivability for a traditionally fragile class, particularly in challenging game modes like Honour Mode where character death carries permanent consequences. The teleportation capabilities provide positioning options unavailable to other sorcerous origins.
Honour Mode Viability: Strength of the Grave provides crucial insurance against unexpected focus fire or critical hits that could otherwise end your run prematurely.
Environmental Manipulation: Use control spells to create darkened areas for Shadow Walk teleportation, effectively creating your own mobility network throughout the battlefield.
Warlock: Hexblade
Hexblade warlocks form pacts with shadowy weapon entities, gaining curse-based abilities and spectral summons from defeated enemies. Cursing targets enables raising specters that deal necrotic damage and siphon health back to the warlock, creating sustainable offensive pressure.
This subclass blends damage dealing with self-sustain and minor control elements, appealing to players who prefer active combat participation over traditional backline spellcasting. The spectral summons provide additional battlefield presence that can absorb attacks or harass enemy backlines.
Summon Management: Prioritize cursing high-health targets to ensure spectral summon durability. The specters inherit statistics based on the cursed enemy’s original power.
Sustain Strategy: Use the health siphon to maintain warlock durability in extended encounters, reducing dependency on party healing resources.
Wizard: Bladesinging
Bladesinging transforms traditionally fragile wizards into agile spellblades through the Bladesong activation ability. This provides movement speed bonuses, AC improvements, and Constitution saving throw enhancements—all scaling with Intelligence rather than physical attributes.
This subclass enables wizard frontline participation without sacrificing spellcasting potency. The Intelligence-based scaling ensures bladesingers don’t suffer from attribute spread issues that typically plague hybrid builds.
Activation Timing: Activate Bladesong preemptively before entering combat whenever possible. The limited uses make strategic activation crucial for maximum effectiveness.
Spell Selection: Focus on spells that enhance melee capabilities or don’t require concentration, preserving Bladesong’s defensive benefits while maintaining offensive pressure.
Advanced Strategies & Common Pitfalls
Successfully integrating these new subclasses requires understanding their unique synergies and potential pitfalls. Several multi-class combinations unlock particularly powerful interactions that maximize subclass potential.
Powerful Multi-class Combinations: Hexblade Warlock/Paladin blends curse mechanics with smite capabilities; Swashbuckler Rogue/College of Swords Bard creates an ultimate skirmisher; Bladesinging Wizard/Fighter provides weapon proficiency and additional defensive options.
Item Synergies: Death Domain clerics benefit enormously from items that enhance necrotic damage or provide additional uses of animate dead. Swarmkeepers gain significant advantages from equipment that improves summon durability or damage.
Common Mistakes to Avoid: Neglecting the action economy benefits of bonus action abilities; Underutilizing environmental interactions specific to each subclass; Failing to adjust party composition to complement new subclass roles; Overlooking the dialogue and role-playing implications of subclass choices.
Party Composition Advice: Balance your party to include at least one control specialist, one primary damage dealer, one support character, and one flexible role that can adapt to encounter requirements. The new subclasses provide more options for filling these roles creatively.
No reproduction without permission:Tsp Game Club » Baldur’s Gate 3: All newly added subclasses explained Master Baldur's Gate 3's 12 new subclasses with strategic builds, combat tips, and optimization guides