TL;DR
- Battlefield 6 features 8 distinct vehicle classes spanning ground, air, and support roles with specialized capabilities
- Main Battle Tanks require strategic loadout planning and defensive system activation for maximum battlefield impact
- Vehicle effectiveness depends heavily on proper positioning, team coordination, and counter-measure utilization
- Advanced tactics include angle management, terrain utilization, and combined arms approaches for dominance
- Mastering vehicle gameplay requires understanding role-specific strengths and adapting to dynamic combat situations
Command Battlefield 6’s comprehensive arsenal of 8 specialized vehicle classes using advanced loadout configurations, tactical deployment methods, and expert combat strategies for tanks, aircraft, and support vehicles.
Mechanical warfare returns with unprecedented intensity in BF6, introducing 8 meticulously designed vehicle categories capable of decisively altering battle outcomes. Whether you’re demolishing enemy fortifications in a heavily armored Main Battle Tank or establishing aerial supremacy with an Attack Helicopter, proficiency with these combat platforms separates elite operators from casual players. Each vehicle classification delivers unique strategic benefits, customized equipment options, and specialized employment doctrines that transform competent pilots into legendary battlefield commanders.
Battlefield 6 debuts with 8 comprehensive vehicle classifications, each engineered for specific combat functions and tactical scenarios. The roster encompasses everything from heavily protected ground assault units to agile aerial combatants, with every class providing distinctive battlefield advantages.
Battlefield 6 Guide: All Vehicles & How to Use Them
The vehicle inventory encompasses three primary operational domains:
Vehicle accessibility varies according to game mode and map architecture. Conquest and Escalation modes deliver the most comprehensive vehicle experience with complete class availability across all combat roles.

Main Battle Tanks function as your primary assault breakthrough units, boasting the most substantial armor protection and destructive firepower within the Battlefield 6 arsenal. These dual-occupancy combat platforms excel at shattering enemy defensive formations while supplying mobile protective cover for advancing friendly infantry elements.
The M1A2 SEPV3 (NATO) and LEO A4 (PAX Armata) perform identically notwithstanding cosmetic distinctions. Both armored vehicles access identical equipment selections and share equivalent performance metrics, guaranteeing balanced gameplay mechanics irrespective of faction selection.
Your armored vehicle configuration should align with your intended combat function. For anti-armor warfare missions, emphasize the Multi-Purpose HE Shell as your principal ammunition selection alongside Armor-Piercing Shells as secondary munitions. This pairing enables effective engagement against both infantry formations and hardened armored targets.
The Projectile Intercept System proves vital for operational survival – activate this defensive measure immediately upon detection to neutralize incoming rocket and artillery projectiles. Combine this protection with Reinforced Plating augmentation for optimal durability, accepting minor mobility compromises for substantially enhanced damage resistance.

Advanced Tank Strategy: Master the 45-degree angle positioning technique to maximize armor deflection probability. When engaging multiple threats, prioritize targets based on immediate danger – anti-tank infantry pose greater risk than distant armored vehicles. Coordinate with repair specialists to maintain combat effectiveness during extended engagements.
Infantry Fighting Vehicles deliver unprecedented tactical flexibility, bridging the gap between pure transport capacity and dedicated combat platforms. These multi-role assets provide mobile fire support while safely delivering infantry squads to critical battlefield objectives.
IFVs typically feature moderate armor protection combined with versatile weapon systems capable of engaging both infantry and light armored targets. Their troop transport capacity enables rapid battlefield repositioning while maintaining offensive capabilities throughout deployment.
Common IFV Mistake: Many players underestimate the importance of positioning when deploying infantry. Always disembark troops behind cover or in concealed positions rather than exposing them directly to enemy fire. The 3-second rule applies – if your disembarkation point doesn’t provide at least 3 seconds of safety, reconsider your deployment location.
Optimal IFV loadouts balance anti-personnel effectiveness with limited anti-armor capabilities. Automated grenade launchers excel against infantry concentrations, while armor-piercing chain guns provide necessary stopping power against light vehicles and aircraft.
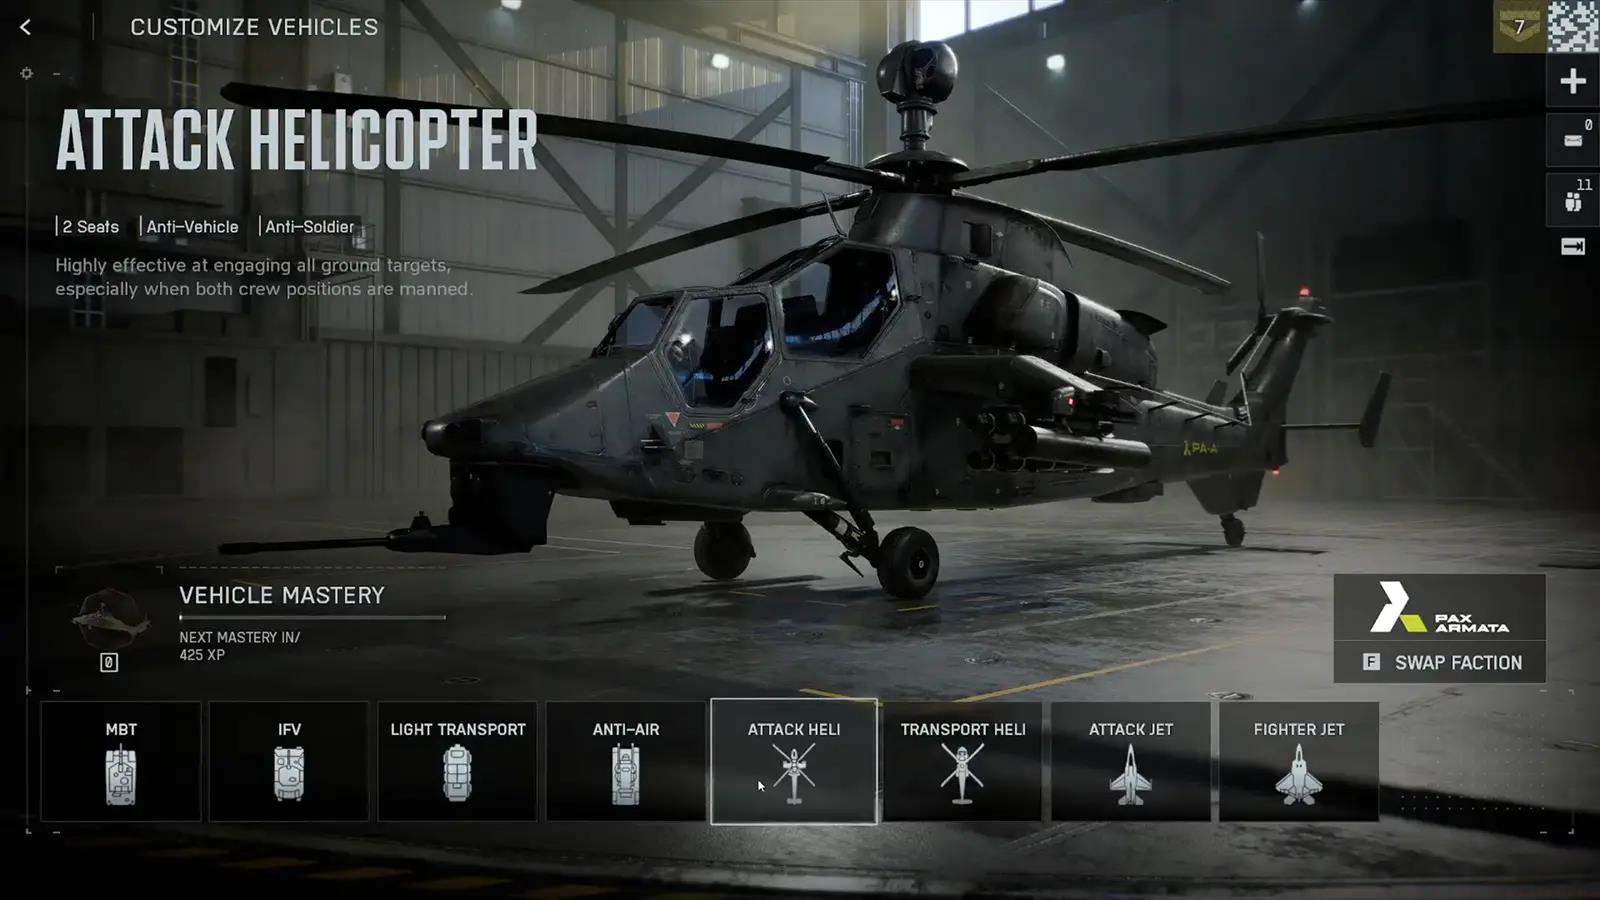
Aerial combat platforms establish battlefield dominance through superior mobility and devastating strike capabilities. Attack Helicopters provide precise close air support, while Fighter Jets maintain air superiority and intercept enemy aircraft.
Helicopter pilots must master terrain following flight techniques and effective use of cover to survive increasingly sophisticated anti-air defenses. The pop-up attack methodology remains essential – utilize terrain masking between attack runs to minimize exposure to ground fire.
Jet aircraft require different tactical approaches, emphasizing energy management and boom-and-zoom attack profiles. Maintaining altitude advantage and managing speed through turns determines aerial engagement outcomes more than pure marksmanship.
Advanced Air Tactics: Coordinate with ground forces using laser designation for maximum weapon effectiveness. Time your attack runs with friendly pushes to divide enemy attention and defensive resources. Remember that survivability often depends on unpredictability – vary your attack angles and approaches consistently.
Specialized support vehicles function as combat force multipliers, providing essential services that enhance overall team performance without serving as primary combat platforms. These include mobile repair stations, artillery systems, electronic warfare units, and reconnaissance vehicles.
Engineering vehicles maintain critical battlefield infrastructure and repair friendly armored assets during combat operations. Their presence often determines prolonged engagement success, enabling sustained offensive pressure through continuous vehicle availability.
Reconnaissance platforms deliver vital battlefield intelligence through advanced sensor systems and surveillance equipment. Their strategic value exceeds their combat capabilities, making them priority targets for enemy teams.
Support Vehicle Optimization: Position repair vehicles behind front lines but within rapid response distance. Reconnaissance units should maintain constant mobility to avoid counter-detection. Always coordinate with infantry escorts when operating in contested territory.

Vehicle performance customization through loadout selection dramatically impacts battlefield effectiveness. Each equipment choice creates trade-offs between offensive power, defensive capability, and operational mobility that must align with your intended combat role.
Weapon System Selection: Primary armament choices should complement your team composition and anticipated threats. Against infantry-heavy opposition, area-effect weapons outperform precision anti-armor systems. Conversely, armor-dominated battlefields demand specialized anti-tank munitions.
Defensive enhancements range from reactive armor packages to electronic countermeasure systems. Reactive armor provides superior protection against shaped charge weapons but adds significant weight, while active protection systems offer broader coverage with activation limitations.
Loadout Configuration Tips: Create specialized loadouts for different map types and game modes. Urban environments benefit from anti-personnel focus, while open terrain demands long-range engagement capabilities. Save multiple configurations and adapt based on battlefield evolution throughout matches.
Mobility enhancements prove particularly valuable for flanking maneuvers and rapid position changes. Consider speed upgrades when planning hit-and-run tactics or when operating without dedicated repair support.
Advanced vehicle employment separates competent operators from battlefield dominators. Mastering positioning, situational awareness, and combined arms integration determines vehicle effectiveness more than individual mechanical skill.
Positioning Mastery: Always maintain escape routes and utilize terrain for partial cover. The hull-down position technique – exposing only your turret while keeping the hull protected – dramatically improves survival rates against anti-tank threats.
Team coordination transforms individual vehicle effectiveness into overwhelming tactical advantage. Coordinate attacks with multiple vehicle types to overwhelm enemy defenses through simultaneous threats from different angles and attack vectors.
Counter-Play Excellence: Develop specific responses to common anti-vehicle tactics. Against rocket infantry, utilize terrain and mobility to break line of sight between attacks. When facing multiple armored threats, focus on disabling rather than destroying to reduce immediate combat pressure.
Situational awareness remains the most critical vehicle operator skill. Continuously scan for threats, monitor minimap intelligence, and maintain communication with team members regarding enemy positions and movements.
Pro Tip: The 70-30 rule applies to vehicle preservation – disengage when your armor reaches 30% integrity unless accomplishing a critical objective. Repairing to full effectiveness proves more valuable than achieving one additional kill at the cost of vehicle loss.
Action Checklist
- Configure role-specific vehicle loadouts for different map types and game modes
- Practice defensive system activation timing against rocket and missile threats
- Master hull-down positioning and 45-degree angle armor techniques
- Coordinate combined arms attacks with infantry and air support elements
- Develop target prioritization systems and disengagement discipline
No reproduction without permission:Tsp Game Club » Battlefield 6 Guide: All Vehicles & How to Use Them Master Battlefield 6's 8 vehicle classes with expert loadouts, tactical deployment strategies, and advanced combat techniques