TL;DR
- Ballistic Force Crossbow dominates with precision damage and crowd control capabilities
- Shield Saw and Shredder create devastating synergy combos for elite demon takedowns
- Rocket Launcher requires strategic positioning to avoid self-damage while maximizing AoE effectiveness
- Early weapons like Combat Shotgun remain viable throughout with proper mod upgrades
- Master weapon switching and mod timing for maximum damage output and survival
Doom The Dark Ages introduces a revolutionary arsenal that blends medieval weaponry with futuristic firepower, creating unprecedented combat dynamics. Unlike previous installments, this game demands strategic weapon selection and mastery of synergistic combinations to survive the demonic onslaught. Understanding each weapon’s strengths, limitations, and ideal combat scenarios is crucial for dominating the battlefield.
The weapon progression system rewards players who invest in understanding core mechanics rather than simply chasing raw damage numbers. This guide provides comprehensive analysis of all primary weapons, including advanced tactics, common pitfalls to avoid, and optimization strategies that will transform your gameplay experience.
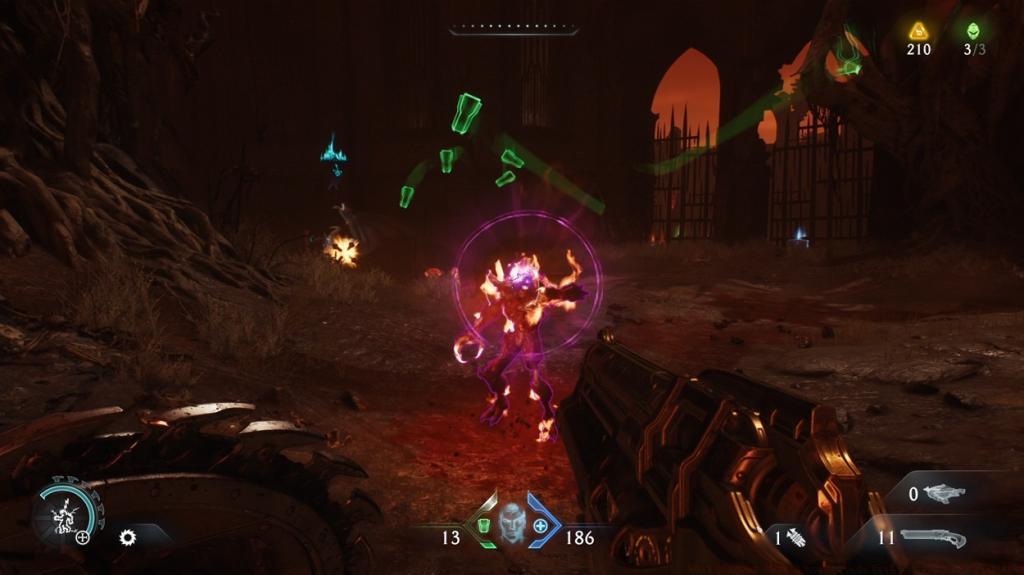
The Chainshot stands as a devastating anti-armor solution, projecting a spinning flail that systematically dismantles enemy defenses. This weapon’s unique charging mechanism allows for tactical flexibility—quick taps for standard engagements or fully charged shots for maximum penetration against heavily armored targets.
Common Mistake: Many players underestimate the weapon’s travel time and miss agile opponents. Against fast-moving demons like Imps or Lost Souls, lead your shots and predict movement patterns rather than aiming directly at targets.
Advanced Technique: Combine charged Chainshot volleys with environmental hazards. The weapon’s knockback effect can push demons into lava pits or off ledges, creating environmental kills that conserve ammunition.
As the Slayer’s initial firearm, the Combat Shotgun maintains exceptional performance throughout the entire campaign. Its devastating close-quarters damage output makes it indispensable for corridor combat and tight spaces where mobility is restricted.
The early acquisition of the burn modification transforms this weapon into a sustainability tool. Strategic Insight: Burned enemies not only drop armor shards but also suffer damage over time, allowing you to focus on other threats while they slowly perish.
Pro Tip: Master the shot-punch-shot rhythm—fire, immediately melee, then fire again. This combination maximizes damage output while conserving precious shells against tougher adversaries.
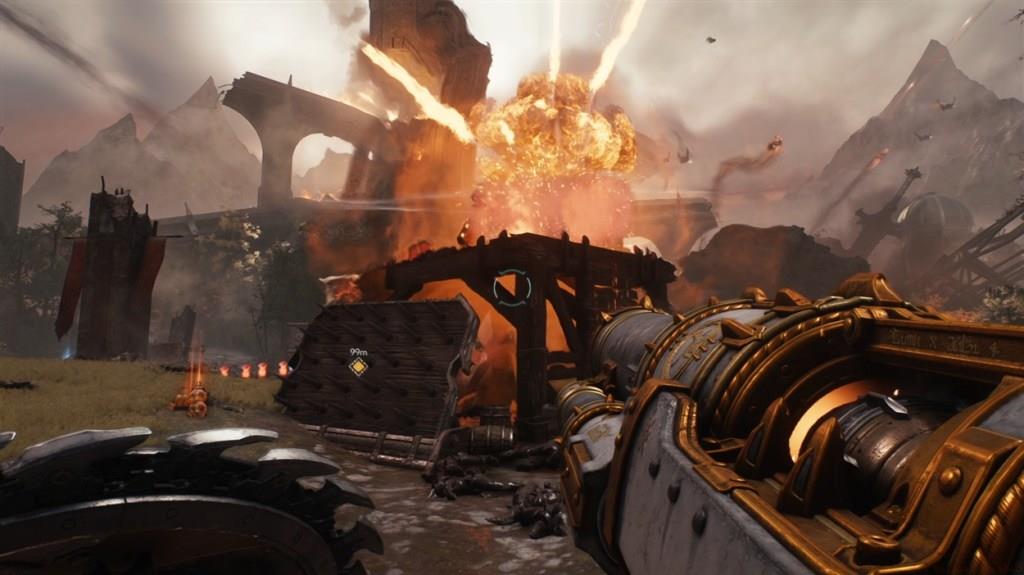
This late-game powerhouse delivers massive area-of-effect devastation perfect for eliminating clustered demon groups or priority targets from safe distances. The weapon’s blast radius demands careful positioning and awareness of your surroundings.
Critical Warning: The Rocket Launcher poses significant self-damage risks in confined spaces, making it unsuitable for panic situations or when surrounded.
The Vampirism modification introduces advanced risk-reward gameplay. After successfully parrying an attack, you gain a brief window where rocket usage converts damage into health recovery instead of self-harm.
Expert Strategy: Use rocket jumps strategically to access elevated positions or escape dangerous situations. The technique requires precise timing but can create tactical advantages unavailable through conventional movement.
Available from the early stages, the Shredder serves as your primary engagement tool for both close and medium-range combat. Its substantial magazine capacity and rapid firing rate provide sustained pressure against advancing demon hordes.
The weapon’s true potential emerges through synergistic combinations, particularly with the Shield Saw. Upgrade paths enable either pincushion or ricochet damage modifications, each requiring different tactical approaches.
Synergy Mastery: The pincushion mod embeds projectiles in enemies that detonate when struck by Shield Throws, while ricochet mods create chain reactions among grouped adversaries.
Advanced Combo: Shield Throw to stun, then unleash sustained Shredder fire. Against elite enemies, this combination can clear entire rooms when executed properly.

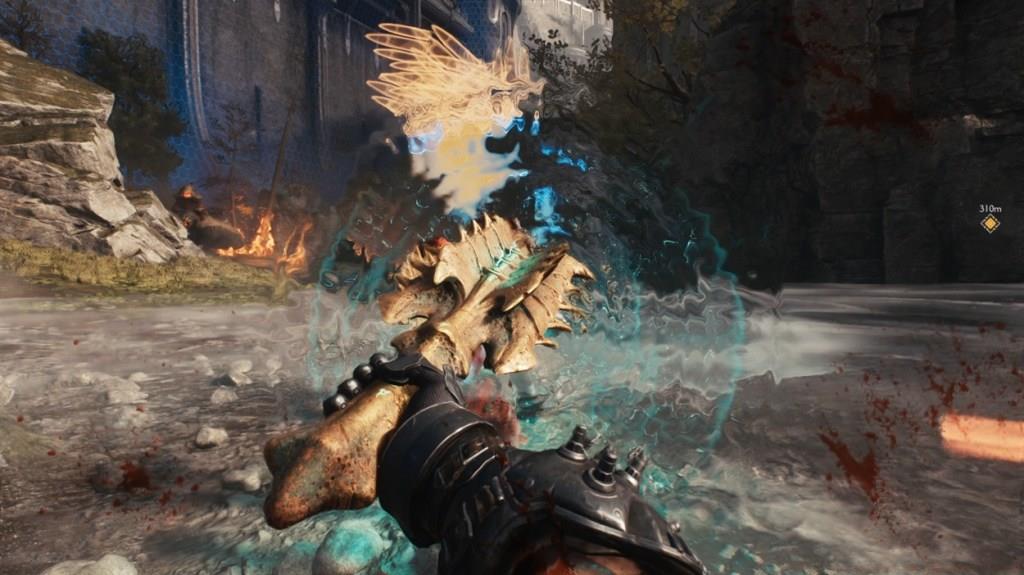
Unlocked as the secondary melee option, the Flail delivers exceptional armor destruction capabilities that make it essential against heavily fortified demon types. Its swinging motion provides crowd control while systematically breaking defensive layers.
Combat Application: Perfect for breaking through Barons of Hell armor or dismantling Mancubus plating, the Flail creates openings for your other weapons to exploit.
Advanced Technique: Master the timing for maximum impact—the Flail’s damage peaks at the end of its swing arc, requiring deliberate positioning rather than frantic swinging.
Pro Tip: Combine Flail strikes with quick weapon switches to firearms for burst damage combinations that overwhelm even the toughest adversaries.

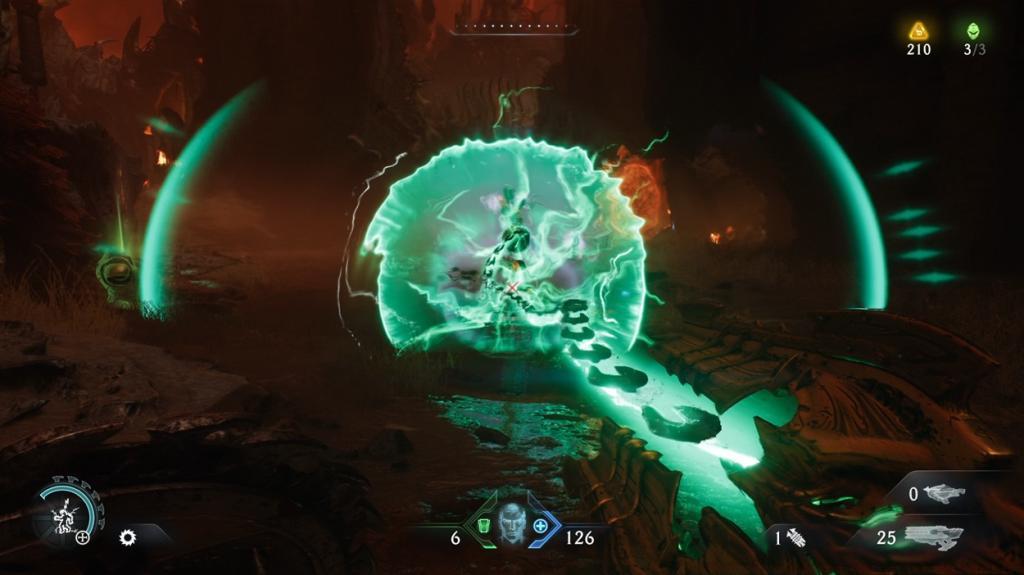
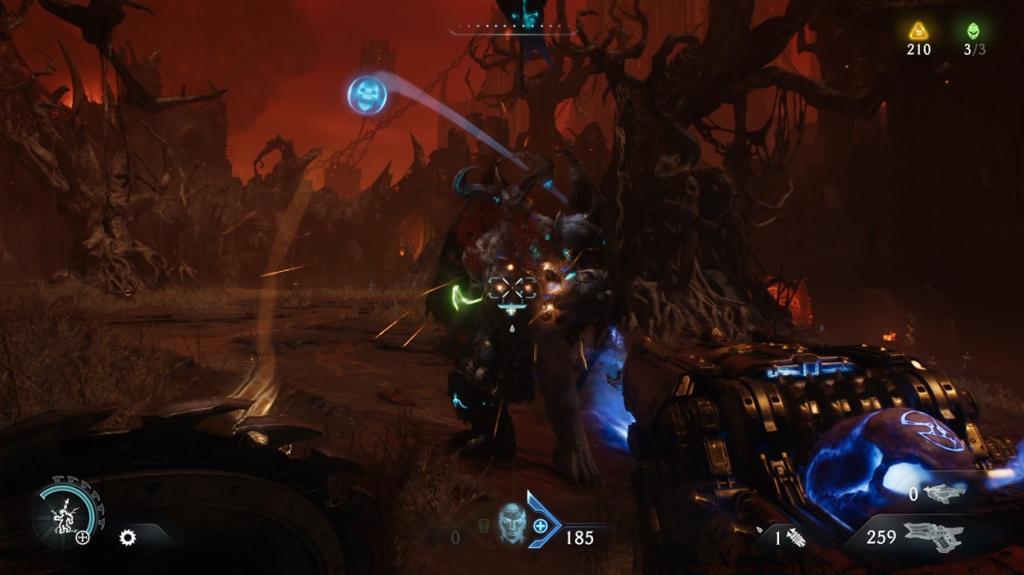
This unique weapon combines defensive capabilities with offensive potential, creating opportunities for aggressive defensive play. The Shield Saw allows you to block incoming attacks while positioning for counter-offensives.
Strategic Importance: Beyond mere protection, the Shield Saw enables advanced combat maneuvers. Successful blocks can stagger enemies, creating openings for devastating follow-up attacks.
Synergy Highlight: The Shield Throw mechanic synergizes perfectly with weapons like the Shredder, enabling complex damage combinations that multiply your effectiveness against elite demon types.
Expert Application: Use the Shield Saw to control engagement distances—advance under protection, then disengage with throws that set up your other weapons.
The Cycler represents mid-game precision weaponry, offering balanced performance across multiple combat scenarios. Its versatility makes it a reliable choice when facing unknown enemy compositions or exploring new areas.
Tactical Advantage: The weapon’s cycling mechanism provides consistent damage output without the spikes and valleys of more specialized arms.
Strategic Deployment: Ideal for maintaining pressure while assessing enemy patterns, the Cycler allows you to adapt your strategy without committing to specific engagement ranges.
Advanced Usage: Master the timing between cycles to maximize damage efficiency—rushing shots reduces accuracy while delaying between cycles wastes potential output.
This formidable melee implement excels at managing multiple adversaries simultaneously. The Dreadmace’s sweeping attacks create space while dealing substantial damage to everything within its arc.
Combat Efficiency: Against swarms of weaker demons, the Dreadmace clears groups more efficiently than most ranged options while conserving ammunition.
Advanced Technique: Combine Dreadmace swings with movement—advancing while attacking maintains pressure while retreating swings create defensive barriers.
Pro Strategy: Use environmental geometry to maximize the weapon’s effectiveness. Cornering yourself intentionally can funnel enemies into optimal striking positions where every swing connects with multiple targets.
The Ravager specializes in breaking fortified positions and dismantling enemy strongpoints. Its penetrating capabilities allow it to strike enemies behind cover or through defensive formations.
Strategic Application: Perfect for assaulting demonic encampments or clearing entrenched positions, the Ravager creates opportunities where other weapons struggle.
Advanced Tactic: Use the Ravager to initiate engagements—its ability to damage multiple enemies simultaneously can create chaos in demon ranks before they can organize effective resistance.
Expert Insight: The weapon’s unique properties make it ideal for specific scenarios rather than general use. Recognizing when to deploy the Ravager versus when to rely on other options separates competent players from masters.

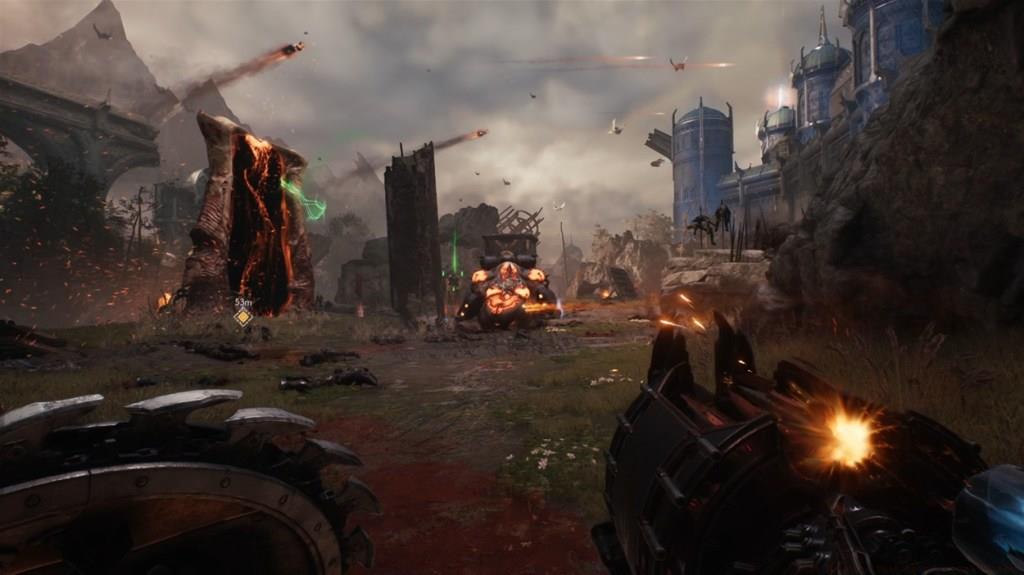
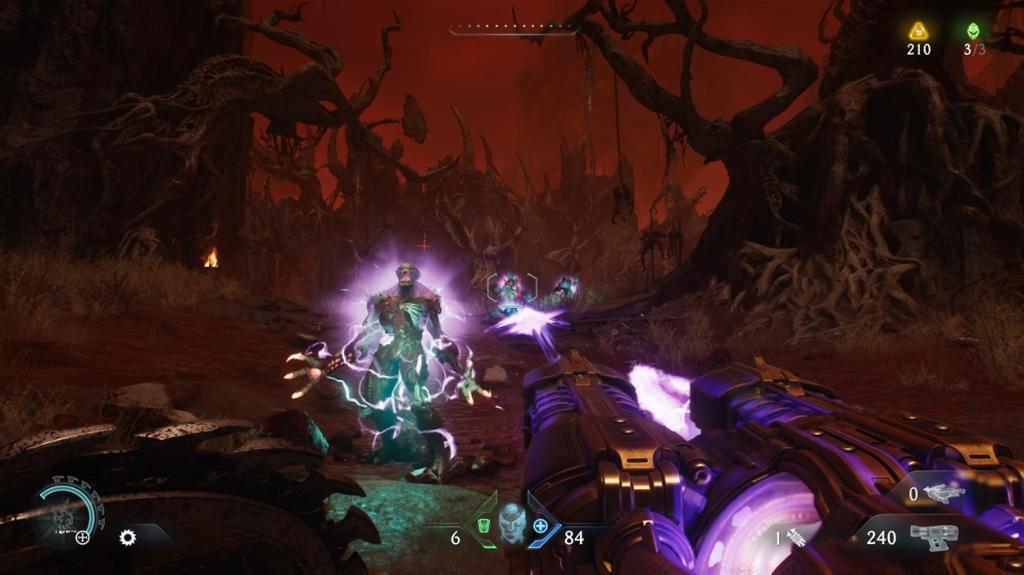
Crowning the arsenal, the Ballistic Force Crossbow delivers unmatched precision damage combined with tactical utility. Its bolt projection system allows for both single-target elimination and crowd control through specialized ammunition types.
Dominant Characteristics: This weapon excels in every combat scenario—long-range sniping, medium-range engagements, and even close-quarters emergencies with its quick-fire capability.
Master Strategy: The Crossbow’s versatility makes it your primary tool for addressing unexpected threats or adapting to rapidly changing battlefield conditions.
Pro Optimization: Master the reload timing and ammunition management. Unlike other weapons, the Crossbow’s power comes from shot placement and timing rather than volume of fire.
Weapon Switching Mastery: Advanced players minimize downtime between attacks by seamlessly transitioning between weapons. Practice the rhythm: fire your current weapon, immediately switch during cooldown, fire the next, creating continuous damage output that overwhelms demon defenses.
Mod Timing Optimization: Each weapon modification has optimal activation windows. The Vampirism mod on the Rocket Launcher, for instance, should be activated during lulls in enemy aggression rather than mid-engagement.
Enemy-Specific Counters: Match your weapon selection to demon types. Against fast enemies, prioritize rapid-fire weapons; against armored foes, deploy armor-breaking implements; against groups, utilize area-effect options.
Resource Management: Balance your ammunition consumption across your arsenal. Avoid exhausting one weapon’s reserves entirely—maintain at least minimal capacity in each for emergency situations.
Early Game Focus (0-4 hours): Master the Combat Shotgun and Shredder fundamentals. These weapons form your combat foundation and remain relevant throughout the entire experience.
Mid-Game Transition (4-8 hours): As you acquire the Flail and Shield Saw, practice their synergistic combinations. These mid-game tools dramatically increase your combat efficiency against elite demon types.
End-Game Optimization (8+ hours): The Ballistic Force Crossbow and Rocket Launcher represent your ultimate tools—master their unique mechanics and risk-reward calculations.
Upgrade Priority System: Focus upgrades on weapons you use most frequently, but maintain balanced development to handle diverse combat scenarios effectively.
Action Checklist
- Master Combat Shotgun burn mod timing for armor shard generation
- Practice Shield Saw and Shredder synergy combos against elite enemies
- Learn Rocket Launcher positioning to avoid self-damage while maximizing AoE effectiveness
- Develop weapon switching rhythm for continuous damage output
No reproduction without permission:Tsp Game Club » Best Doom The Dark Ages Weapons (Ranked) Master Doom The Dark Ages with expert weapon rankings, combat strategies, and advanced optimization techniques