Strategic team compositions and expert tactics to conquer Stygian Onslaught’s toughest enemies in Genshin Impact Luna II
Understanding Stygian Onslaught Luna II Mechanics
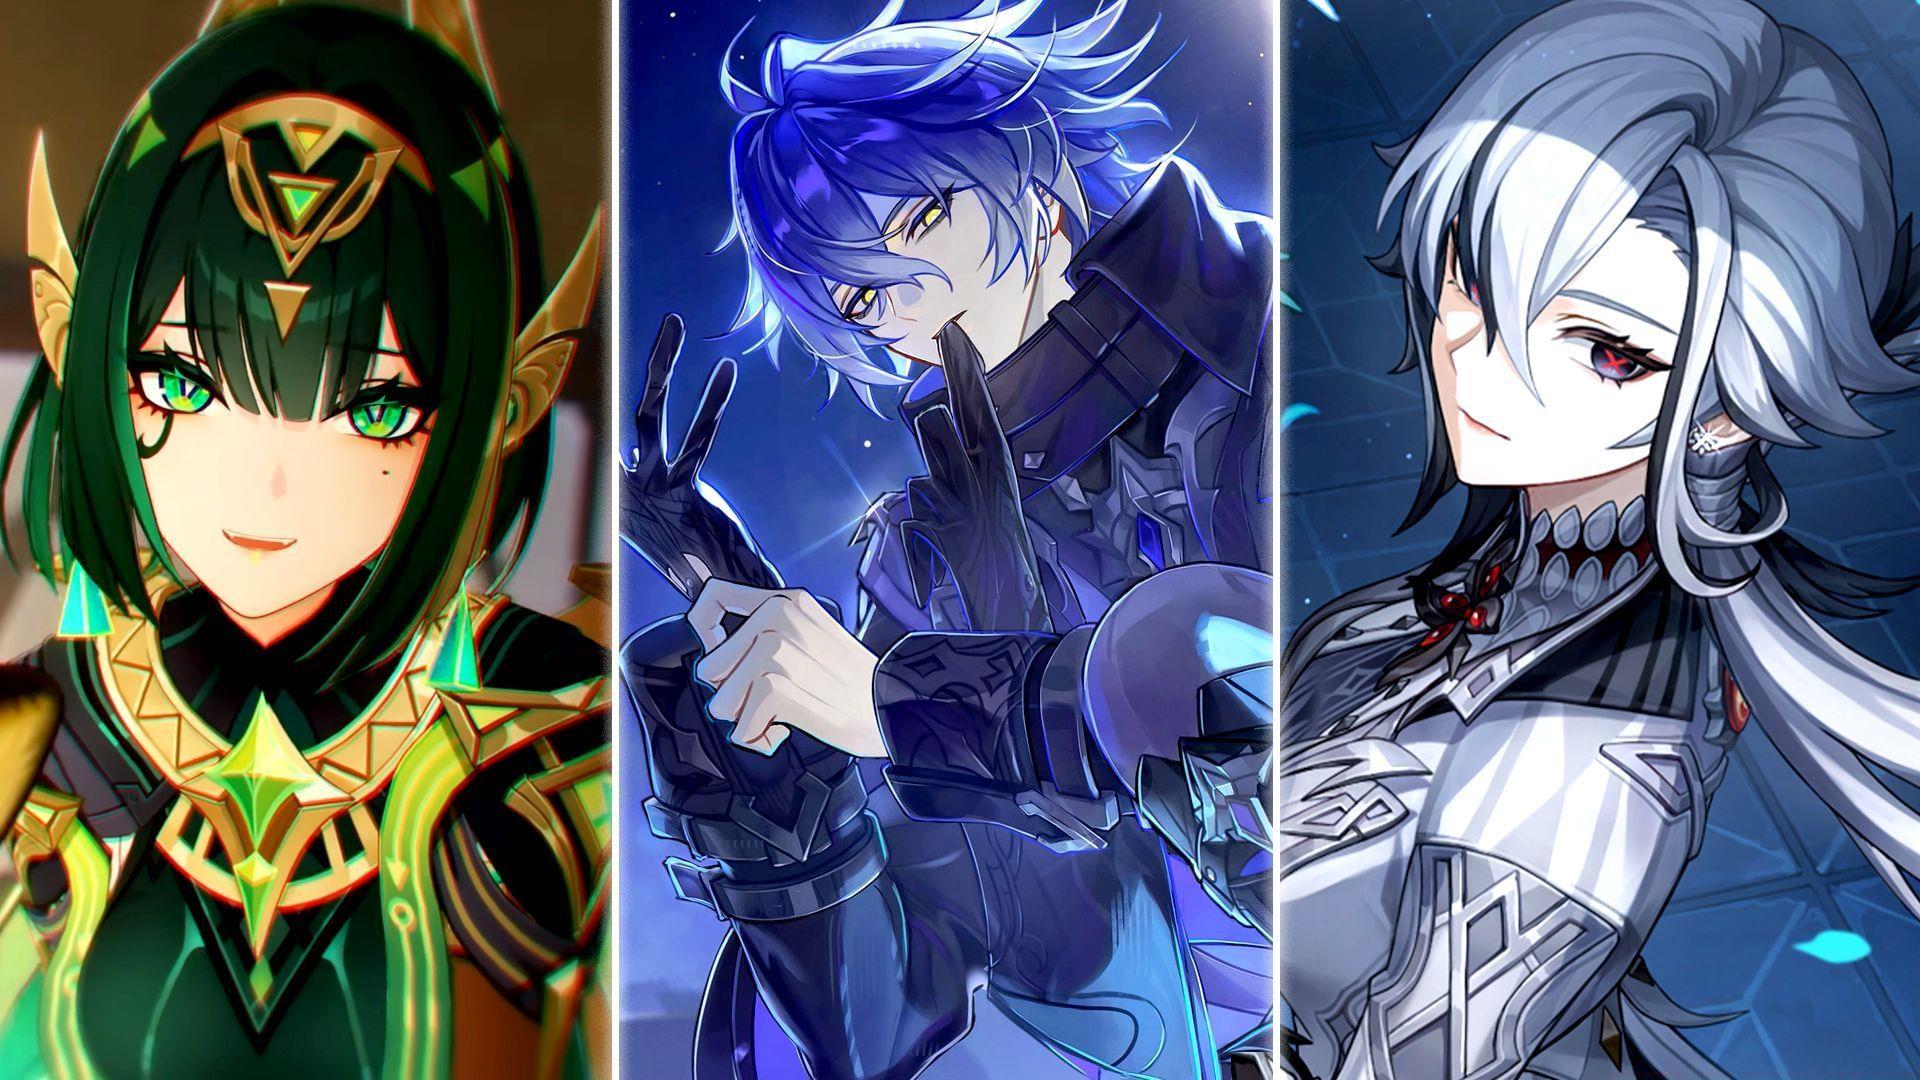
The latest iteration of Genshin Impact’s challenging endgame mode, Stygian Onslaught, introduces significant mechanical complexity with the Luna II update. This rotation showcases formidable new adversaries from the Nod-Krai faction, including the Frostnight Herra, Battle-Hardened Lightkeeper, and Veteran Frost Operative: Bloodsoaked Blade. Enemy durability scales dramatically based on selected difficulty, transforming from moderately challenging to exceptionally resilient encounters.
Understanding the core mechanics is crucial for success. Each boss features unique phase transitions and shield mechanics that require specific elemental responses. The Gloomveil state, Ascendant Gleam Moonsign interactions, and Bond of Life mechanics all demand strategic team building and precise execution to overcome efficiently.
Frostnight Herra: Team Strategies and Counters
Optimizing your squad composition against Frostnight Herra requires understanding its elemental vulnerability patterns. The most effective approach utilizes Lunar-Bloom synergy with Nefer as primary damage dealer, enabling rapid shield depletion during Gloomveil phases. Consistent Lunar-Bloom damage application forces the boss into an Element-neutral state upon shield destruction, bypassing potential Hydro or Dendro immunities that could disrupt standard rotations.
For players preferring sustain-oriented compositions, replacing Nahida with Kokomi provides healing capabilities while maintaining reasonable damage output. This adjustment sacrifices some offensive potential for improved survivability, particularly valuable in higher difficulty settings where enemy attacks become more punishing.
Also read: Best weapons for Nefer in Genshin Impact
Alternative team archetypes include Skirk hypercarry configurations that leverage Hydro application during Gloomveil stages. Maintaining exclusive Hydro attacks throughout this phase ensures the boss acquires a permanent Hydro aura after shield break, enabling devastating damage windows with proper support from Furina, Yelan, and Escoffier.
Also read: Skirk build guide: Best weapons, artifacts, teams, and more
Multi-element compositions require careful elemental sequencing. Applying Cryo during shield break transitions Frostnight Herra to Cryo alignment, enabling standard Mavuika team rotations to trigger Melt reactions consistently. For players lacking Citlali, alternative Cryo applicators like Ayaka or Rosaria provide similar functionality, while Hydro units such as Mualani enable Vaporize compositions if the boss gains Hydro affinity.
Battle-Hardened Lightkeeper: Nod-Krai Optimization
As a Wild Hunt faction enemy, Battle-Hardened Lightkeeper demonstrates particular susceptibility to teams featuring multiple Nod-Krai characters. However, non-Ascendant Gleam Moonsign squads remain viable for experienced players who understand the encounter mechanics thoroughly.
Flins hypercarry compositions represent the pinnacle of efficiency against this adversary. With inherent Ascendant Gleam Moonsign activation from dual Nod-Krai units, Lunar-Charge damage simultaneously depletes both health bars, dramatically reducing clear times. Optimal support structures include Ineffa, Aino, and Sucrose, though Ororon or Kuki Shinobu provide serviceable alternatives when specific characters are unavailable.
Also read: Best weapons for Flins in Genshin Impact
Skirk demonstrates exceptional performance despite lacking Nod-Krai representation in her team. Her raw damage output capabilities enable record clear times with proper investment and support optimization. Shenhe can be substituted with Yelan or Mona for players missing specific cryo support options.
Critical encounter awareness involves promptly eliminating Wilderness Exiles when summoned. Failure to dispatch these adds within their activation timer enables significant health regeneration for the primary boss, potentially negating progress made during damage phases.
Dual Nod-Krai configurations with Nefer and Lauma create powerful Lunar-Bloom synergy against Battle-Hardened Lightkeeper. Aino serves as an essential component in this composition, while Nahida can be exchanged for Kokomi if healing requirements outweigh damage considerations, accepting a moderate reduction in overall team performance.
Also read: Genshin Impact lore: Nefer’s story explained
Veteran Frost Operative: Bond of Life Exploitation
The Veteran Frost Operative presents unique challenges centered around Bond of Life mechanics, favoring characters who can transform this debuff into an advantage or teams with substantial shielding capabilities.
Arlecchino excels in this encounter by weaponizing the Bond of Life application against the boss itself. Her kit naturally converts this mechanic from liability to asset, while Emilie provides substantial off-field Burning damage that complements Arlecchino’s Pyro application. For players without Emilie, alternative sub-DPS options include Citlali for Melt compositions or Yelan for Vaporize variants.
Clorinde represents another character capable of leveraging Bond of Life mechanics effectively. Paired with Mavuika for off-field damage amplification and supported by Chevreuse and Iansan for damage boosting, she can dismantle the Veteran Frost Operative efficiently. Prioritize using Clorinde for shield breaking due to her high attack frequency, which rapidly depletes the boss’s protective barrier.
Also read: How to play Clorinde in Genshin Impact: Rotations, playstyle, and kit explained
Mavuika’s premium team composition delivers exceptional performance through sheer damage output. When employing this squad, maintain standard rotation patterns during the shield phase to maximize damage penetration and accelerate shield destruction.
Also read: Best weapons for Mavuika in Genshin Impact
Advanced Combat Strategies and Optimization
Mastering Stygian Onslaught requires more than just proper team composition—execution and timing determine success at higher difficulty levels. Rotation timing proves critical during phase transitions, particularly when enemies change elemental affinities or summon additional targets.
Common mistakes include misjudging shield break timing, improper elemental application sequences, and neglecting add management. Always monitor boss animation cues indicating phase changes and prepare your rotation accordingly. Wilderness Exiles during the Battle-Hardened Lightkeeper encounter require immediate attention—delaying their elimination enables substantial health regeneration that can extend encounters unnecessarily.
Resource management extends beyond energy regeneration to include cooldown alignment and burst timing. Coordinate your team’s offensive capabilities to coincide with vulnerable phases after shield breaks, maximizing damage during limited windows. For sustain-oriented teams, ensure healing and shielding abilities are available during high-damage phases to prevent unexpected defeats.
Advanced players should experiment with unconventional team compositions once mastering standard strategies. Understanding elemental gauge theory and internal cooldowns can reveal optimization opportunities that significantly improve clear times and consistency across multiple difficulty levels.
Follow Sportskeeda for more Genshin Impact news, updates, and guides.
No reproduction without permission:Tsp Game Club » Best teams for Genshin Impact Luna II Stygian Onslaught Strategic team compositions and expert tactics to conquer Stygian Onslaught's toughest enemies in Genshin Impact Luna II