Expert strategies and optimized team compositions for mastering Genshin Impact 5.5 Spiral Abyss floors 11-12
Understanding the Spiral Abyss 5.5 Challenge
The latest Spiral Abyss rotation in Genshin Impact version 5.5 introduces a significantly more demanding enemy composition than previous cycles. This iteration features formidable opponents including the Hydro Tulpa, Abyss Lectors, and various Consecrated Beasts that demand strategic team building and precise execution. Many players will find this cycle particularly challenging due to the combination of tanky health pools and aggressive attack patterns.
Understanding enemy mechanics is crucial for success. The Hydro Tulpa requires careful positioning to avoid its area-denial attacks, while Abyss Lectors demand rapid shield-breaking to prevent their devastating elemental bursts. Consecrated Beasts hit exceptionally hard and require consistent healing or shielding to survive their combos. Preparation and team synergy become more important than ever in this challenging iteration.
Floor 11 Team Compositions & Strategy
Optimized team selections for Floor 11 should prioritize area-of-effect damage and crowd control capabilities. Here are proven team compositions that excel in this challenging environment:
- Ayaka + Kazuha + Shenhe + Kokomi – Premium freeze team with exceptional crowd control
- Wriothesley + Xilonen + Xiangling + Bennett – Melt composition with strong single-target and AOE
- Neuvillette + Furina + Xilonen + Kazuha – Hydro-focused team with massive AOE damage
- Rosaria + Kazuha + Xiangling + Bennett – Budget-friendly reverse melt option
The initial segment of all three chambers on Floor 11 features successive enemy waves, making multi-target damage dealers essential for efficient clearing. Anemo characters with grouping capabilities like Kazuha, Venti, or Sucrose dramatically improve clear times by clustering enemies for simultaneous damage application. These chambers lack particularly durable enemies, allowing for straightforward damage-focused approaches without specialized counter-picks.
Additional effective team variations include:
- Mavuika + Xilonen + Citlali + Bennett – Pyro-focused team with strong synergy
- Mavuika + Xilonen + Furina + Bennett – Vaporize composition with healing support
- Ganyu + Zhongli + Xiangling + Bennett – Melt Ganyu with interruption resistance
- Chasca + Furina + Ororon + Bennett – Flexible reaction-based team
Floor 11’s latter half presents more complex challenges with Thunderhelm Lawachurls and Pyro/Electro Fatui skirmishers. Efficient shield breaking becomes paramount here – utilize Pyro or Cryo units to dismantle Lawachurl and Electro Fatui shields, while Cryo or Hydro characters effectively counter Pyro Fatui shields. Chamber 2 introduces a Consecrated Beast requiring substantial damage output paired with reliable sustain through healing or shielding.
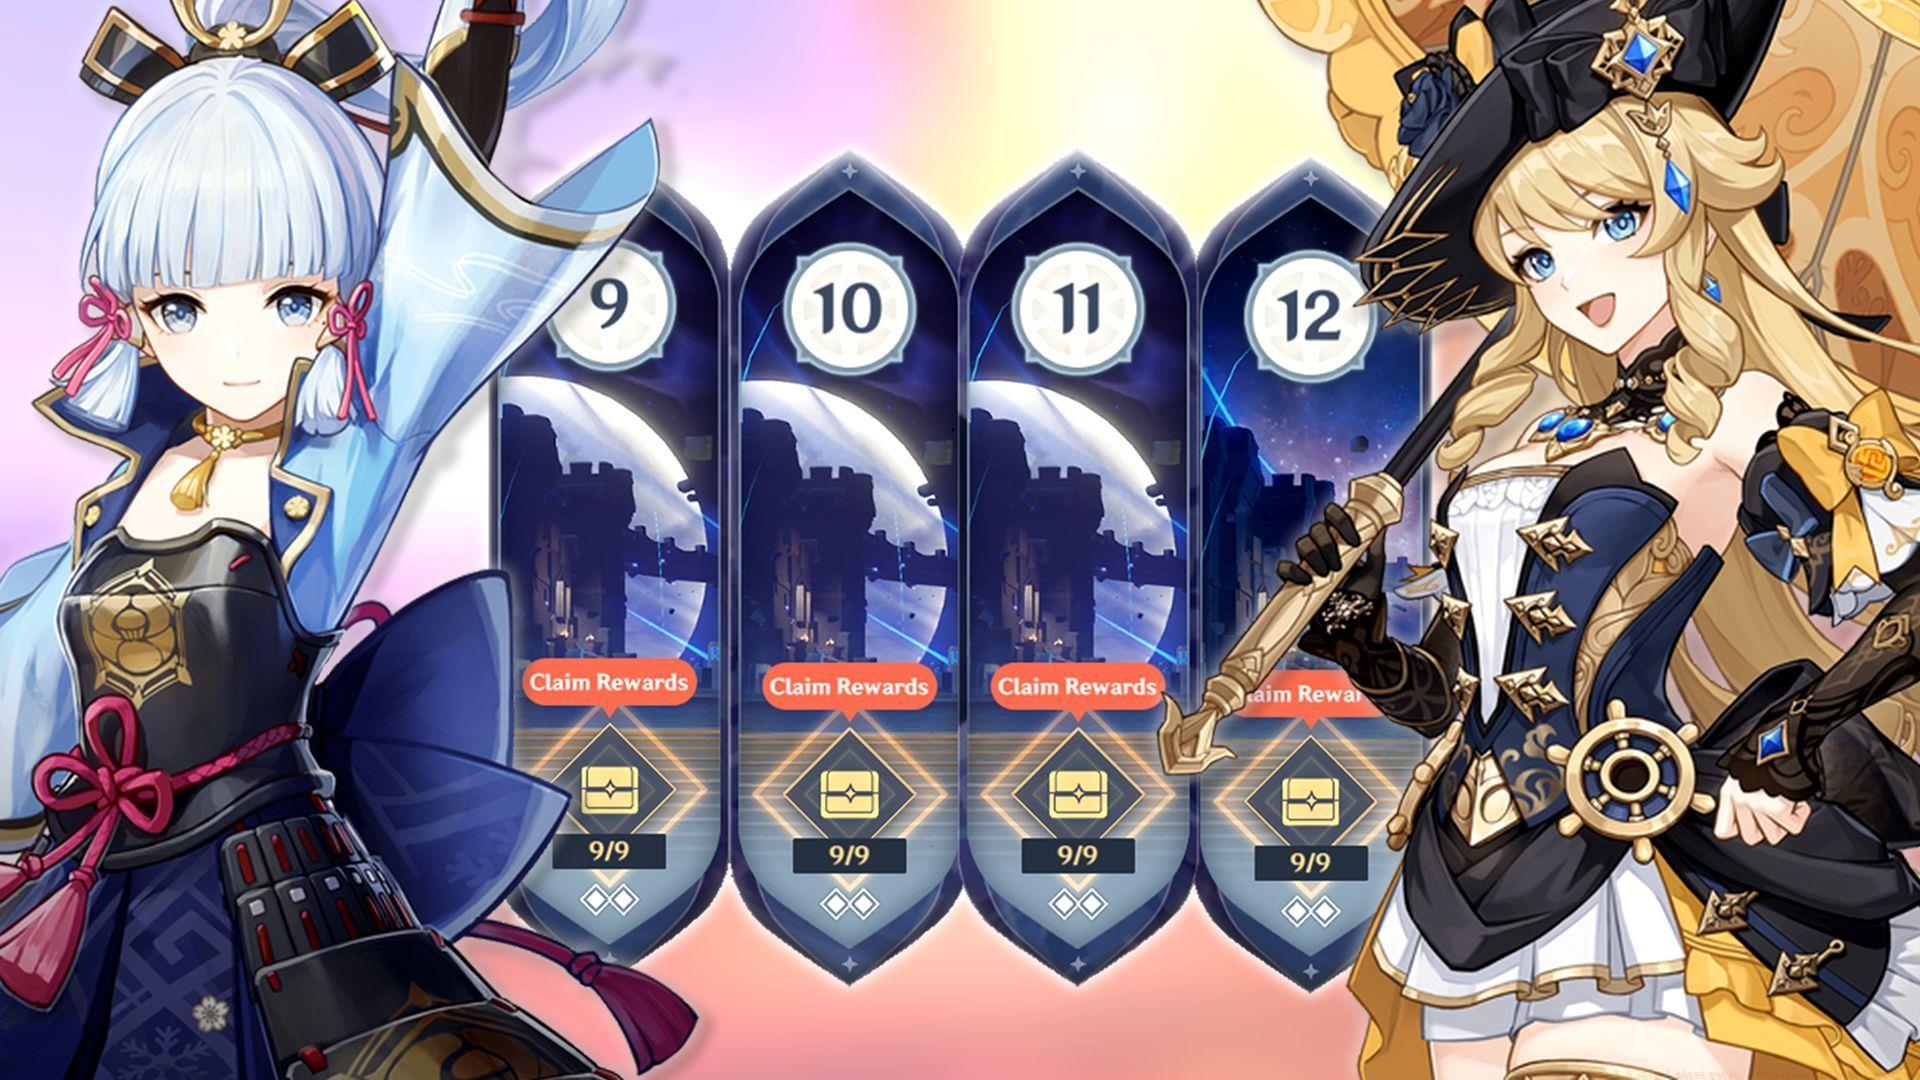
Floor 12 Ley Line Disorders & Team Building
Floor 12 introduces specialized Ley Line Disorders that significantly impact team selection strategy:
- First half: Geo characters’ Elemental Skill damage receives a 75% amplification
- Second half: Cryo characters’ Elemental Skill damage gains a 75% enhancement
While players can choose teams based on personal preference and character availability, leveraging these disorders provides substantial advantages. Recommended team compositions include:
- Navia + Xilonen + Furina + Bennett – Geo team utilizing skill damage bonus
- Mavuika + Xilonen + Citlali + Bennett – Pyro team with strong synergy
- Itto + Zhongli + Gorou + Albedo – Mono-Geo composition maximizing geo resonance
- Kinich + Emilie + Xiangling + Bennett – Flexible reaction team
The initial segment of Floor 12 Chamber 1 features exceptionally durable and high-damage enemies including Hydro Tulpa, Secret Source Automaton Configuration Device, and Veteran Tainted Water Phantasms. Geo damage dealers like Navia and Itto excel here due to their significantly boosted Elemental Skill damage, enabling faster elimination of these tanky opponents. Players possessing complete character rosters may also consider Mavuika’s premium team compositions as alternative options.
Xilonen provides unique utility against the Secret Source Automaton Configuration Device by enabling easy ascension of its pillars, a capability most other characters lack. Ensure your team includes reliable healing or shielding support, as enemies across all three chambers can eliminate characters rapidly with their powerful attacks.
Additional team options for the Cryo-favored second half:
- Ayaka + Kazuha + Shenhe + Kokomi – Premium freeze composition
- Chasca + Furina + Citlali + Bennett – Versatile reaction team
- Wriothesley + Xilonen + Xiangling + Bennett – Melt-focused cryo DPS
- Alhaitham + Nahida + Xingqiu + Kuki Shinobu – Hyperbloom alternative
The Cryo damage boost in Floor 12’s second half makes characters like Ayaka and Wriothesley excellent main DPS choices. Chamber 1 features Electro Abyss Lector and Millennial Pearl Seahorse, both requiring Electro shield breakdown. Cryo or Pyro units efficiently handle these shields, while Hyperbloom reactions provide alternative shield-breaking methods. Chambers 2 and 3 introduce Thundering Wayob Manifestation and Consecrated Horned Crocodile – both deal massive damage, making evasion and positioning critically important.
Advanced Combat Tactics & Enemy Counterplay
Mastering specific combat mechanics significantly improves Spiral Abyss performance. For shield-breaking encounters, prioritize elemental application speed over raw damage. Against Electro shields, Cryo applications provide the most efficient breakdown, while Pyro handles Cryo shields effectively. Hydro shields succumb fastest to Electro or Cryo applications, with Dendro providing moderate effectiveness.
Positioning against Consecrated Beasts requires maintaining distance while baiting their charge attacks, then punishing their recovery animations. These enemies feature predictable attack patterns that skilled players can exploit for damage windows. Against Abyss Lectors, focus on breaking their shields before they activate their elemental burst sequences, which can quickly overwhelm unprepared teams.
Resource management becomes crucial in prolonged encounters. Time your bursts to align with enemy vulnerable phases rather than using them immediately upon availability. Energy recharge thresholds vary by character, but generally aim for 160-180% on supports and 120-140% on main DPS units to maintain rotation fluidity.
Common mistakes include underestimating enemy damage output, poor burst timing, and inefficient elemental application. Advanced players should focus on animation canceling, perfect dodging to maintain DPS uptime, and strategic use of iframes during burst animations to avoid damage while maintaining offensive pressure.
No reproduction without permission:Tsp Game Club » Genshin Impact 5.5 Spiral Abyss guide: Strategies and best team comps Expert strategies and optimized team compositions for mastering Genshin Impact 5.5 Spiral Abyss floors 11-12