TL;DR
- Chapter 9 contains exactly 9 secret areas with Rubies, Codex entries, and collectible toys
- Early secrets require finding a special key for locked doors near the starting area
- Wolf Statue destruction is essential for progressing the Wraithstone puzzle chain
- Platforming sections demand precise shield throws and environmental awareness
- Complete all three lever objectives before attempting the final hidden locations
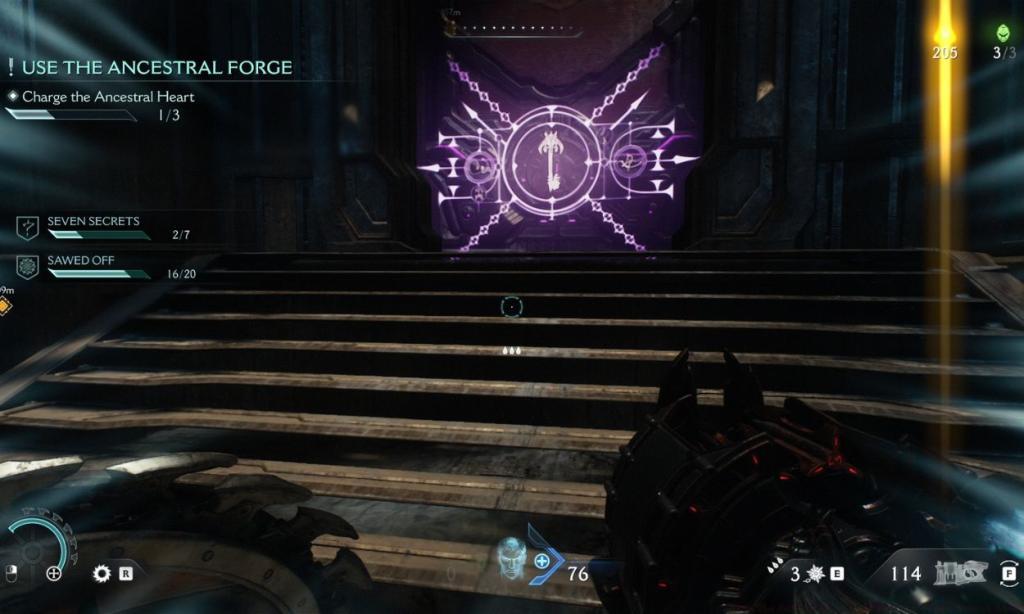
Doom The Dark Ages Chapter 9 continues your journey from the Mine Entrance through the Abyssal Forest, leading directly into the expansive Ancestral Forge. This location introduces Commander Thira and grants access to your initial Shield Rune, while concealing numerous clandestine spots containing valuable collectibles ranging from special Toys to important Codex entries. For players determined to uncover every hidden aspect of this Doom chapter, our comprehensive guide delivers precise navigation instructions.
Players will discover nine distinct secret zones scattered throughout the Ancestral Forge level. The rewards system includes precious Rubies, significant Codex documentation, and charming collectible Toys that enhance your gaming experience. Understanding the distribution pattern helps prioritize exploration routes.
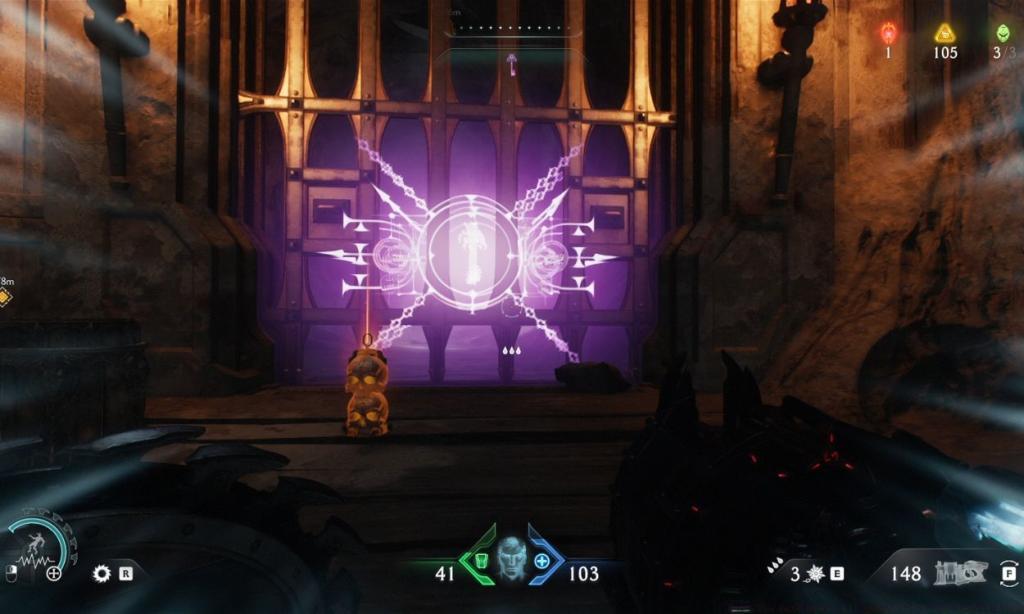
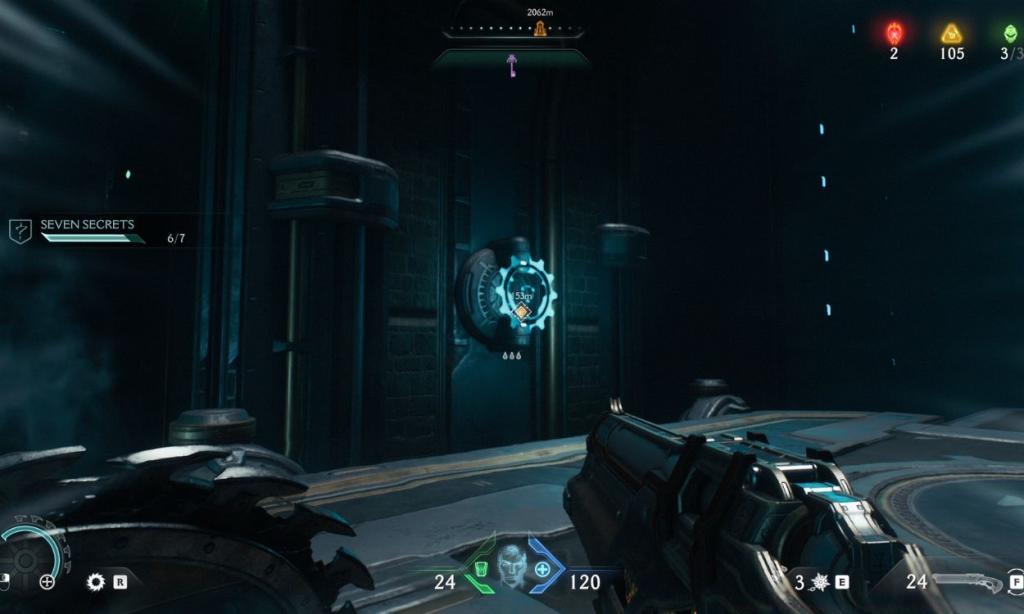
Begin your exploration by moving directly forward from the spawn location, scanning the right-hand wall for a secured entrance approximately 50 meters ahead. The doorway is conspicuously marked with torch illumination, making visual identification straightforward. However, accessing this area requires obtaining the Secret Key first—consult our dedicated key location guide for precise coordinates.
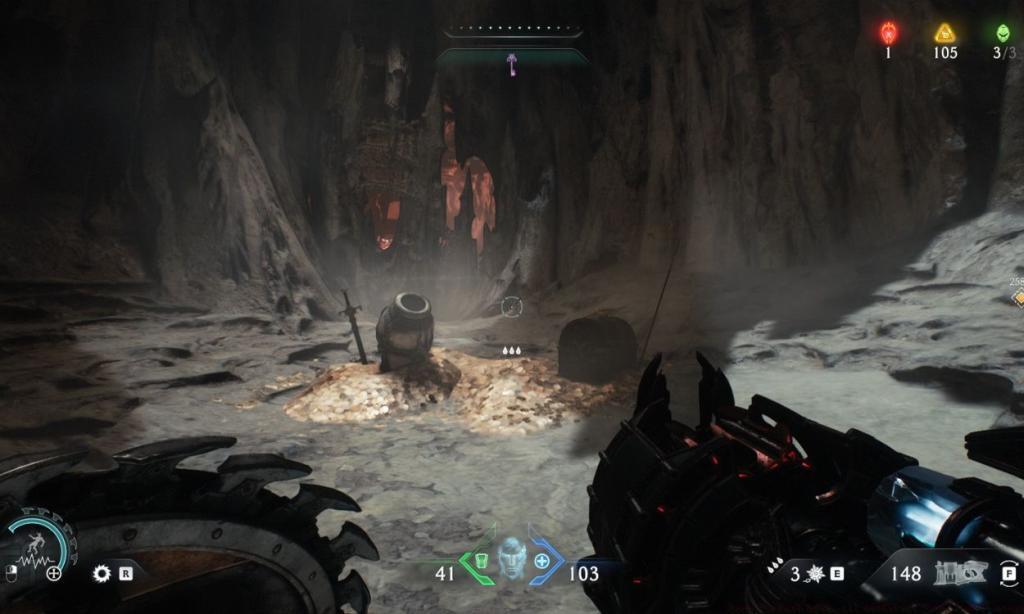
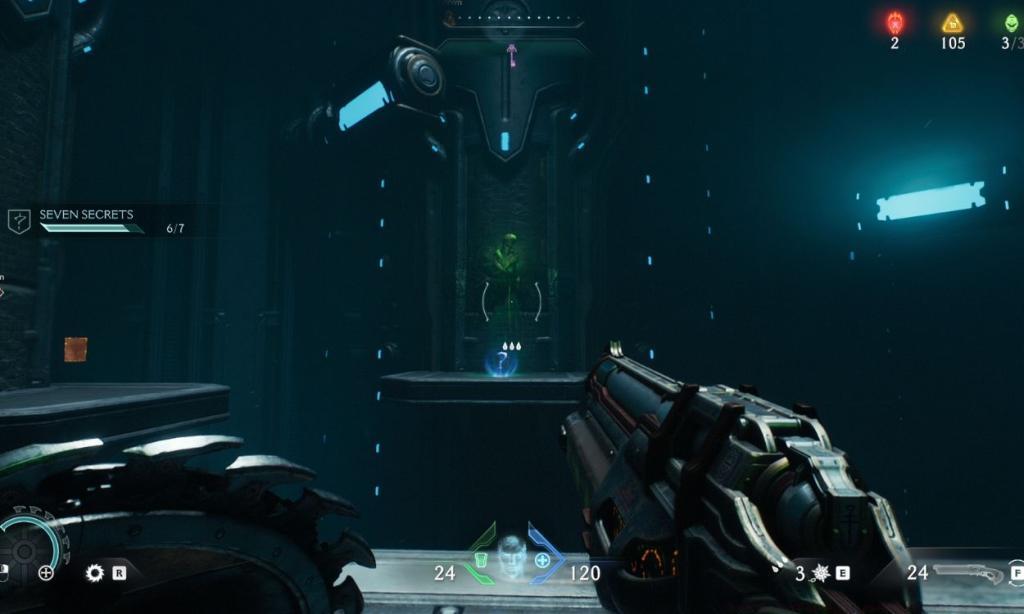
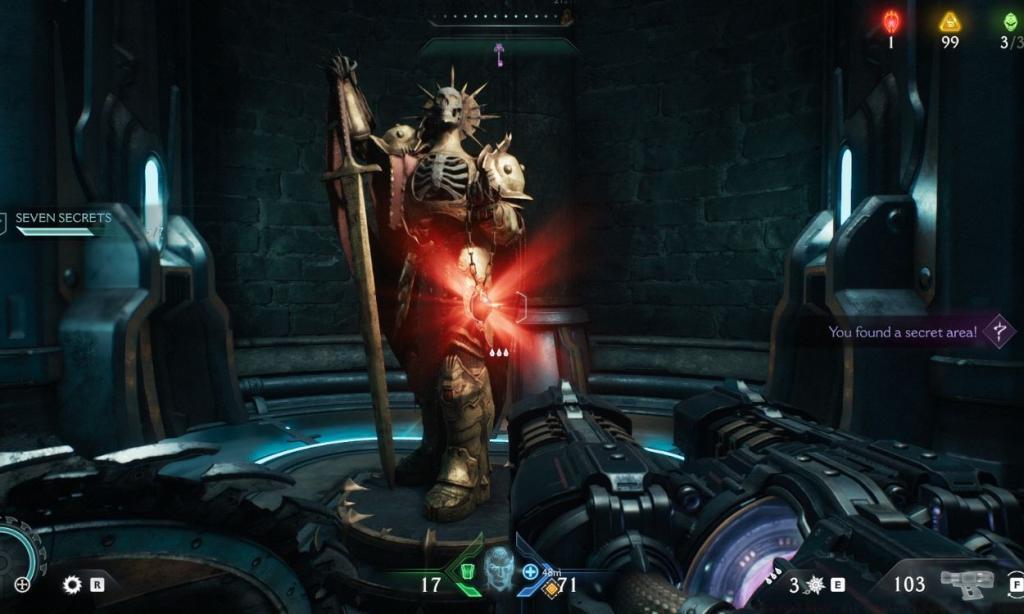
Inside this initial hidden chamber, you’ll encounter a Wolf Statue that must be shattered to advance the Wraithstone puzzle sequence. The level contains three additional Wolf Statues; reference our comprehensive statue location guide to ensure complete puzzle progression. Additionally, consider reviewing all Wraithstone positions throughout the game for comprehensive completion.
A secondary locked portal exists in close proximity, utilizing the identical key mechanism for entry. This entrance is strategically positioned near the key’s retrieval point, creating an efficient collection route.
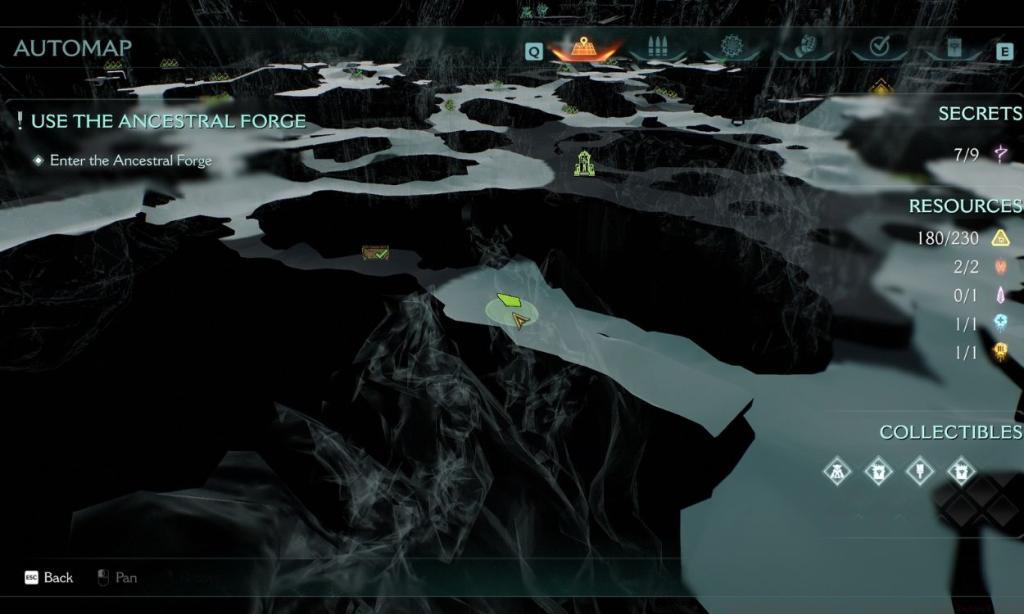
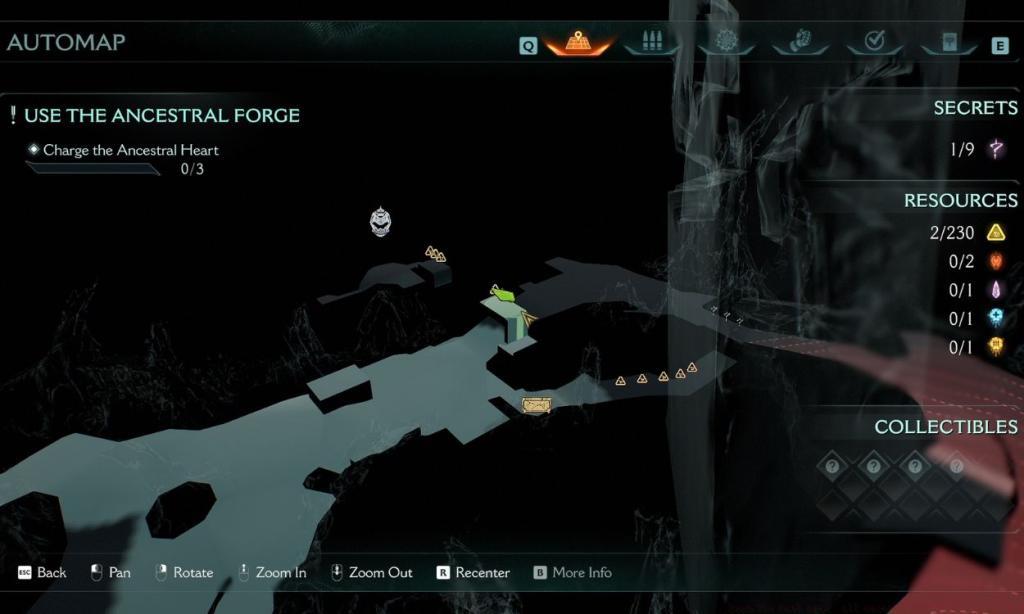
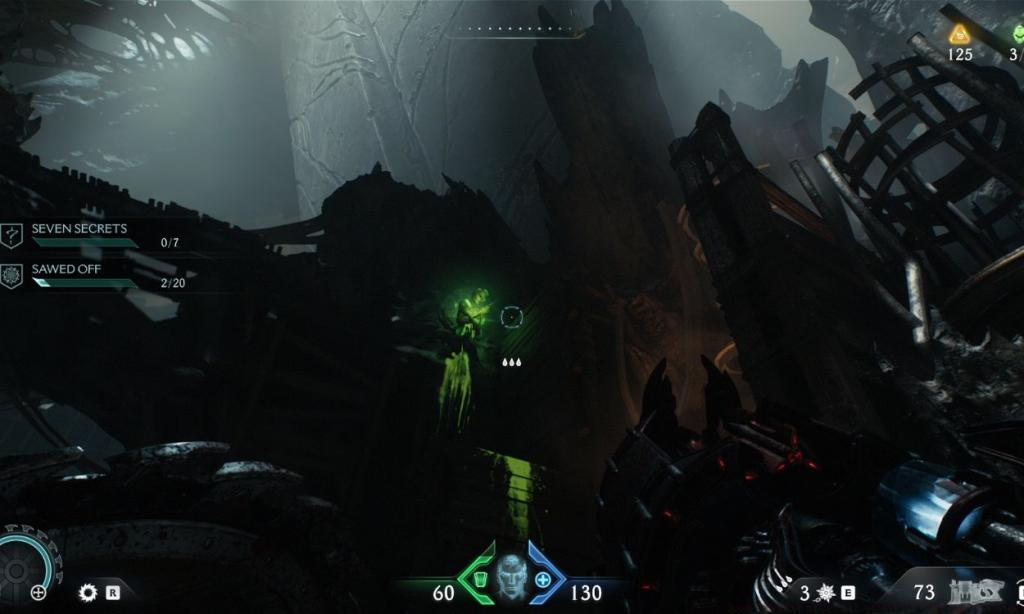
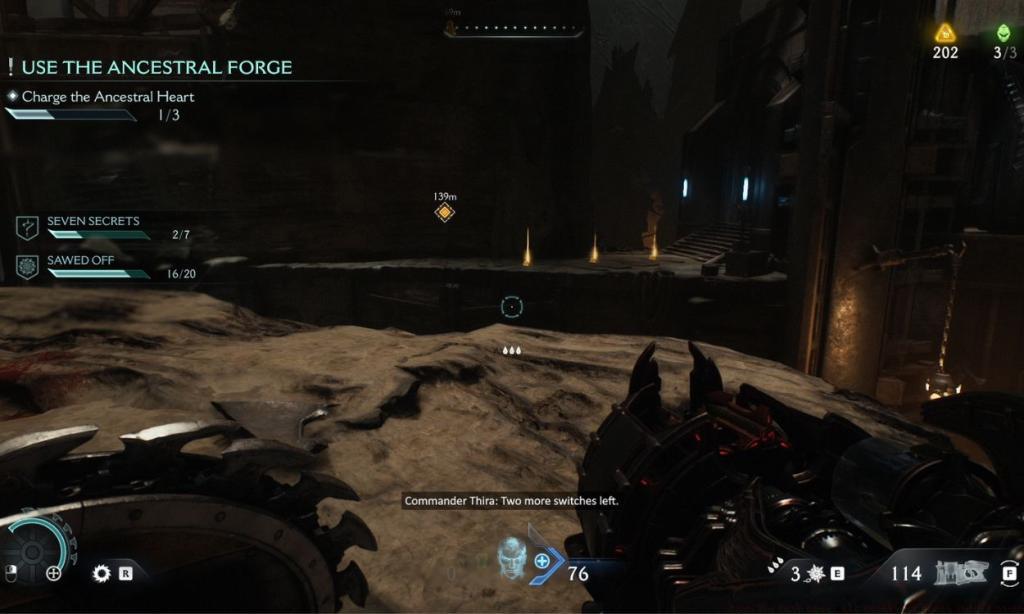
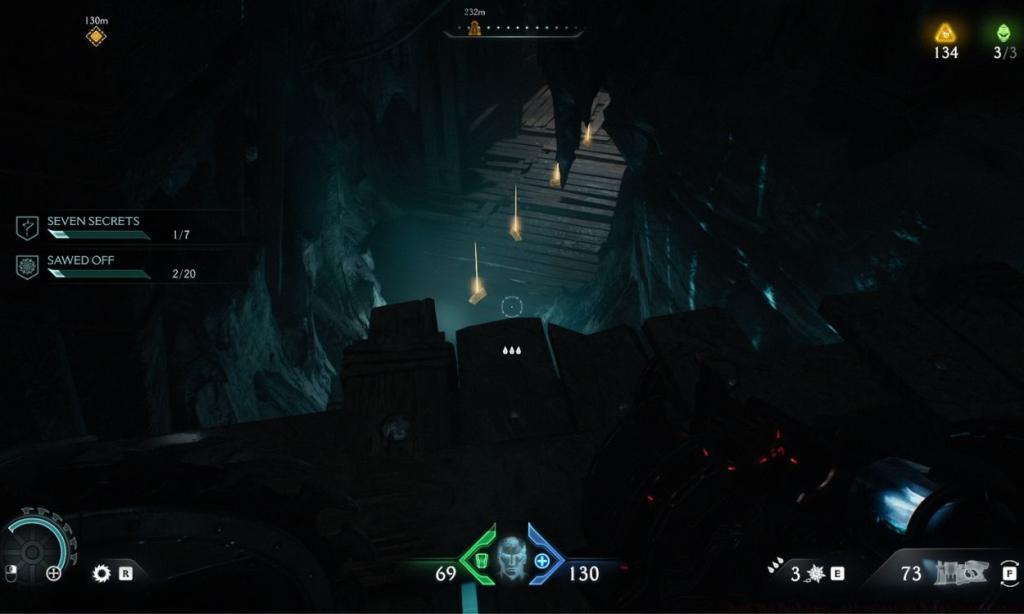
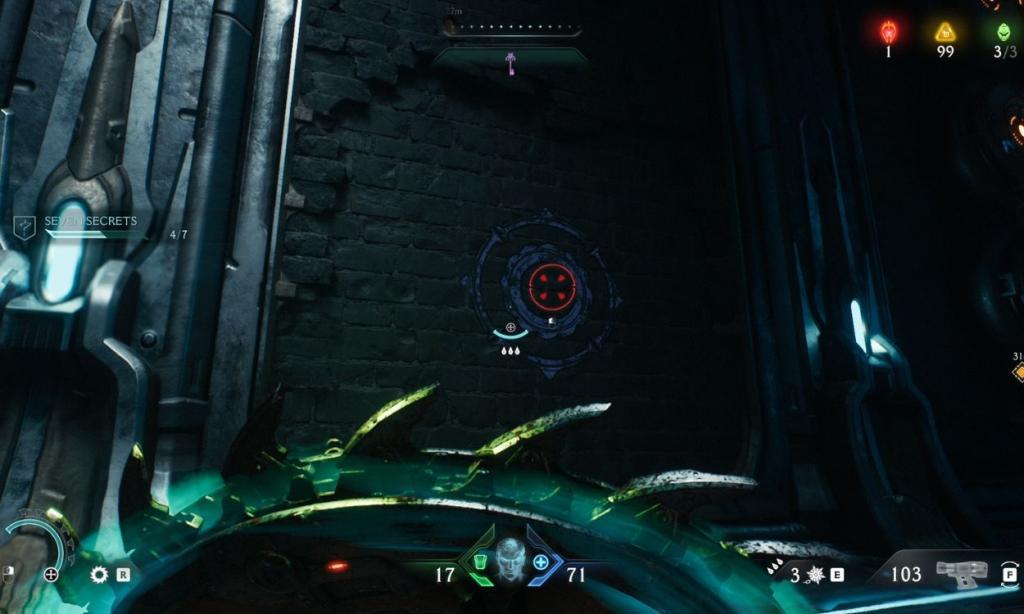
The third concealed zone resides along the eastern sector of the terrain, adjacent to the Ancestral Heart structure. Use the provided visual reference to identify environmental markers. An Arachnotron ambush typically triggers upon approach, confirming correct positioning. Once arrived, identify the wooden structure coated in vibrant green residue; directly overhead hangs a skeletal formation ideal for shield propulsion. Execute the throw maneuver accurately, then perform a calculated leap to reach the hidden platform.
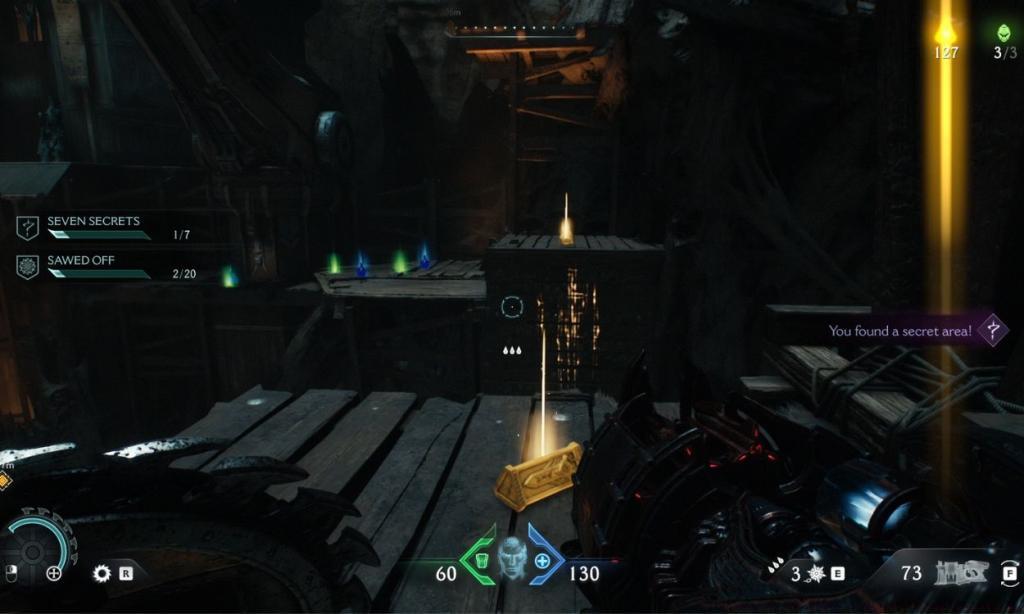
The subsequent secret location follows logically from the previous discovery. Descend from the elevated platform and maintain forward momentum until locating a wooden construction functioning as a miniature bridge. Approach the peripheral edge and execute a downward jump to access the fourth clandestine area.
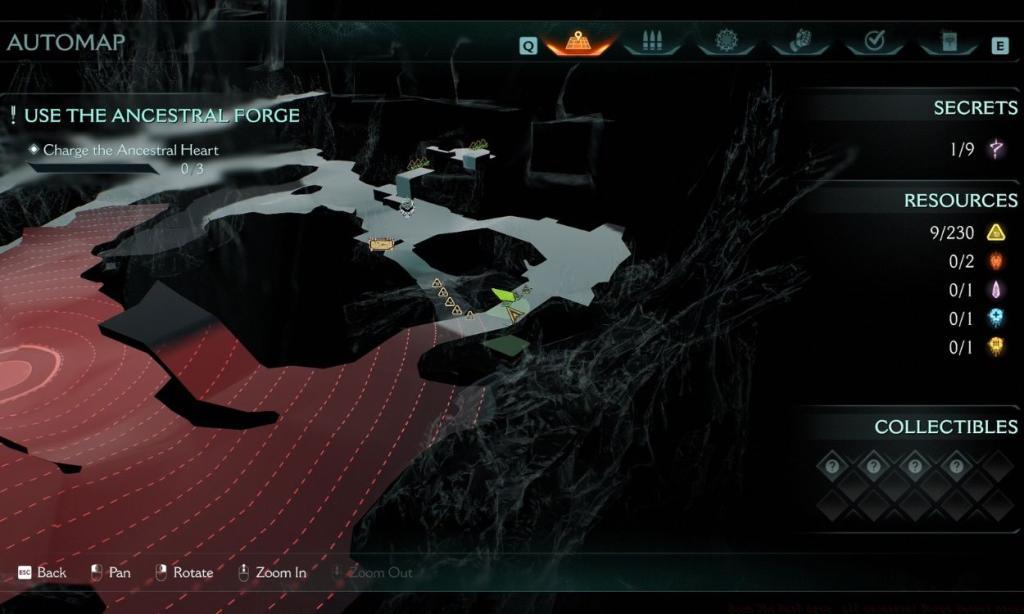
The primary mission objective requires activating three distinct levers to energize the Ancestral Heart mechanism. Since the terrain naturally divides into three sectors, gamers can approach lever activation in any sequence preferred.
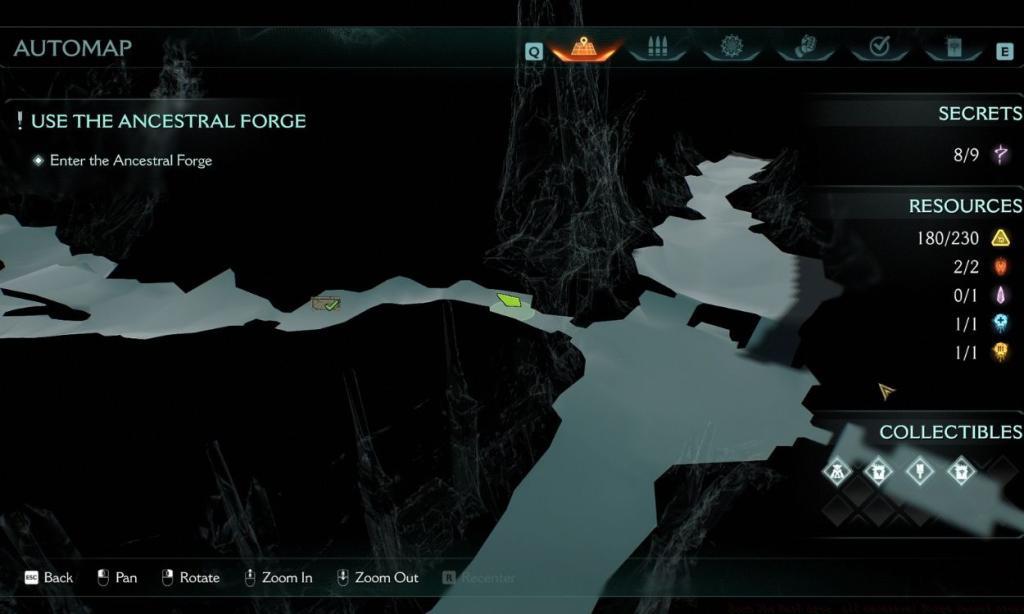
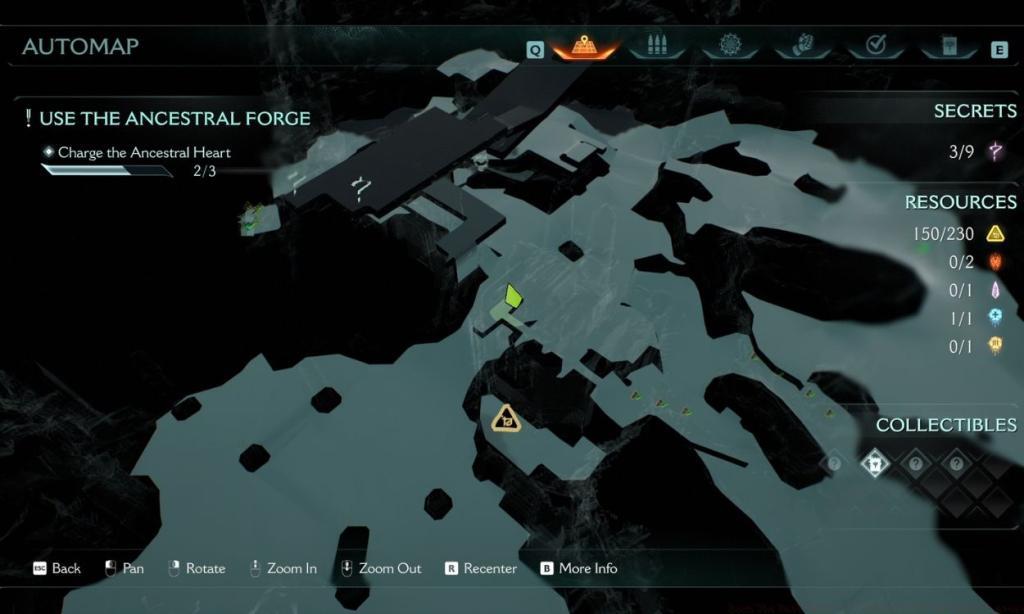
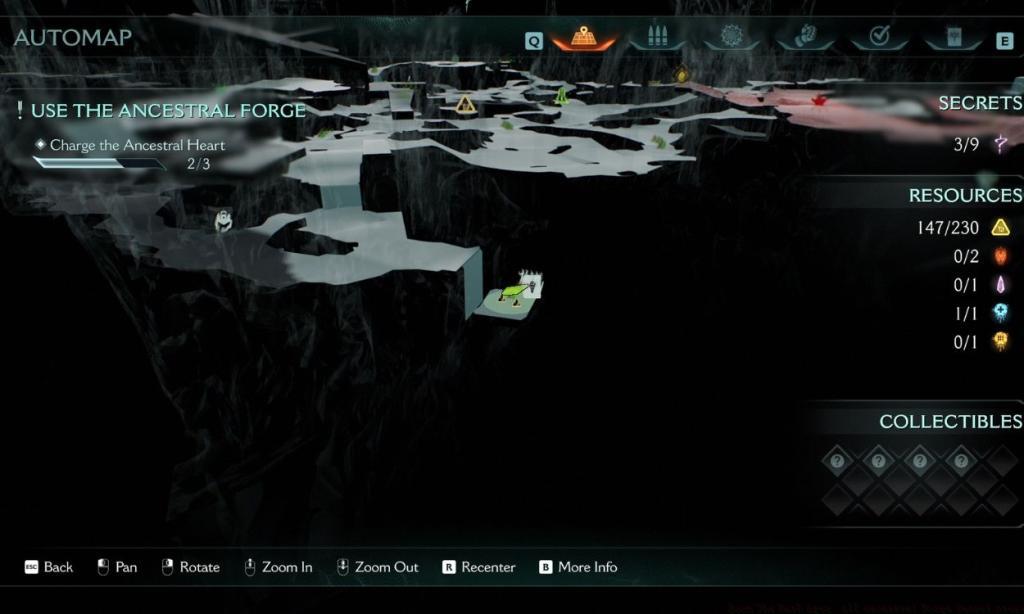
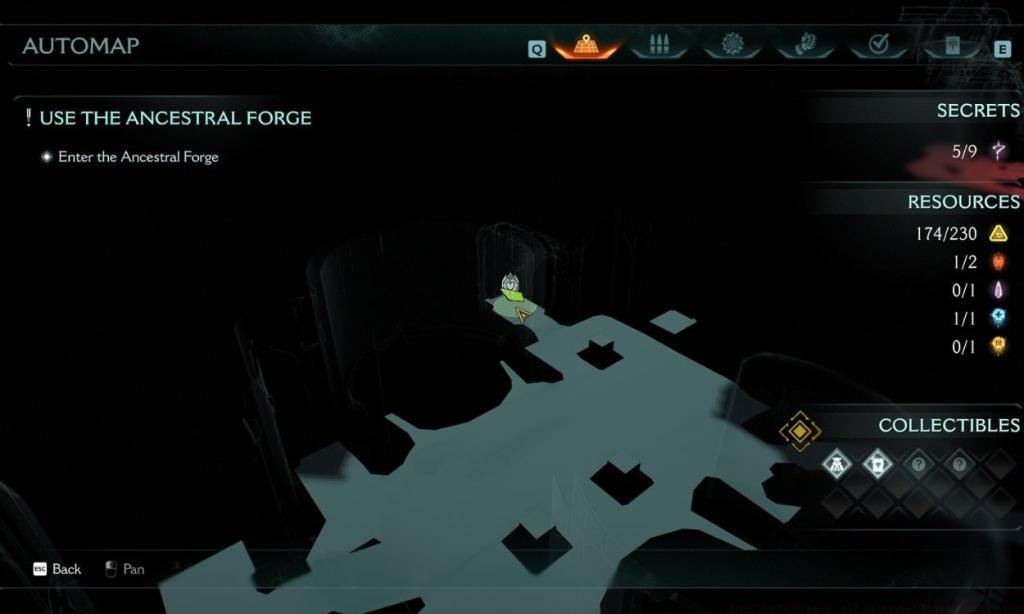
For this specific hidden zone, utilize the overhead navigation map to pinpoint the westernmost lever position. From this vantage point, direct your gaze immediately rightward to spot a narrow ledge accessing another secured doorway. Traverse to the ledge and engage with the door to initiate an elementary platforming challenge. Successfully navigate the puzzle sequence to claim the Vagary Collectible Toy as your reward.
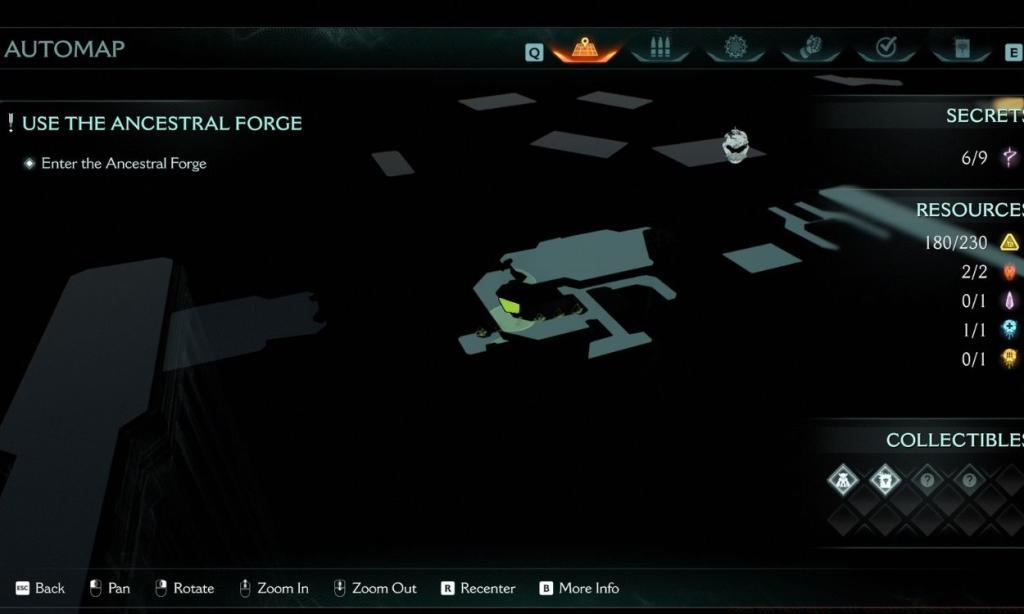
While navigating the mining complex along the western perimeter of the Forge, proceed toward the coordinates displayed on your navigation interface. Target identification includes protective gear items positioned beside an enormous sculpted figure. Trace the pathway toward the boundary and carefully examine downward to locate an inconspicuous wooden surface. Execute a controlled descent to reveal another concealed zone and acquire a Codex documentation page.
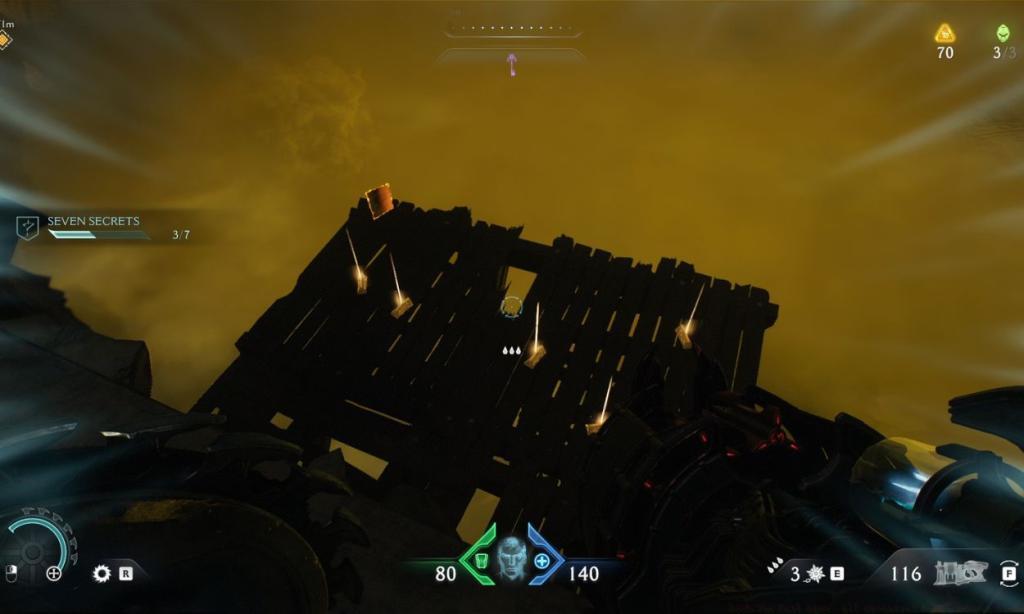
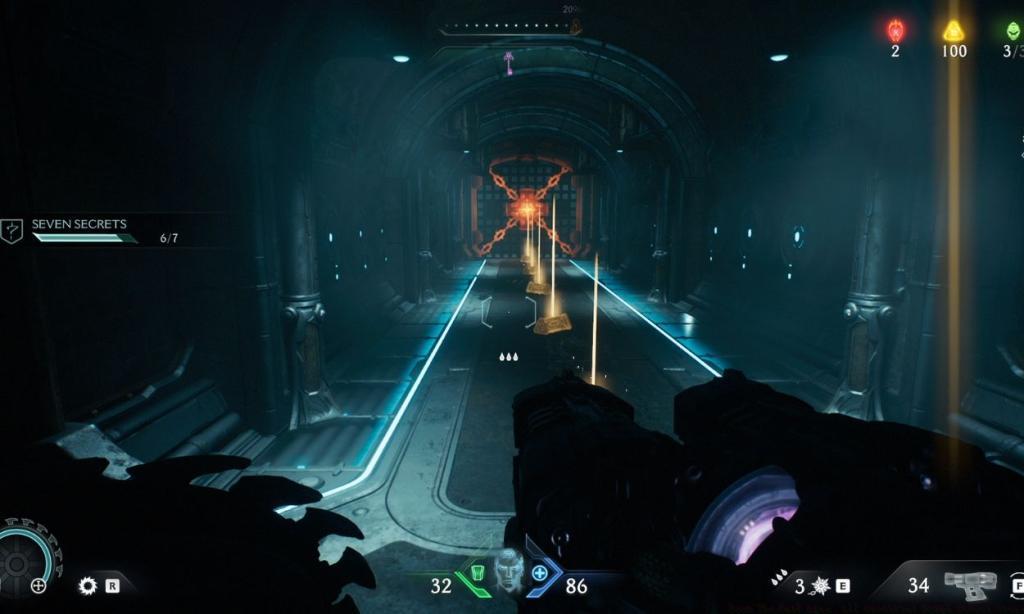
The eighth concealed zone presents a more complex platforming challenge requiring precise movement execution. Reference the mapping coordinates to identify the approach vector, then locate the specific wooden construction that serves as your access point. Carefully descend to uncover this well-hidden location.

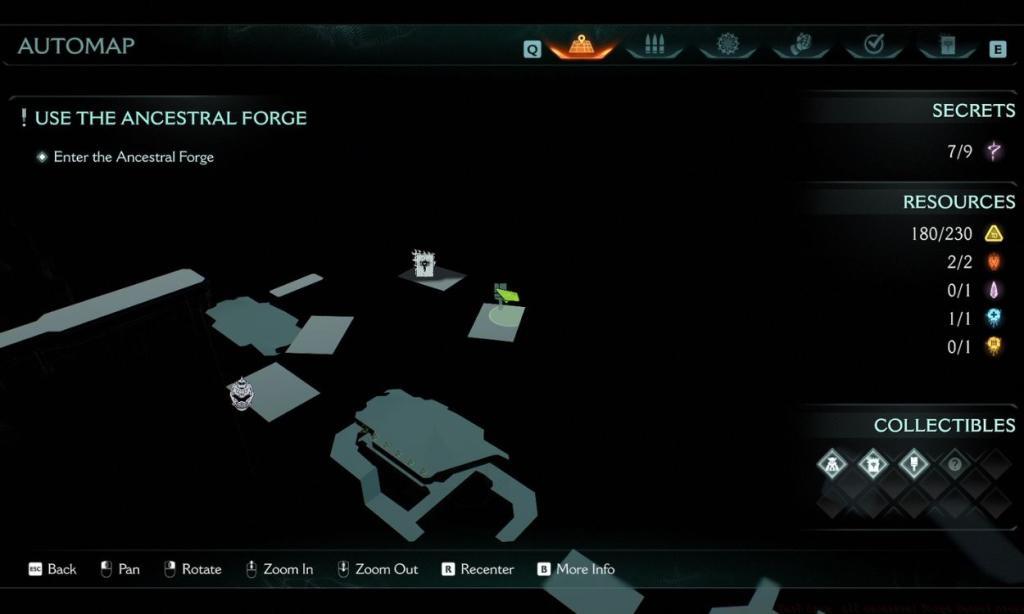
The final secret area represents the culmination of your exploration efforts. Navigate to the designated coordinates and identify the specific platform configuration that grants access. This final discovery typically contains premium rewards worth the extended effort.
Navigation Strategy: Systematically explore each sector before progressing to lever activation. The terrain design naturally guides players through sequential discovery opportunities when following the main objective path. Many newcomers mistakenly rush toward primary objectives, overlooking subtle environmental clues that indicate hidden access points.
Combat Preparation: Always maintain adequate ammunition and health reserves before attempting secret area access. The Arachnotron ambush at location three can quickly eliminate unprepared players. Consider clearing surrounding enemies before engaging with puzzle mechanics.
Shield Throw Precision: Practice the shield propulsion mechanic in safer environments before attempting the skeleton throw sequence. Misaimed throws require repositioning and can trigger additional enemy spawns.
Time Management: Allocate approximately 45-60 minutes for comprehensive secret discovery in this chapter. Rushed attempts typically result in missed locations requiring backtracking.
Action Checklist
- Retrieve the Secret Key from its designated location
- Access both early-game locked doors using the obtained key
- Destroy all four Wolf Statues to advance Wraithstone puzzle
- Complete the shield throw sequence at the third secret location
- Activate all three levers to charge the Ancestral Heart
- Navigate all platforming challenges in western and eastern sectors
No reproduction without permission:Tsp Game Club » Doom The Dark Ages: All Ancestral Forge Secret Areas Complete guide to finding all 9 hidden secrets in Doom The Dark Ages Chapter 9 with expert strategies