TL;DR
- Chapter 7 contains exactly 9 secret areas with Collectible Toys, Rubies, and Codex pages
- Use shield throws strategically for breakable walls and environmental interactions
- Secret Key unlocks multiple locations – plan your route to minimize backtracking
- Pay attention to purple logos and climbable platforms for hidden access points
- Complete secret hunting requires careful observation of environmental cues and timing
In Doom The Dark Ages’ Siege – Part 2, you’ll experience one of the most intense chapters as the Slayer races to rescue King Novik while demonic forces from Ahzrak converge from every direction. This frantic level constantly tests your combat skills with relentless enemy swarms, yet Doomguy’s legendary exploration instincts remain undiminished. For completionists determined to uncover every hidden treasure, this comprehensive guide reveals all secret locations with enhanced navigation techniques.
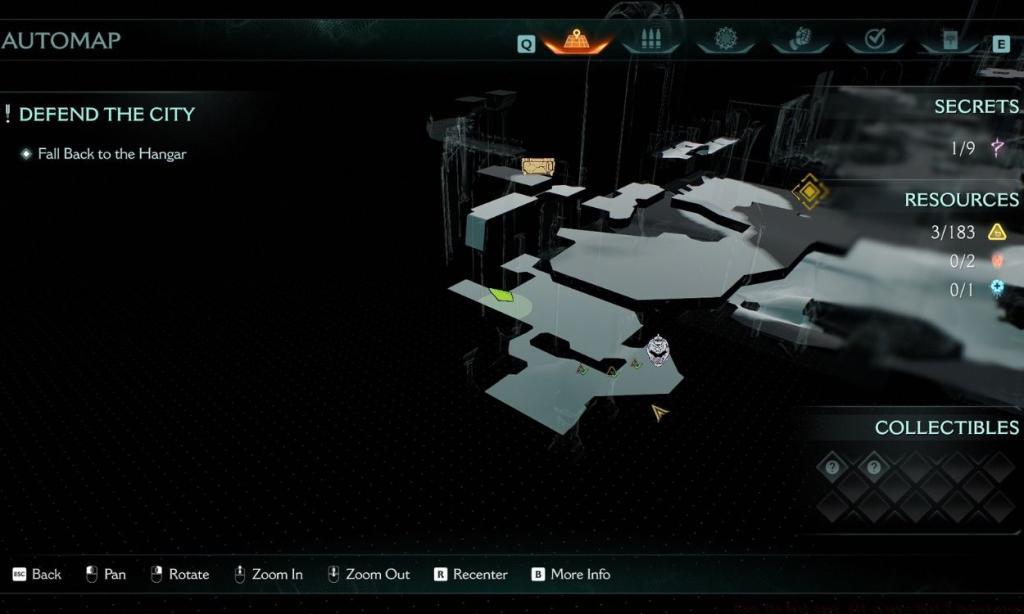
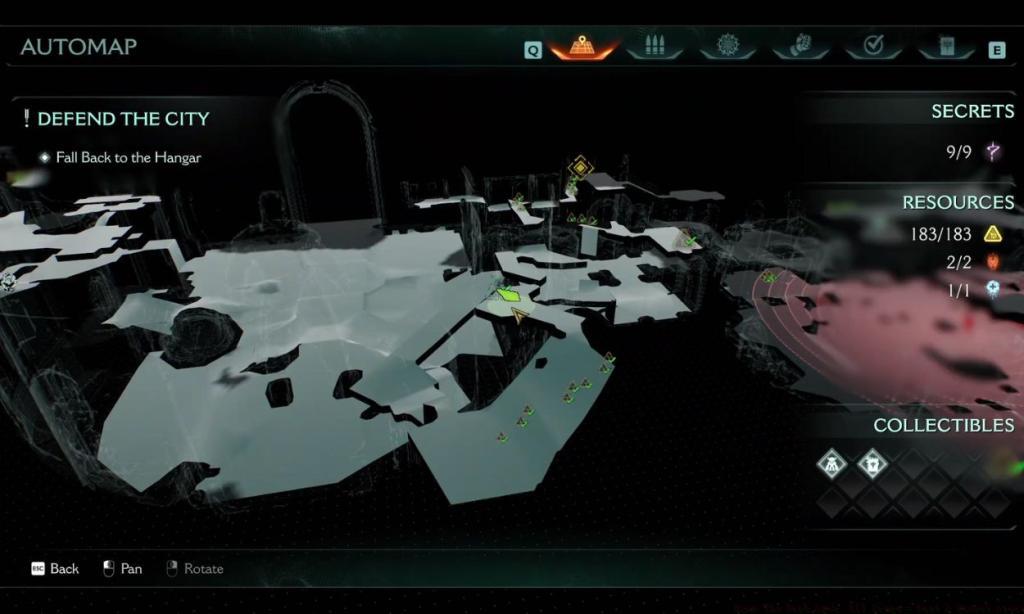
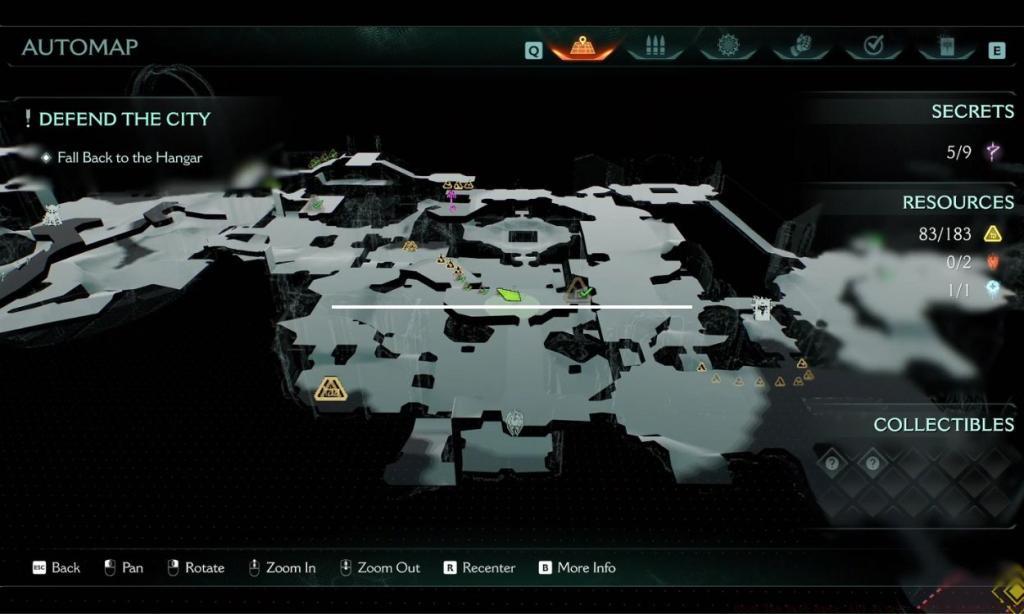
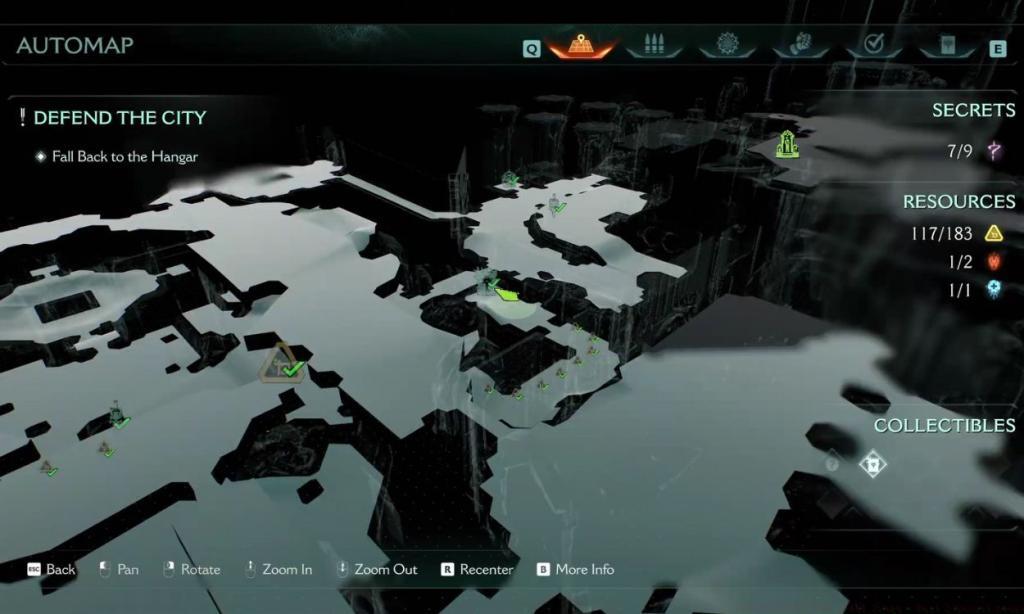
Chapter 7 features nine distinct Secret Areas containing valuable rewards including Collectible Toys, precious Rubies, and narrative-expanding Codex pages. If you arrived here prematurely, consider first mastering the Complete Guide to Siege part 1 secrets for proper progression. Understanding the level’s flow will significantly improve your collection efficiency.
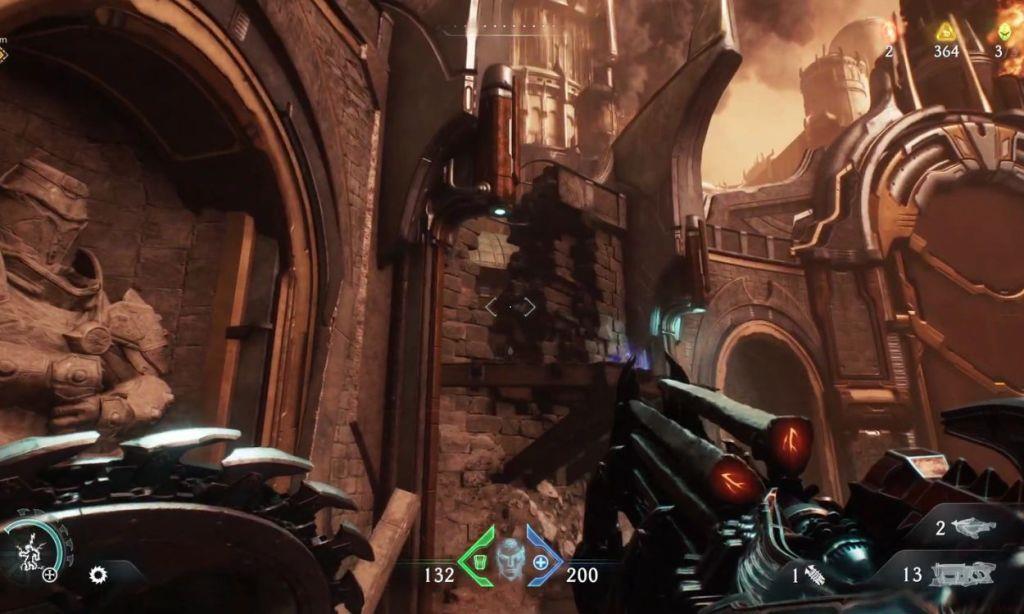
Following your victory over the colossal titan using mounted turrets, approach its demolished carcass and immediately turn left to locate a scalable platform. Force your way through the obstructing wooden barriers to encounter an enormous container. Navigate behind this obstacle to spot the distinctive green interaction symbol confirming mobility. Propelling the container forward exposes a destructible barrier – deploy your shield projectile to breach the first concealed zone.
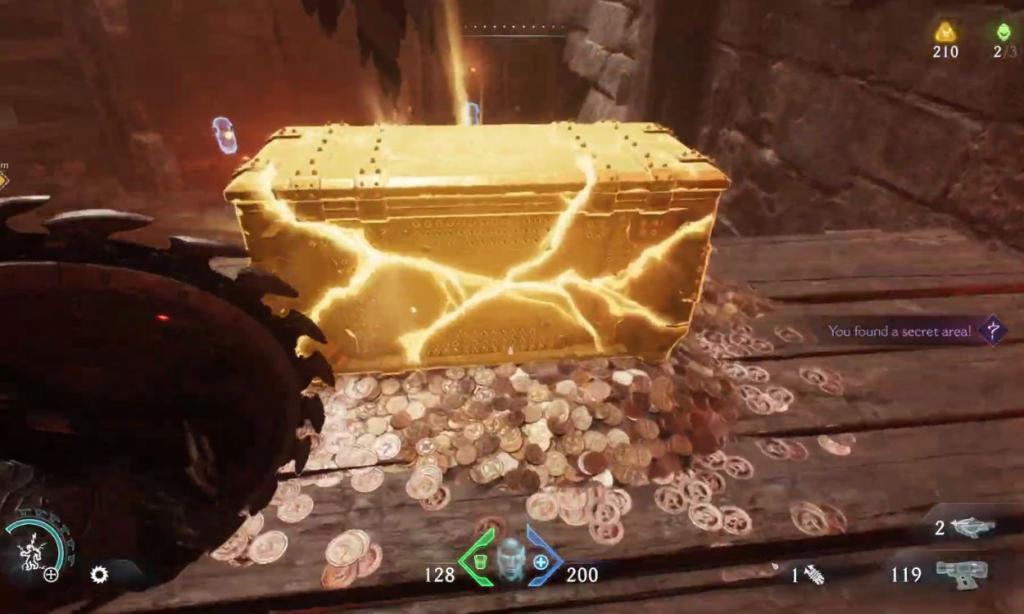
The secondary hidden area positions itself directly above the initial discovery. Ascend the recently relocated container, then mount the right-side platform structure. Execute a complete 180-degree rotation and scale the opposite platform. You’ll encounter a valuable golden treasure cache awaiting collection.
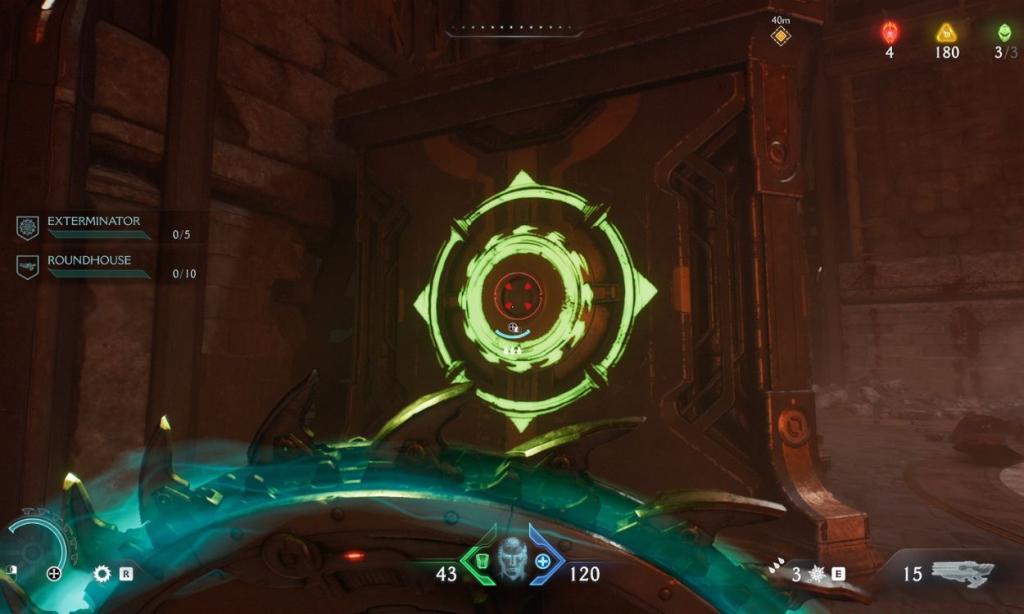
The primary mission objective requires activating a lever mechanism that unseals the gateway positioned opposite the titan’s remains. Combat the lurking demonic forces within and identify a climbable structure at the corridor’s terminus. Scale this platform and rotate to detect a breakable chain mechanism.
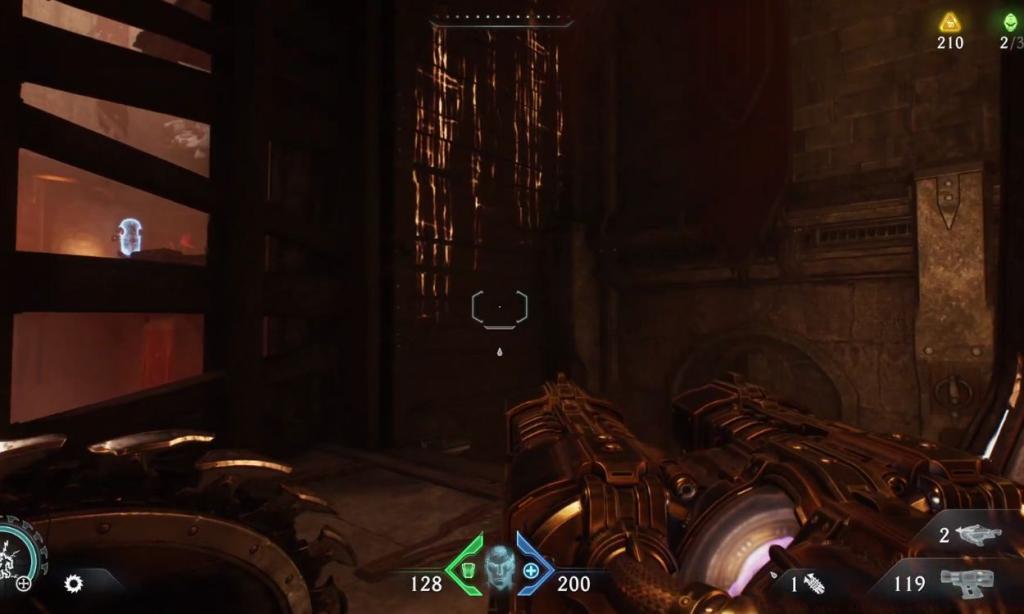
This action reveals an additional scalable surface. After ascending, perform another rotation to discover a fragile wall section. Launch your shield against it and traverse the gap. Direct your attention to the upper left quadrant to identify the telltale question mark symbol. Navigate toward this marker to acquire the coveted Pinky Rider collectible figurine.
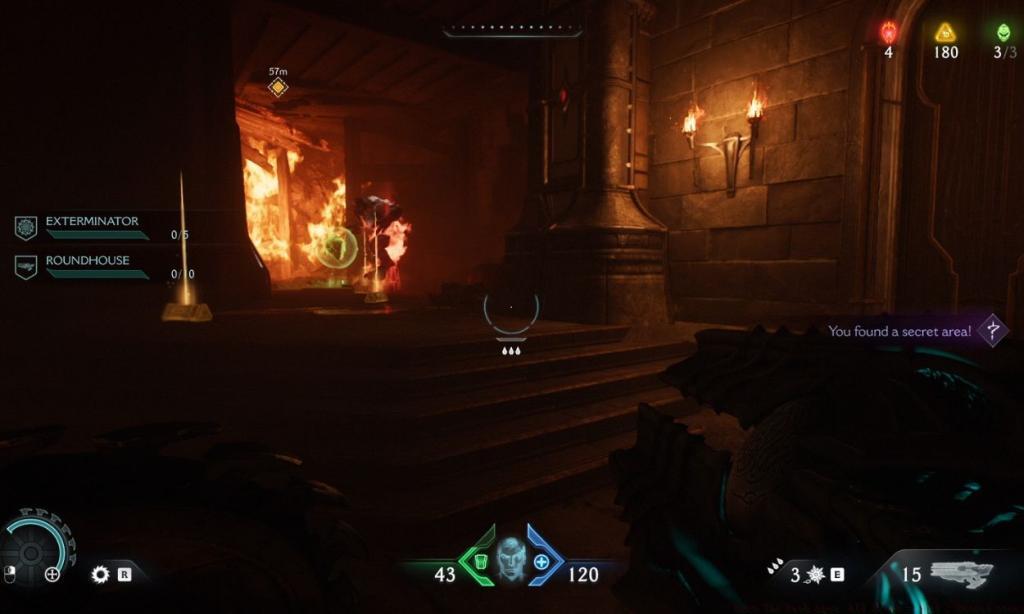
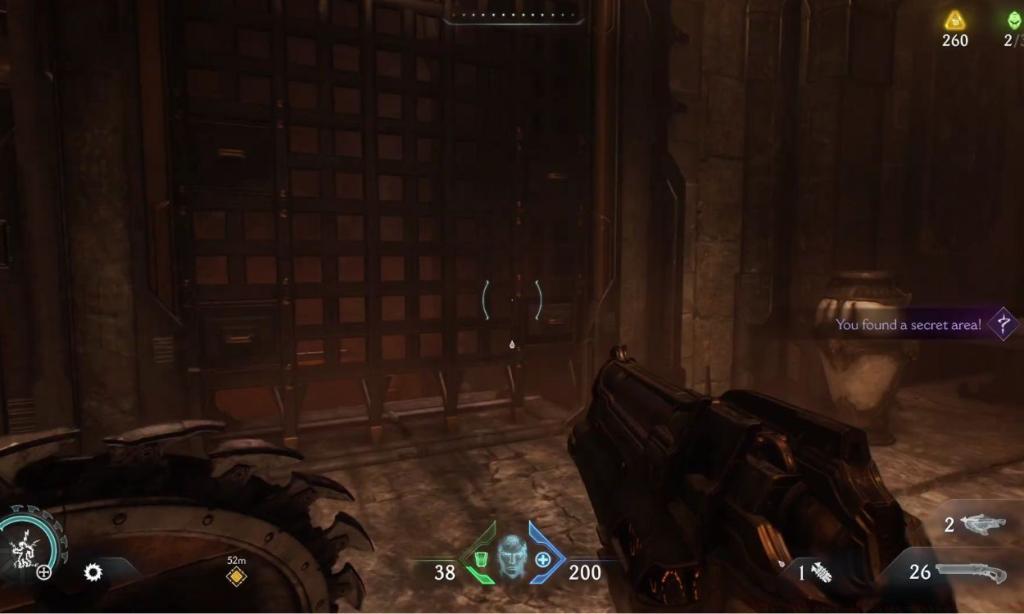
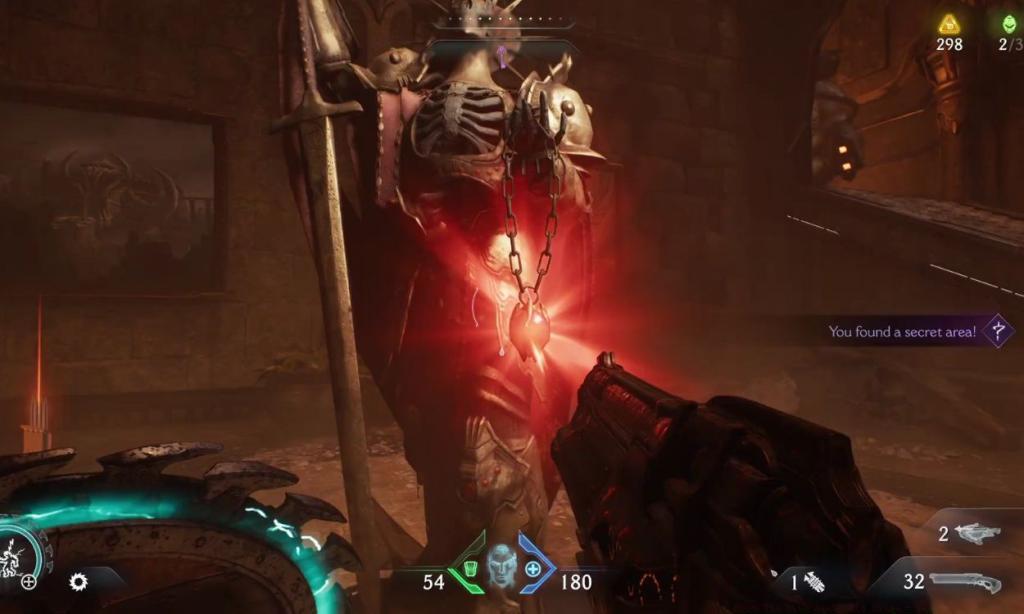
Continue advancing through the deteriorating fortress until reaching an elevated section featuring a floating Secret Key across a substantial chasm. Temporarily disregard this objective and proceed along the connecting passageway. Scan the right-side perimeter to locate a destructible wall marked with a purple emblem. Shatter this barrier using your shield to enter the third concealed zone.
Now reverse your trajectory and return to the Secret Key’s position. For detailed acquisition methods, consult our specialized Weapons Unlock guide covering all in-game keys. Once obtained, descend to the lower level and move counter-direction from the key’s original placement. An impossible-to-miss metallic portal illuminated with purple key indicators awaits interaction. Engage with this mechanism to claim a valuable Ruby gemstone as reward.
An adjacent secured entrance becomes accessible using the identical secret key. Therefore, reference the provided cartographic representation above to navigate to this location and secure an important Codex documentation page.
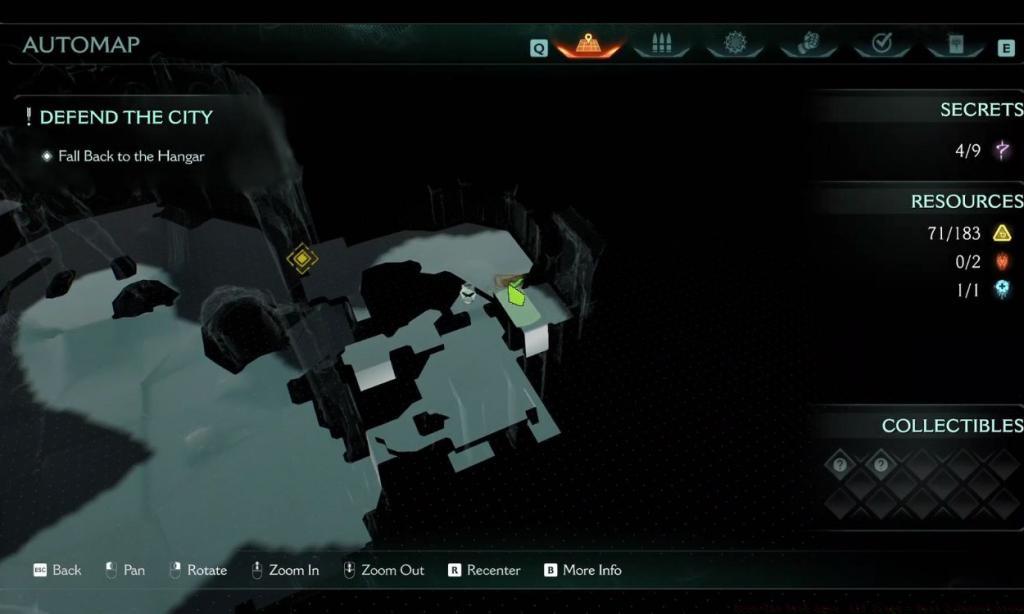
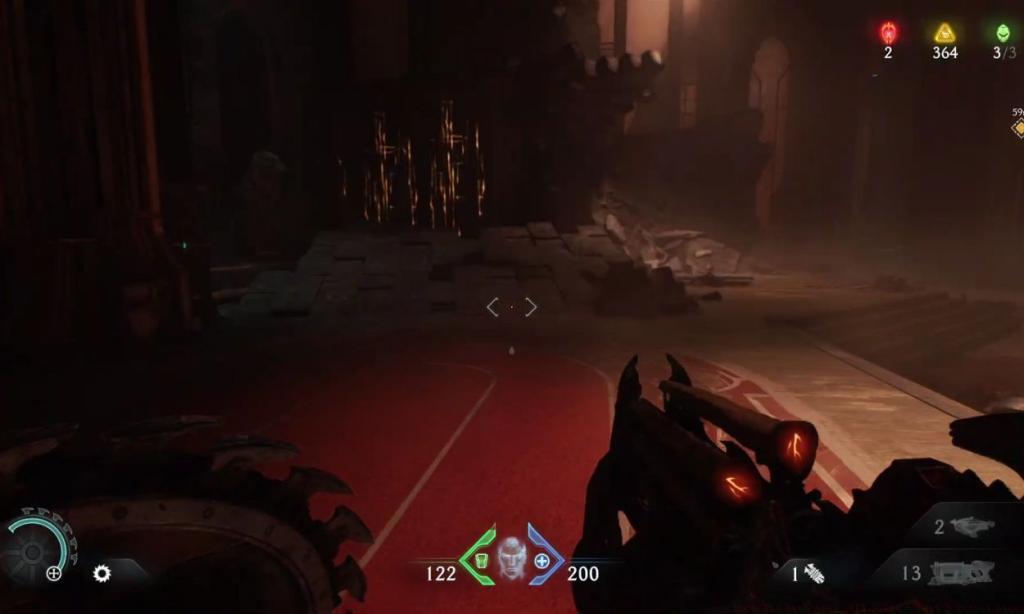
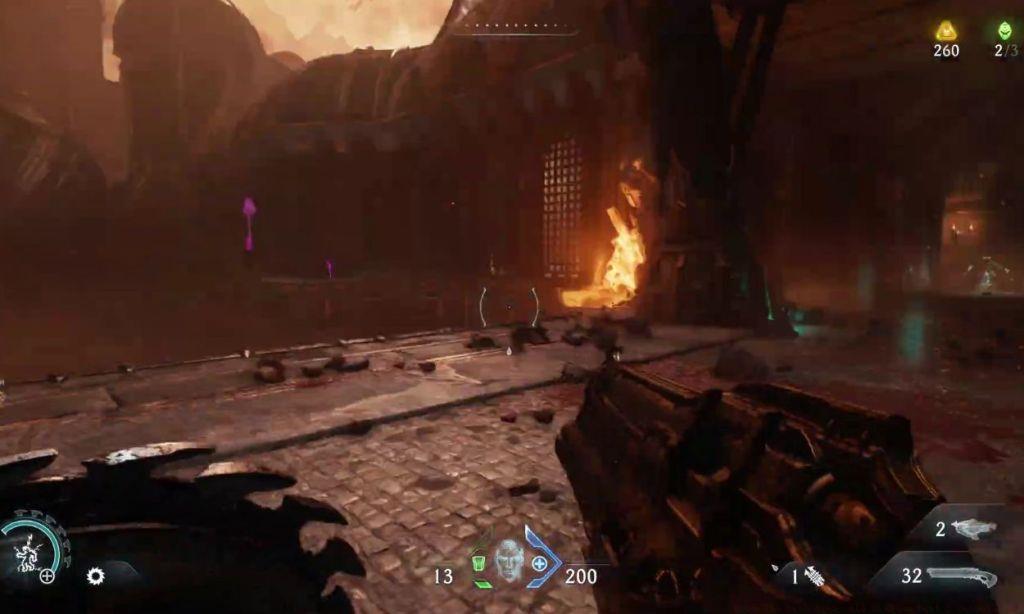
While pursuing central mission goals, you’ll enter a devastated hangar facility. After crossing to the opposite sector, proceed toward the massive spacecraft debris. Identify a climbable surface and simply advance to its perimeter to discover another Ruby sculpture.

Mastering Chapter 7’s secrets requires more than just following directions – it demands strategic awareness. Many players miss the subtle environmental cues indicating hidden passages, particularly the faint purple glow on breakable walls that’s easily overlooked during intense combat sequences. The most efficient approach involves clearing areas of enemies first, then methodically scanning for interactive elements.
Critical Timing Considerations: The Secret Key sequence should be completed in one continuous circuit to minimize unnecessary backtracking. Plan your route to collect the key, then immediately access both locked doors before progressing further. This prevents having to return through previously cleared combat zones.
Avoid These Common Mistakes: Don’t attempt to collect secrets while actively engaged in firefights – the distraction often causes missed opportunities. Additionally, many players fail to recognize that the shield throw mechanic has limited range; position yourself closer to breakable walls for guaranteed success.
For players struggling with specific combat scenarios while secret hunting, our comprehensive Class Guide offers specialized strategies for different playstyles. Remember that some secrets, particularly the Ruby statues, require precise platforming – take your time with these sections rather than rushing through them.
Action Checklist
- Defeat the titan with turrets, then immediately search left for the first platform and movable box
- Scale the box and surrounding platforms to collect both ground and elevated secrets
- Complete the lever objective, then systematically search for breakable chains and walls
- Acquire the Secret Key and immediately unlock both nearby doors before progressing
- Thoroughly explore the destroyed hangar area for final Ruby statues
No reproduction without permission:Tsp Game Club » Doom The Dark Ages: All Siege – Part 2 Secret Areas Complete guide to finding all 9 hidden secrets in Doom The Dark Ages Chapter 7 with expert navigation strategies