Master Belial’s boss fight in Dragon Quest 1 & 2 HD-2D Remake with advanced strategies and party optimization
Understanding Belial’s Combat Mechanics
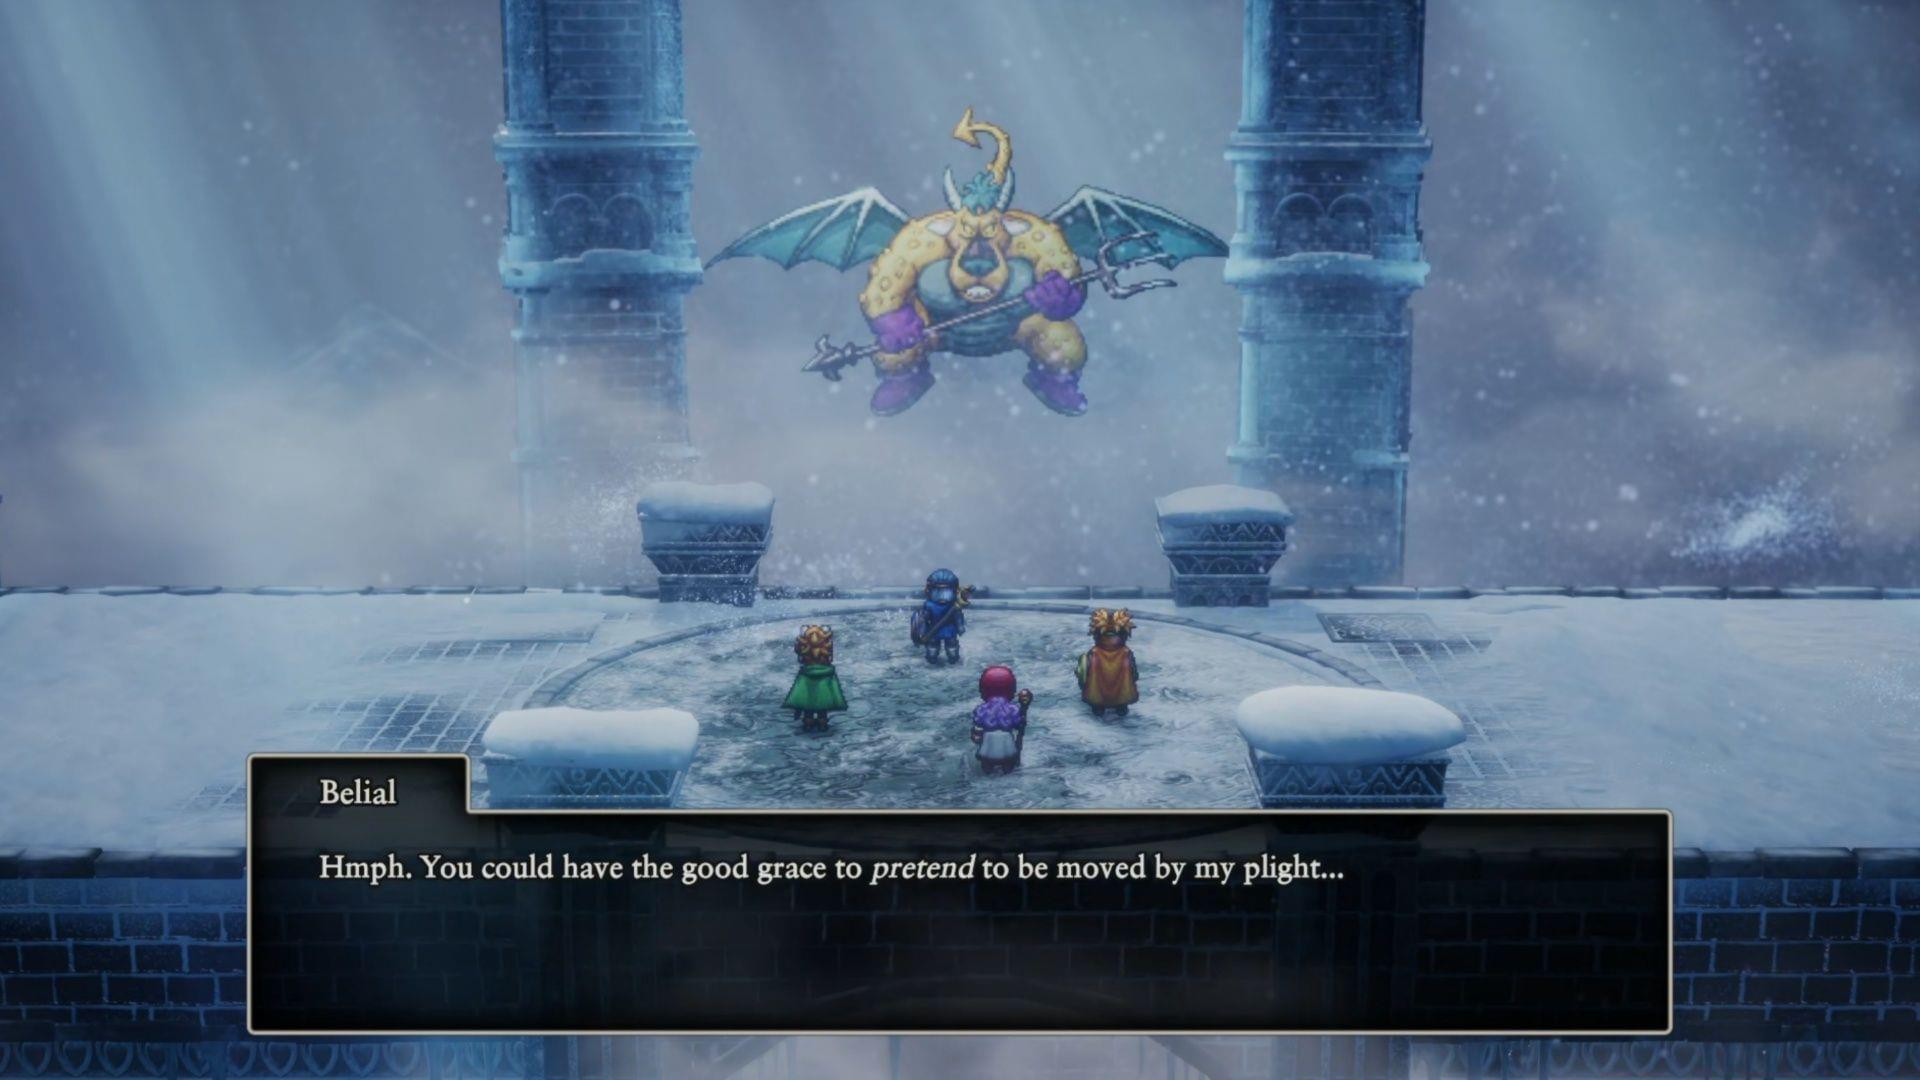
As one of the primary antagonists in Dragon Quest 2’s narrative, Belial presents a recurring challenge that demands mastery of the game’s combat system. This dark lieutenant summoned by High Priest Hargon combines brute physical force with devastating magical capabilities, creating a balanced but deadly threat. Unlike his counterparts Atlas and Pazuzu, Belial demonstrates superior tactical awareness by frequently adjusting his defensive and offensive approaches throughout the encounter.
Belial’s attack rotation includes several dangerous abilities that players must anticipate and counter:
- Buff spell: Dramatically enhances his physical resistance, often requiring immediate dispelling
- Kaboom spell: Inflicts massive area explosion damage ranging from 90-120 points
- Focuses as hard as he can: Temporarily amplifies his magical damage output for subsequent turns
- Magic Barrier spell: Boosts his resistance to magical attacks for limited duration
- Inferno: Breath attack dealing 60-100 damage to multiple party members
- Melee attack: Standard physical strike hitting for approximately 90-100 damage
- Desperate Attack: Critical physical blow delivering around 220 damage to a single target
- Moreheal spell: Self-restoration ability healing approximately 160 health points
- Big Banga: Ultimate area attack averaging 260 damage when his health drops to yellow levels
Strategic insight: Belial’s pattern shows he typically follows a defensive-offensive cycle, making timing your attacks crucial for maximizing damage windows.
Advanced Combat Strategy and Party Setup
The key to overcoming Belial lies in understanding his predictable responses to your actions. When you deploy Ripple of Disruption to remove his defensive buffs, he consistently recasts Buff on his next turn. This behavior pattern creates a strategic loop where you must continuously dispel his enhancements while maintaining your offensive pressure.
Fortunately, Belial remains vulnerable to crowd control effects including Rib Tickler and Puff Puff, similar to previous lieutenant battles. These debuffs provide crucial breathing room for healing and rebuffing your party. For optimal damage output, concentrate your offensive capabilities on the Hero character enhanced with Muster Strength and Oomph buffs.
Advanced Party Role Assignment:
- Hero: Primary damage dealer using Muster Strength, Demon Demeanor for critical strikes
- Caradoc: Support specialist focusing on Ripple of Disruption, Omniheal, and Kabuff spells
- Matilda: Hybrid controller employing Rib Tickler, Insulatle, and area healing abilities
- Peronel: Buffer/debuffer utilizing Oomph, Puff Puff, Magic Barrier, and supplemental healing
Pro tip: Rotate your debuffs strategically rather than spamming them simultaneously. Belial develops resistance to repeated status effects, so alternating between Rib Tickler and Puff Puff maintains better control throughout the extended engagement.
Phase Transition Management
Belial becomes exponentially more dangerous when his health drops to Yellow levels, triggering aggressive behavioral changes. During this critical phase, he frequently executes three actions per turn, often combining the devastating Big Banga spell with consecutive Inferno attacks. This combination can easily decimate an unprepared party.
Equipment preparation becomes crucial at this stage. Assign the Staff of Resurrection to your Hero, as their superior Erdrick equipment provides the best survival odds during the phase transition onslaught. The Hero will likely be the only party member standing after Big Banga, making resurrection capabilities essential for recovery.
Common mistake: Many players underestimate the frequency of his multi-action turns during Yellow Health. Without proper Magic Barrier and Insulatle protections active, Big Banga followed by Inferno attacks will almost certainly eliminate three party members immediately.
Phase transition adjustments: As Belial enters Yellow Health, debuff effectiveness diminishes significantly. Transition Matilda from crowd control duties to dedicated healing and buff maintenance, while Peronel should concentrate on keeping the Hero enhanced and protected. This role shift ensures survival through the most dangerous phase of the encounter.
Emergency protocol: When Big Banga is imminent, prioritize spreading your party’s health pools rather than topping everyone off. Having multiple members at moderate health is safer than having one at full health while others are vulnerable to being knocked out by subsequent attacks.
Equipment and Preparation Guide
Success against Belial requires careful preparation beyond just combat strategy. Your party’s equipment loadout significantly impacts survival chances, especially during the critical Yellow Health phase.
Essential Pre-Battle Preparation:
- Ensure Hero possesses Erdrick equipment set for maximum defense
- Equip Staff of Resurrection on Hero for emergency recovery capability
- Stock ample supply of medicinal herbs and magic restoration items
- Verify all characters have learned their maximum level spells and abilities
- Confirm your party is at least level 28+ for sufficient health pools
During the engagement, maintain constant vigilance and allow your Hero to handle the majority of damage dealing. Magical attacks prove relatively ineffective against Belial’s high resistance, making physical damage from your buffed Hero the primary victory condition.
Don’t hesitate to utilize Kazing and Omniheal spells for resurrection and full-party recovery. Conservative magic point management often leads to unnecessary party wipes when aggressive healing could secure victory.
Advanced optimization: Time your Kabuff spells to land just before his Big Banga casts. The damage reduction can mean the difference between survival and party wipe. Similarly, coordinate Insulatle applications to mitigate his Inferno breath attacks that frequently follow his ultimate spell.
After conquering Belial, immediately prepare for the subsequent challenge—High Priest Hargon awaits with even more dangerous capabilities that will test your refined strategic approach.
Explore our comprehensive Dragon Quest 1 & 2 HD-2D Remake guide collection
- Dragon Quest 1 & 2 HD-2D Remake: How to beat Hargon
- Dragon Quest 1 & 2 HD-2D Remake: How to beat Malroth
- Dragon Quest 1 & 2 HD-2D Remake: How to beat the Dragonlord (DQ1)
No reproduction without permission:Tsp Game Club » Dragon Quest 1 & 2 HD-2D Remake: How to beat Belial (DQ2) Master Belial's boss fight in Dragon Quest 1 & 2 HD-2D Remake with advanced strategies and party optimization