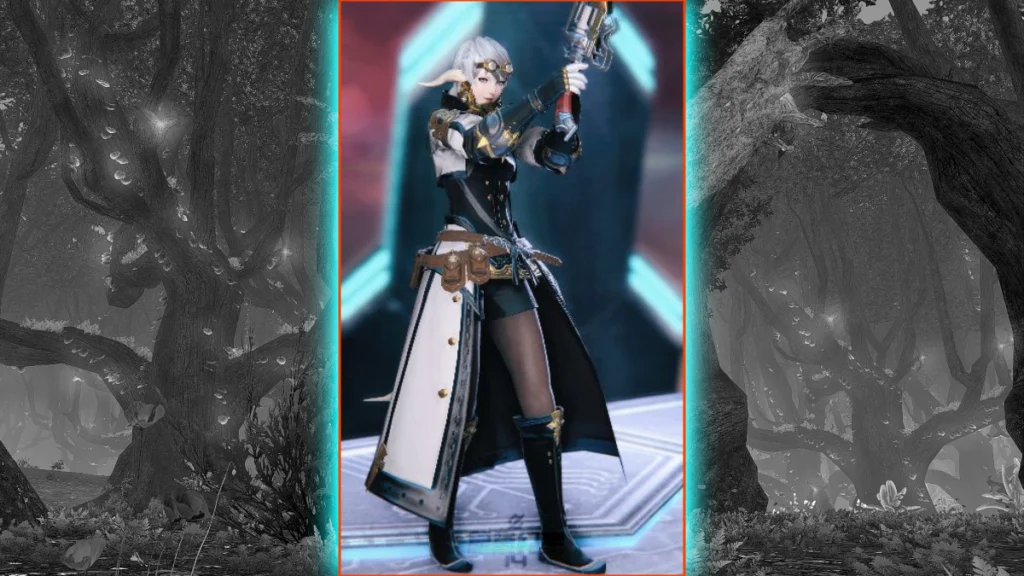
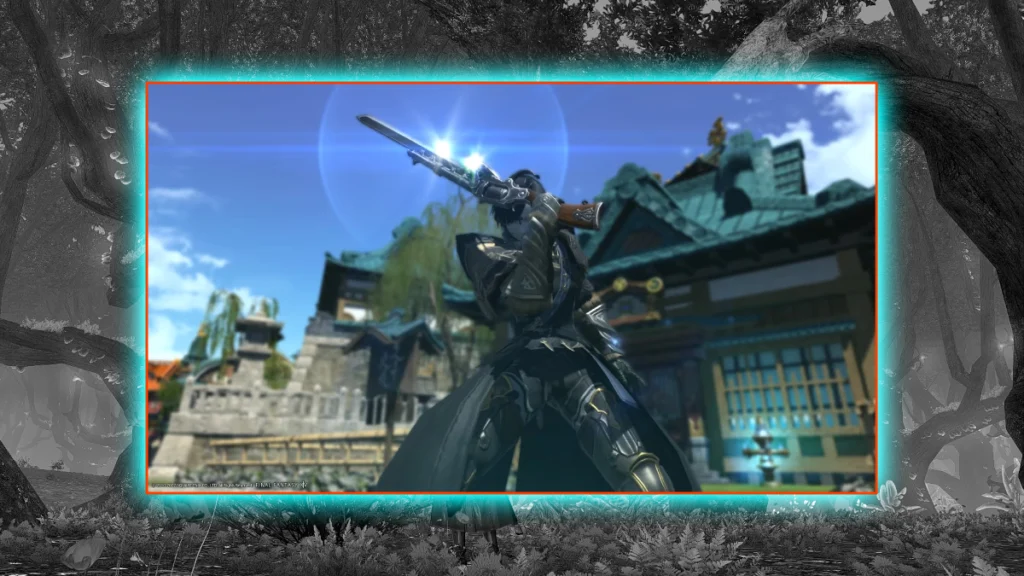
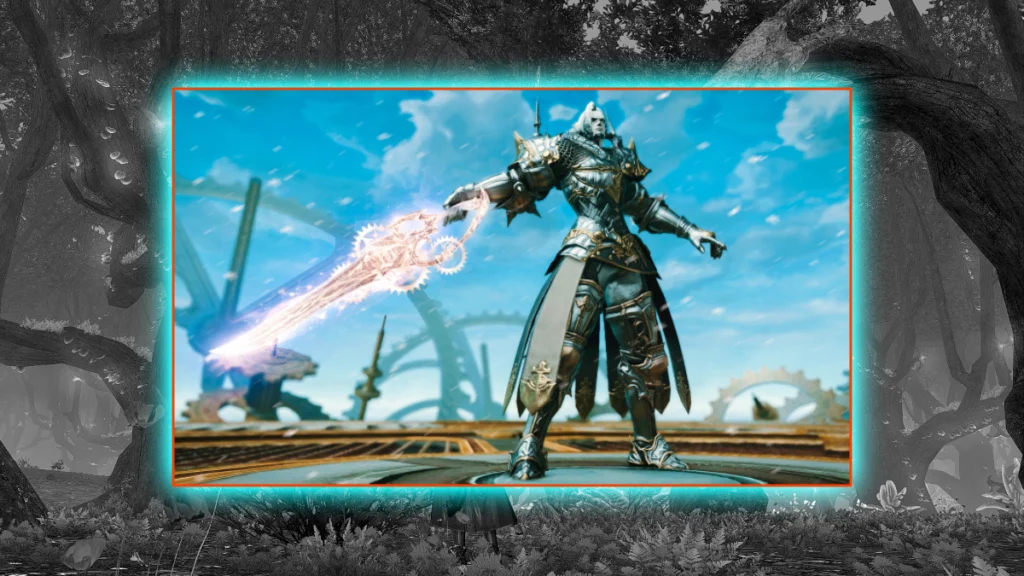
TL;DR
- Gunbreaker combines DPS-style burst windows with robust tank mitigation
- Master cartridge management for optimal damage during No Mercy windows
- Prioritize Critical Hit and Determination for maximum damage output
- Layer mitigation tools proactively before damage spikes occur
- Practice burst rotations on dummies to build muscle memory for complex sequences
Ready to tank like a brawler with a blade that goes bang?
I know the feeling. Gunbreaker scratches that itch. It swings like a sword, fires like a cannon, and never slows down. Walk through this guide with me and you will:
- Understand every system that drives the job.
- Nail both single-target and dungeon rotations.
- Gear for maximum crit and comfort Skill Speed.
- Keep your party alive with clean, predictable mitigation.
When you finish, your gunblade will feel like an extension of your arm. Let’s roll.


| Why Pick Gunbreaker? | What Might Frustrate You? |
|---|---|
| 20% damage spikes during No Mercy every 60s | Button-heavy burst windows |
| Huge mitigation kit plus off-tank utility | No raid-wide heal or strong shield |
| Feels like a DPS in plate armor | Tight timing if latency is high |
| Scales hard with crit, so gearing stays simple | Drops threat fast if you forget Royal Guard |
Small paragraphs keep ideas crisp. Scan this table and you already know the vibe: hard hits, fast pace, and a toolkit that rewards planning.
Bahamut’s ultimate still crushing your party after hours of wipes? Let our FFXIV UCOB Boost team step in, secure the clear, and hand you the title and loot while you relax.
Powder Gauge and Cartridges
| Action | Cartridges Used | Best Time to Fire |
|---|---|---|
| Gnashing Fang | 1 | Start every burst window |
| Burst Strike | 1 | Empty gauge before overcapping |
| Fated Circle | 1 | Two or more targets |
| Double Down | 1 | Inside No Mercy |
| Lion Heart Combo | 3 (Bloodfest refreshes) | Even-minute bursts |
Cartridges build from the Keen Edge → Brutal Shell → Solid Barrel combo or the AoE Demon Slice → Demon Slaughter combo. Spend them where they hit hardest. Keep at least two ready when No Mercy is coming off cooldown. Pro tip: Always end your filler combos with Solid Barrel to maximize cartridge generation efficiency.
Continuation
After each cartridge spender a follow-up lights up:
- Gnashing Fang → Jugular Rip
- Savage Claw → Abdomen Tear
- Wicked Talon → Eye Gouge
- Burst Strike → Hypervelocity
- Fated Circle → Fated Brand
These off-GCD shots add chunks of damage without delaying the main combo. Hit them as soon as they glow. Advanced tip: Continuation skills share a 0.5s recovery time, so rapid execution is crucial for optimal DPS.
Simple Filler Loop
- Keen Edge
- Brutal Shell (tiny heal + shield)
- Solid Barrel → gain 1 cartridge
- Weave Sonic Break and Blasting Zone on cooldown.
- Dump excess gauge with Burst Strike if you reach 3 cartridges.
One-Minute Burst
| GCD | Inside No Mercy | Weave |
|---|---|---|
| 1 | Gnashing Fang | Jugular Rip |
| 2 | Savage Claw | Abdomen Tear + Blasting Zone |
| 3 | Wicked Talon | Eye Gouge |
| 4 | Sonic Break | Bow Shock |
| 5 | Double Down | – |
| 6 | Burst Strike | Hypervelocity |
| 7+ | Resume filler combo | – |
Even-minute windows add Bloodfest right after Solid Barrel and push the Lion Heart three-hit chain into GCD 7-9.
Reminders
- Hit No Mercy on cooldown; never delay waiting for the “perfect” line-up.
- Spend cartridges early in the burst, pop Bloodfest, then empty them again.
- If latency stops you double-weaving, drop the extra oGCD, not the GCD timing.
Stuck banging your head against Omega Protocol all week? Jump in with our FFXIV TOP Boost and let veteran raiders handle the hard mechanics, so you walk away with the clear, loot, and a stress-free night.
Three or More Targets
| Step | Action | Reason |
|---|---|---|
| 1 | Demon Slice | Fast, wide opener |
| 2 | Demon Slaughter | Builds 1 cartridge |
| 3 | Fated Circle | Dumps cartridge for heavy cleave |
| 4 | Continuation: Fated Brand | Free damage |
| 5 | Bow Shock | Bleed every 60s |
| 6 | No Mercy + Bloodfest | Max cartridge spam |
Two targets? This rotation still wins because Fated Circle beats Burst Strike at that count.
Keep mobs tight with stuns, knockback immunity, and smart pulls. More overlap means less wasted cleave. Pro tip: Use Arm’s Length before pulling large packs to prevent knockback interruptions that can break your AoE rhythm.

Cooldown Cheat-Sheet
| Skill | CD | Reduces | Ideal Use |
|---|---|---|---|
| Rampart | 90s | 20% for 20s | Large pulls, light busters |
| Nebula | 120s | 30% for 15s | Heavy busters or back-to-back hits |
| Camouflage | 90s | 10% + parry | Long auto-attack phases |
| Heart of Corundum | 25s | 15% + heals | Spam before tankbusters |
| Heart of Light | 90s | Party magic 10% | Raid-wide spells |
| Aurora | 60s × 2 | Regen | Pre-pull or emergency top-up |
| Reprisal | 60s | Enemy damage –10% | Cast during boss telegraphs |
| Arm’s Length | 120s | No knockback + slow | Big trash packs |
| Superbolide | 360s | Invuln 10s | “Oh no” button |
Mitigate before the spike. Shouting “Bolide in three” gives healers time to prep. Layer Rampart into Nebula on multi-hit tankbusters. Small habit, huge survival gain. Advanced technique: Use Heart of Corundum on your co-tank during tank swaps to provide extra healing support while maintaining your own mitigation.
| Rank | Stat | Why It Matters |
|---|---|---|
| 1 | Critical Hit | Highest DPS gain, great burst scaling |
| 2 | Determination | Steady damage and self-healing boost |
| 3 | Direct Hit | Extra punch without RNG crit severity |
| 4 | Skill Speed | Adjusts GCD; target 2.40-2.45s if you like faster loops |
| 5 | Tenacity | Minor damage + mitigation; optional comfort |
Melding rule: cap Crit first, then fill Determination, sprinkle Direct Hit, and slot just enough Skill Speed to hit your preferred tier. Ignore Tenacity unless everything else is capped.
Common mistake: Over-investing in Skill Speed without considering your ping. Players with 100ms+ ping should stick to 2.45s GCD to avoid clipping. Time estimate: Reaching optimal stat priorities takes approximately 2-3 weeks of regular raiding or tomestone farming.
Standard 2.45 GCD Build
| Slot | Piece | Stats Focus | Materias |
|---|---|---|---|
| Weapon | Savage Gunblade (i735) | Crit / DH | Crit X × 2 |
| Head | Savage i735 | Crit / DH | Crit X + Det X |
| Body | Augmented Historia i720 | Det / Crit | Det X × 2 |
| Hands | Savage i735 | Crit / DH | Crit X + DH X |
| Legs | Savage i735 | Crit / Det | Crit X × 2 |
| Feet | Augmented Historia i720 | Crit / DH | Crit X + DH X |
| Earring | Savage i735 | DH / Crit | DH X × 2 |
| Necklace | Augmented Historia i720 | DH / Crit | DH X × 2 |
| Bracelet | Augmented Historia i720 | DH / Crit | DH X × 2 |
| Ring 1 | Savage i735 | Crit / DH | Crit X + DH X |
| Ring 2 | Augmented Historia i720 | DH / Crit | DH X × 2 |
| Food | Crit + Skill Speed dish | Hit 2.45 GCD | — |
This spread keeps Crit sky-high, slips enough Skill Speed to reach nine GCDs in No Mercy, and caps Determination nicely.
2.40 GCD Crafted Hybrid
| Swap-Ins | Why |
|---|---|
| Crafted Ceremonial Corselet + Hose | Adds Skill Speed without eating Crit budget |
| Crafted Boots | More Crit melds, perfect for fast rotation fans |
| Skill Speed melds in off slots | Locks GCD at 2.40s |
Expect a minor main-stat drop yet smoother flow. Perfect for low-ping players chasing that slick feel.
Ultimate weapon from FRU slots straight in either set when earned.
- Pull with Lightning Shot, sprint, gather everything in one corner.
- Hit Demon Slice, pop Rampart, then No Mercy → Bloodfest.
- Spam Fated Circle; weave Bow Shock.
- Drop Aurora on yourself as mobs swing.
- Stun casters with Low Blow to cut incoming damage.
- If healer panics, throw Heart of Corundum on them.
Keep the group moving. Short pulls waste your AoE power and stretch dungeon timers. Time estimate: With proper pulls, most level 90 dungeons can be cleared in 15-20 minutes. Common mistake: Forgetting to use Royal Guard stance after big pulls, resulting in threat loss.
Burst Window Optimization: Always open with Gnashing Fang immediately after No Mercy to maximize the number of GCDs under the buff. For players with sub-50ms ping, you can fit 10 GCDs in No Mercy with proper Skill Speed.
Mitigation Banking: Save Nebula for unavoidable tankbusters that occur during your No Mercy windows, as you won’t have access to Heart of Corundum while focusing on damage.
Positional Awareness: Use Bow Shock placement to control enemy positioning, especially in fights with knockback mechanics. The persistent DoT can be used to maintain threat while repositioning.
Resource Management: Never enter a No Mercy window with fewer than 2 cartridges. If you’re at 0 cartridges, use Bloodfest first, then execute your burst sequence.

Is Gunbreaker beginner-friendly?
It demands more button presses than Paladin or Warrior, yet the flow stays clear once muscle memory sets in. Focus first on stance, mitigation, and cartridges; add burst timing later.
What macro setup do you use?
I avoid macros for combat skills. They delay oGCDs. Keep actions on hotbars, bind Continuation to a thumb button, and let muscle memory drive.
How do I stop dropping the Gnashing combo?
Commit to the chain once it starts. Any stray GCD breaks it. Practise on a dummy: Gnashing → Savage → Wicked with Continuation weaves. Repetition wins.
Best potion?
Grade XI Strength potions. Hit it 1-2s before No Mercy for every even-minute burst.
When should I Superbolide?
Save it for scripted tankbusters without tank-swap options or if a healer dies mid-fight. Call it early in voice or chat so support can raise or top you after.
Dragonsong’s Reprise can turn into an endless loop of wipes and frustration. Let our FFXIV DSR Boost team step in, clear the raid, and hand you the coveted loot and title—no more wasted nights.

Gunbreaker takes the wild heart of a DPS and welds it to a tank frame. Cartridges build tension, No Mercy fires the shot, and smart cooldown layering keeps you upright. With crit-stacked gear, slick rotations, and proactive mitigation, you become the tank who never drops aggro and never drops the pace.
Load the magazine, flip on Royal Guard, and step into Arcadion or FRU with confidence. Your party may not say it out loud, yet they will feel safer—and fights will fall faster—because that gunblade is in your hands.
See you on the front line.
Action Checklist
- Master cartridge generation through Keen Edge → Brutal Shell → Solid Barrel combo
- Practice No Mercy burst rotation on striking dummy until muscle memory develops
- Configure hotbars for optimal Continuation skill access
- Learn mitigation timing by running EX trials without healer support
- Optimize gear with Critical Hit priority and appropriate Skill Speed tier
- Master AoE rotation in dungeons with 3+ targets
No reproduction without permission:Tsp Game Club » FFXIV Gunbreaker Guide 7.25: Best Rotation, BiS Gear & Tank Tips Master Gunbreaker's explosive tanking style with optimized rotations and mitigation strategies
